2:12
1
2
3
4
OK
1
3 4 9 11 10 12 13 14
15 16 17 18 19 20
2
21 22 23
8
5
6
7
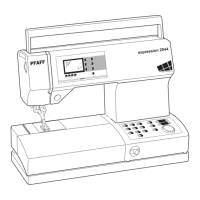
Preparations
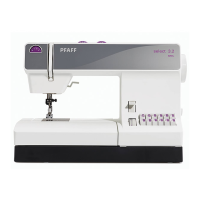
Buttons for expression™ 3.2
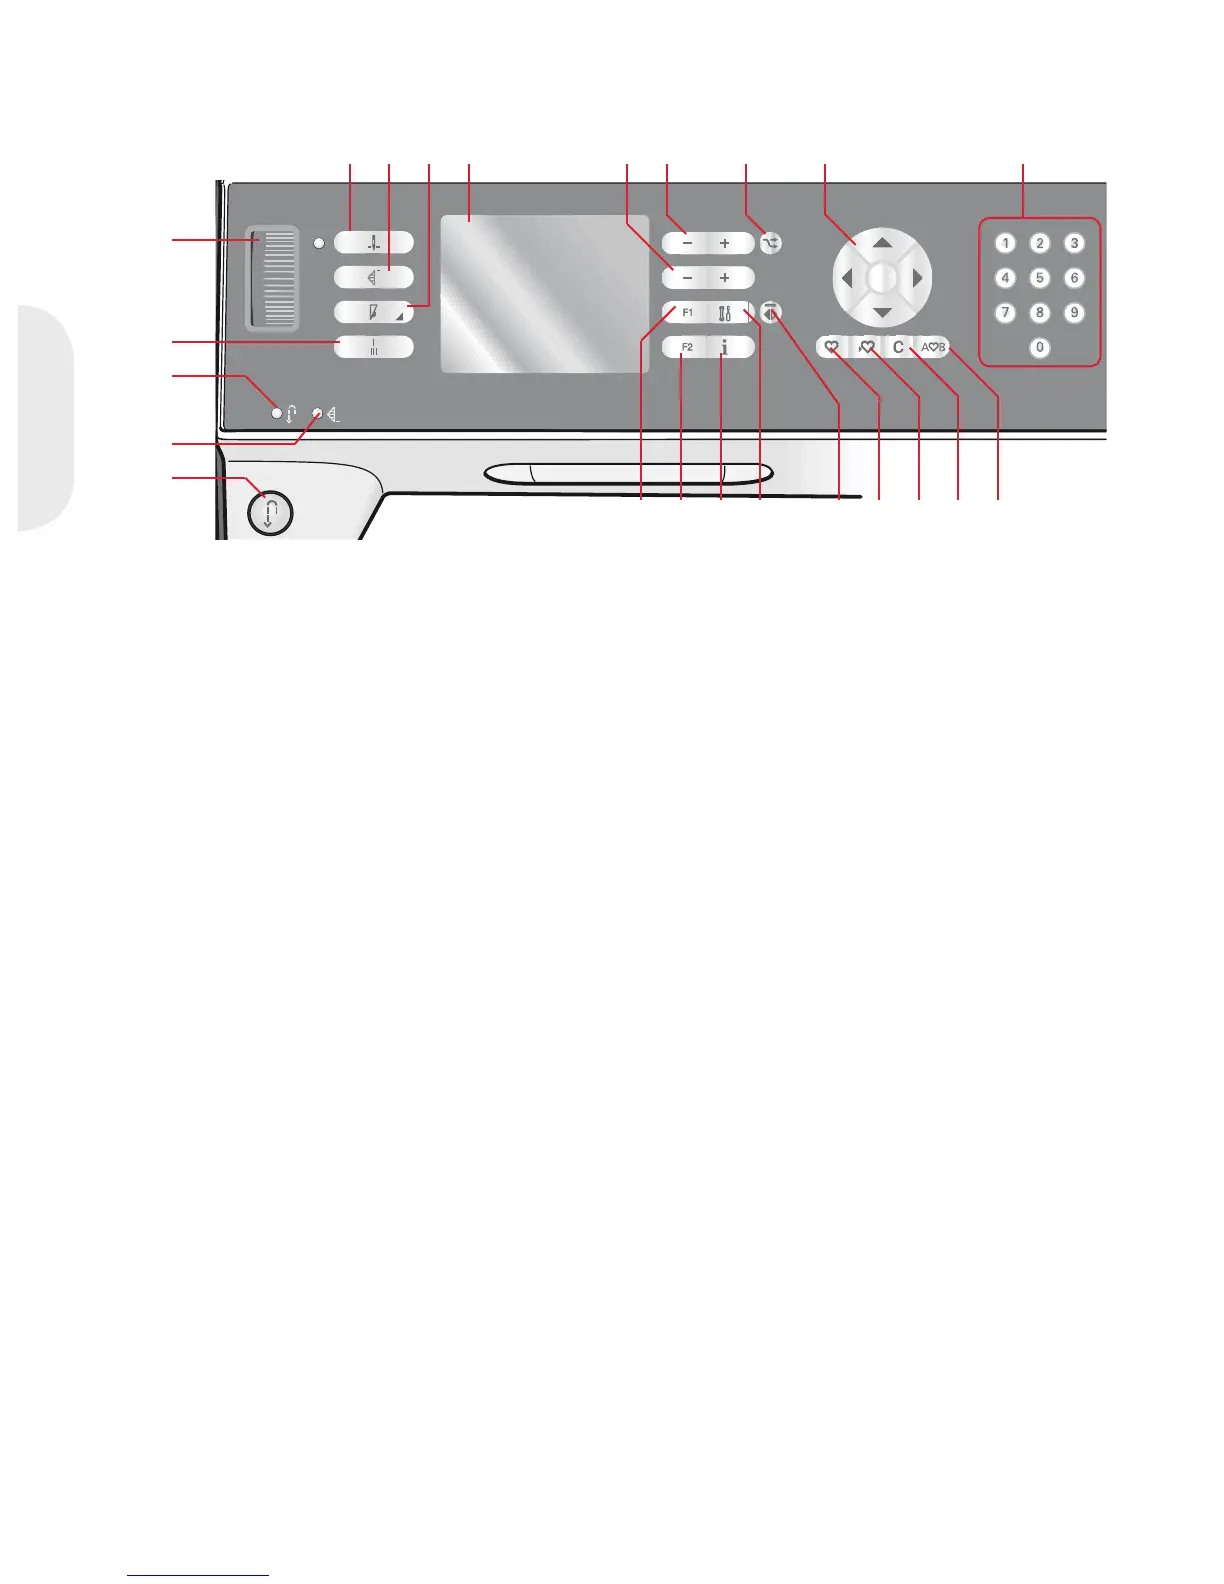
Thread tension dial (1)
,IQHHGHGDGMXVWWKHWRSWKUHDGWHQVLRQXVLQJWKH
markings on the tension dial.
Needle stop up/down with indicator (2)
3UHVVWKLVEXWWRQWRPRYHWKHQHHGOHXSRUGRZQ
The setting of the needle stop position is changed
DWWKHVDPHWLPH:KHQQHHGOHGRZQLVDFWLYDWHG
the indicator is lit, the needle will stop in the down
position.
<RXFDQDOVRWDSWKHIRRWFRQWUROWRUDLVHRUORZHU
the needle.
Stitch restart (3)
:KHQKDYLQJVWRSSHGVHZLQJLQWKHPLGGOHRID
stitch, press restart to start sewing at the beginning
RIWKHVWLWFKDJDLQZLWKRXWKDYLQJWRUHVHWDQ\
VSHFLDOVHWWLQJV\RXKDYHPDGH
If pressing the stitch restart button while sewing,
WKHVWLWFKZLOOEHÀQLVKHGDQGWKHPDFKLQHZLOO
then stop.
Speed control (4)
Press the speed button to sew at a slower speed.
$QLFRQRQWKHJUDSKLFGLVSOD\ZLOOLQGLFDWHKRZ
slow your machine will sew. Long press the speed
EXWWRQDQGXVHWKHZKHHOWRFKDQJHWKHVHZLQJ
speed.
Note: You cannot select a higher speed than the default
speed.
Reverse (7) with indicator (5)
)RUSHUPDQHQWUHYHUVHSUHVVWKHEXWWRQ
EHIRUHVWDUWLQJWRVHZ7KHUHYHUVHLQGLFDWRU
ZLOOEHOLWDQGWKHPDFKLQHVHZVLQUHYHUVHXQWLO
you press the button again to cancel.
,I\RXSUHVVWKHUHYHUVHEXWWRQZKLOHVHZLQJWKH
PDFKLQHVHZVLQUHYHUVHIRUDVORQJDV\RXNHHSWKH
EXWWRQSUHVVHG7KHUHYHUVHLQGLFDWRULVOLWZKHQ
WKHUHYHUVHEXWWRQLVSUHVVHG
5HYHUVHLVDOVRXVHGZKHQVHZLQJEXWWRQKROHV
programmed tie-off end, darning stitches and
tapering stitches to step between the parts of the
stitch.
Programmed tie-off indicator (6)
The programmed tie-off indicator is lit to indicate
WKDWRQHRUVHYHUDOWLHRIIRSWLRQVDUHDFWLYDWHG7KH
indicator stays lit until the tie-off options are no
longer in use.
Immediate tie-off (8)
Press the tie-off button while sewing and your
machine sews a few tie-off stitches and stops
automatically.
Graphic display (9)
7KHJUDSKLFGLVSOD\OHWV\RXYLHZDOO\RXU
VHOHFWLRQVDQGRSWLRQV6WLWFKHVDUHVKRZQLQUHDO
size.
 Loading...