RINS987-2
Changing Inputs
Installing Keypads/Readers
Installing RIXs (Input Expanders)
Installing ROXs (Output Expanders)
Programming Tags Miscellaneous
Changing Outputs
The Engineer/Anti-Code Reset
!!
D
C
B
A
Input Name
Input 001
!!
D
C
B
A
Arm Point Arms
[ AB ]
!!
D
C
B
A
Arm Point In
[ A ]
!!
D
C
B
A
Arm Point Name?
!!
D
C
B
A
KEYPAD CODE?
[ ]
!!
D
C
B
A
Input [001]
Input 001
!!
D
C
B
A
Type
Keypad [0]
!!
D
C
B
A
ATE Pin 1[0001]
Fire
In the Engineers Menu, Press m until you reach
‘CHANGE INPUTS’. Press l.
Select the input you would like
to program and press l.
Choose the input type (see
‘input types’ table overleaf)
Select the partition you wish the input to be programmed into.
Enter ‘Any’ or ‘All’ (individual partition or common partition)
‘Input Attributes’ will be displayed. Here you can choose
from several options: Chime, Omittable, Double Knock,
Normally open, Confirm group etc. Press © to switch
between the different options. Press l for the next option.
‘Input Name’ will be displayed.
Press l, the input name will
be displayed, you may alter this
using the relevant keys for the letters. Once done press l,
and do the same for the rest of the inputs.
Press m to go back to the Engineers menu.
In the Engineers Menu, Press m until you reach
‘ASSIGN KEYPADS/READERS?’. Press l.
Select the address of the keypad/reader you have installed.
Enter the type:
0 = Keypad
1 = Reader
2 = Not Used
(This example shows a keypad) Press l.
‘Arm Point Arms’ will be
displayed, choose which
partitions you would like the
keypad to arm/disarm. Press l.
‘Arm Point Disarms’ will be displayed, choose which
partitions you would like the keypad to arm/disarm. Press l.
‘Arm Point In’ will be
displayed, choose which
partition you would
like the keypad to operate
in. Press l.
‘Arm Point Name’ will be
displayed, if you wish to enter
a name for the arm point
press l.
Press m twice to go back to the Engineers menu.
Also you will need to address
each keypad individually.
To do this, in day mode, keep
hold of the © key until
‘KEYPAD CODE’ is displayed.
Release the © key and enter ‘2000’. press l.
‘Address’ will be displayed, enter the relevant address for
the keypad and press l. For other options press l, or
press ¤ to save the data.
The Input numbers for each keypad are as follows:
In the Engineers Menu, Press m until you reach
‘CHANGE OUTPUTS’. Press l.
‘Endstation PGMs’ - this allows you to change the onboard
PGMs (PGM1, PGM2, PGM4 or PGM5) and also the ATE
outputs for the communication loom.
Press l Enter the required PGM type (see the table
overleaf) or press © to scroll
through. Press l to go to the
next PGM/ATE number.
Press m once finished.
‘RIX PGMs’ will be displayed, Press l if required and
enter the relevant address of the RIX you wish to program.
Press l and the PGMs may be changed.
Press m once finished.
‘ROX Module PGMs’ will be displayed, here you may
install any PCX-ROXs. Press l if required and enter
the relevant address of the ROX you wish to install.
‘ROX Installed’ will be shown, press © to select ‘YES’ and
Press l - you can now change the relevant PGMs.
Press m once finished.
Do the same for Keypad and Reader PGMs. Press m
once finished, you will be returned to the engineer menu.
In the Engineers Menu, Press m until you reach
‘CHANGE OUTPUTS’. Press l.
Press m until you reach ‘ROX Module PGMs’, here you
may enable any PCX-ROXs you have installed. Press l
‘ROX Address?’ will be displayed, enter the address
of the RIXs you have installed. Press l.
‘ROX Installed?’ will be displayed press © to toggle
between YES and NO. Press l
Press m until you return to the Engineer Menu.
After an alarm activation, a
valid user code may be
entered, this will silence the
alarm. The display will show
‘Alarm Silenced’ on the top line, on the bottom line the
display will show and the activation that has just occurred.
Press l.
The time and date will be displayed and the Power LED will
flash indicating that a restore is required. Enter your
engineering code: “All faults have been cleared” will be
displayed Press l.
After an alarm activation, a
valid user code may be
entered, this will silence the
alarm. The display will show
‘Alarm Silenced’ on the top line, on the bottom line the
display will show the restore number. For Example:
‘Restore G12298’. Press l.
The time and date will be displayed and the Power LED will
flash indicating that a restore is required. Enter the anti-
code reset number, ‘Engineer Restore Performed’ will be
displayed. Press l.
In the Engineers Menu, Press m until you reach ‘INSTALL
RIX?’. Press l.
‘RIX Address?’ will be displayed, enter the address of the
RIX you have installed. Press l.
‘RIX Installed?’ will be displayed press © to toggle
between YES and NO. Press l, you will be returned
to the Engineer Menu.
In day mode, press © and enter the master manager
code (default 5678). Press m until you reach ‘CHANGE
CODES’. Press l.
‘Change User Codes’ will be displayed. Press l.
Enter the user number you wish the tag to be
programmed on. Press l.
‘Enter User Code’ will be displayed. If there are asterisks
in the brackets then a code has already been entered.
Either delete the code (by pressing §) or press m and
select another user number.
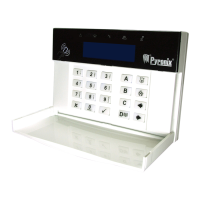
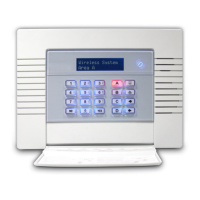
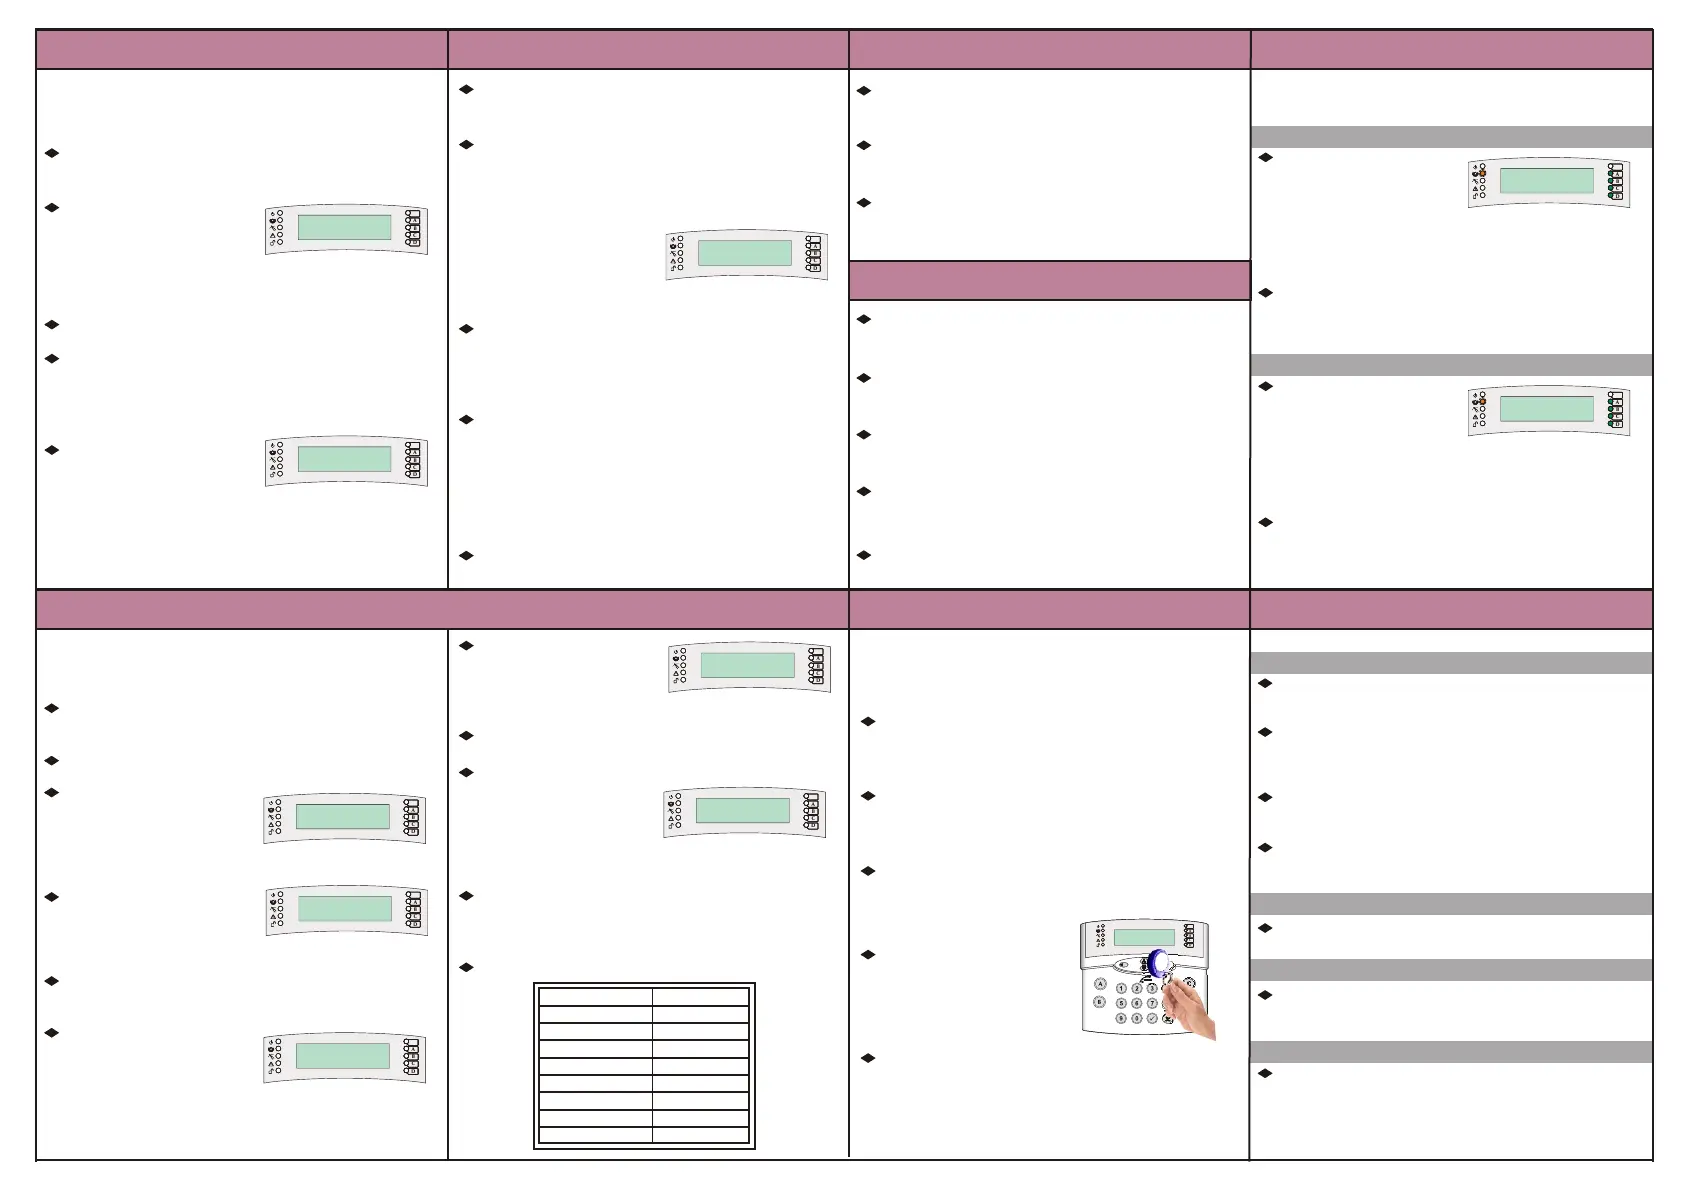
Once the brackets are empty,
hold up a PCX-TAG to LCD
keypad (shown right). The
keypad will be beep if the tag
has been accepted. Press l.
Select the relevant options for the user (to go to the next
option press l). One option that may need to be changed
is ‘Flexi Arm’ - if set to ‘YES’ then you can select which
partitions you would like to arm, or to automatically arm
the partitions when you put a fob up to the keypad set this
option to ‘NO’.
User Level Arm: This function allows the system to
operate as a “Level Arm” (YES) or “Partition” (NO) system.
Common Exit Mode: If set to ‘YES’ this option will
automatically arm the partition on the ‘highest priority’ exit
mode. (Final Exit and PTS are higher than timed exit)
2 Key HU: Keys 1 and 7 pressed together perform a Hold
Up activation. These will need to be enabled in this option.
Flexi-Unset: If set to ‘YES’ you will be required to disarm
each partition manually. Or if set to ‘NO’ the system will
disarm all partitions the code/keypad are assigned to.
Sign On Message: Allows you to add your own company
name on start up (Default PCX 256)
The system can be programmed so that it can be only fully
reset by an engineer or by an anti-code reset. This can be
programmed in “Engineer Reset Options”.
The log stores up to 3000 events. To operate the log
use { and } the and keys to scroll through each event,
to view more information (such as user and input numbers)
press the § key.
By default, all inputs are pre-set as ‘unused’ so you will need to
program each individual input you require. The input will not be
‘live’ until you have exited the engineers menu.
The keypad has an inbuilt tag reader and can be used to
arm/disarm the system without entering a user code.
To program tags into the system you must be in the master
manager menu (NOT the Engineers menu).
Other notable Engineer functions::
This function allows you to enable any keypads or proximity
readers you have installed on the system. You must exit
the Engineers menu in order for the changes to take affect.
241-242
243-244
245-246
247-248
249-250
251-252
253-254
255-256
Input Number
LCD Keypad 00
LCD Keypad 01
LCD Keypad 02
LCD Keypad 03
LCD Keypad 04
LCD Keypad 05
LCD Keypad 06
LCD Keypad 07
Address
!!
D
C
B
A
Enter User Code
[******]
Tag
,/+.
JKL
ABC
MNO
DEF
PQRS
GHI
TUV
WXYZ
SPACE
Site Options
Performing an Engineer Reset
Performing an Anti Code Reset
System Displays
Engineer Reset Options
Review Logs
This function allows you to enable Engineer Reset for
different alarm types such as Intruder, Hold Up, Confirmed
etc. Also allows you to enable an Anti-Code reset.
!!
D
C
B
A
Alarm Silenced
Restore Required
!!
D
C
B
A
Alarm Silenced
Restore G12298
 Loading...