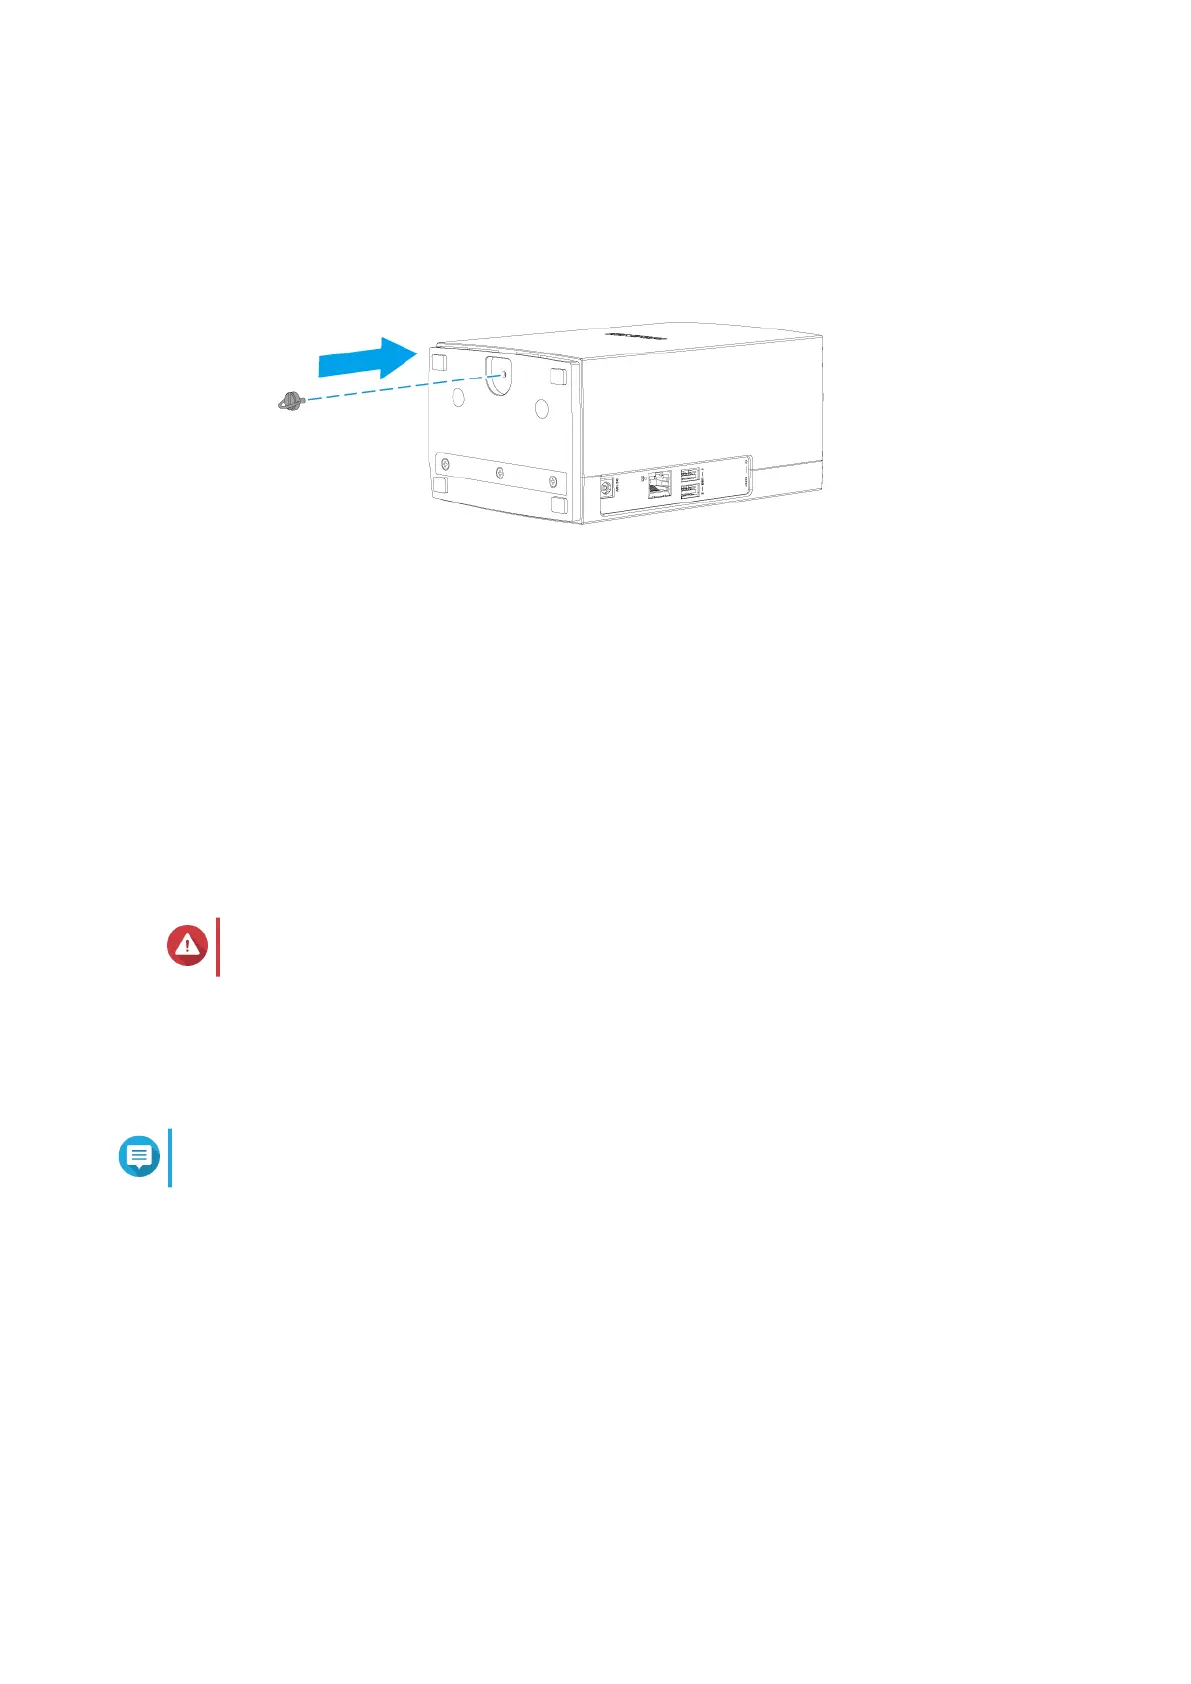
c. Attach the tool-less screw to the bottom of the NAS.
8. Connect all cables and external attachments.
9. Connect the power cord to the electrical outlet.
10. Power on the NAS.
QTS Installation
Installing QTS Using Qfinder Pro
Warning
Installing QTS deletes all data on the drives. Back up your data before proceeding.
1. Power on the NAS.
2. Connect the NAS to your local area network.
3. Run Qfinder Pro on a computer that is connected to the same local area network.
Note
To download Qfinder Pro, go to https://www.qnap.com/utilities.
4. Locate the NAS in the list and then double-click the name or IP address.
The Smart Installation Guide opens in the default web browser.
5. Perform any of the following actions.
• To check for the latest available version, click Start.
The wizard downloads the latest available version, and then the NAS restarts after the download
is complete. If a newer version is not available, the wizard automatically displays the Smart
Installation Guide.
• To install the out-of-the-box version, click Skip.
6. Click Start Smart Installation Guide.
TS-x28A User Guide
Installation and Configuration 10
 Loading...