A0155678/A - 27/03/2023
1
2
1
2
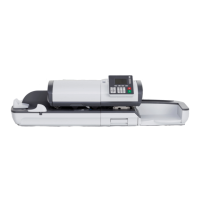
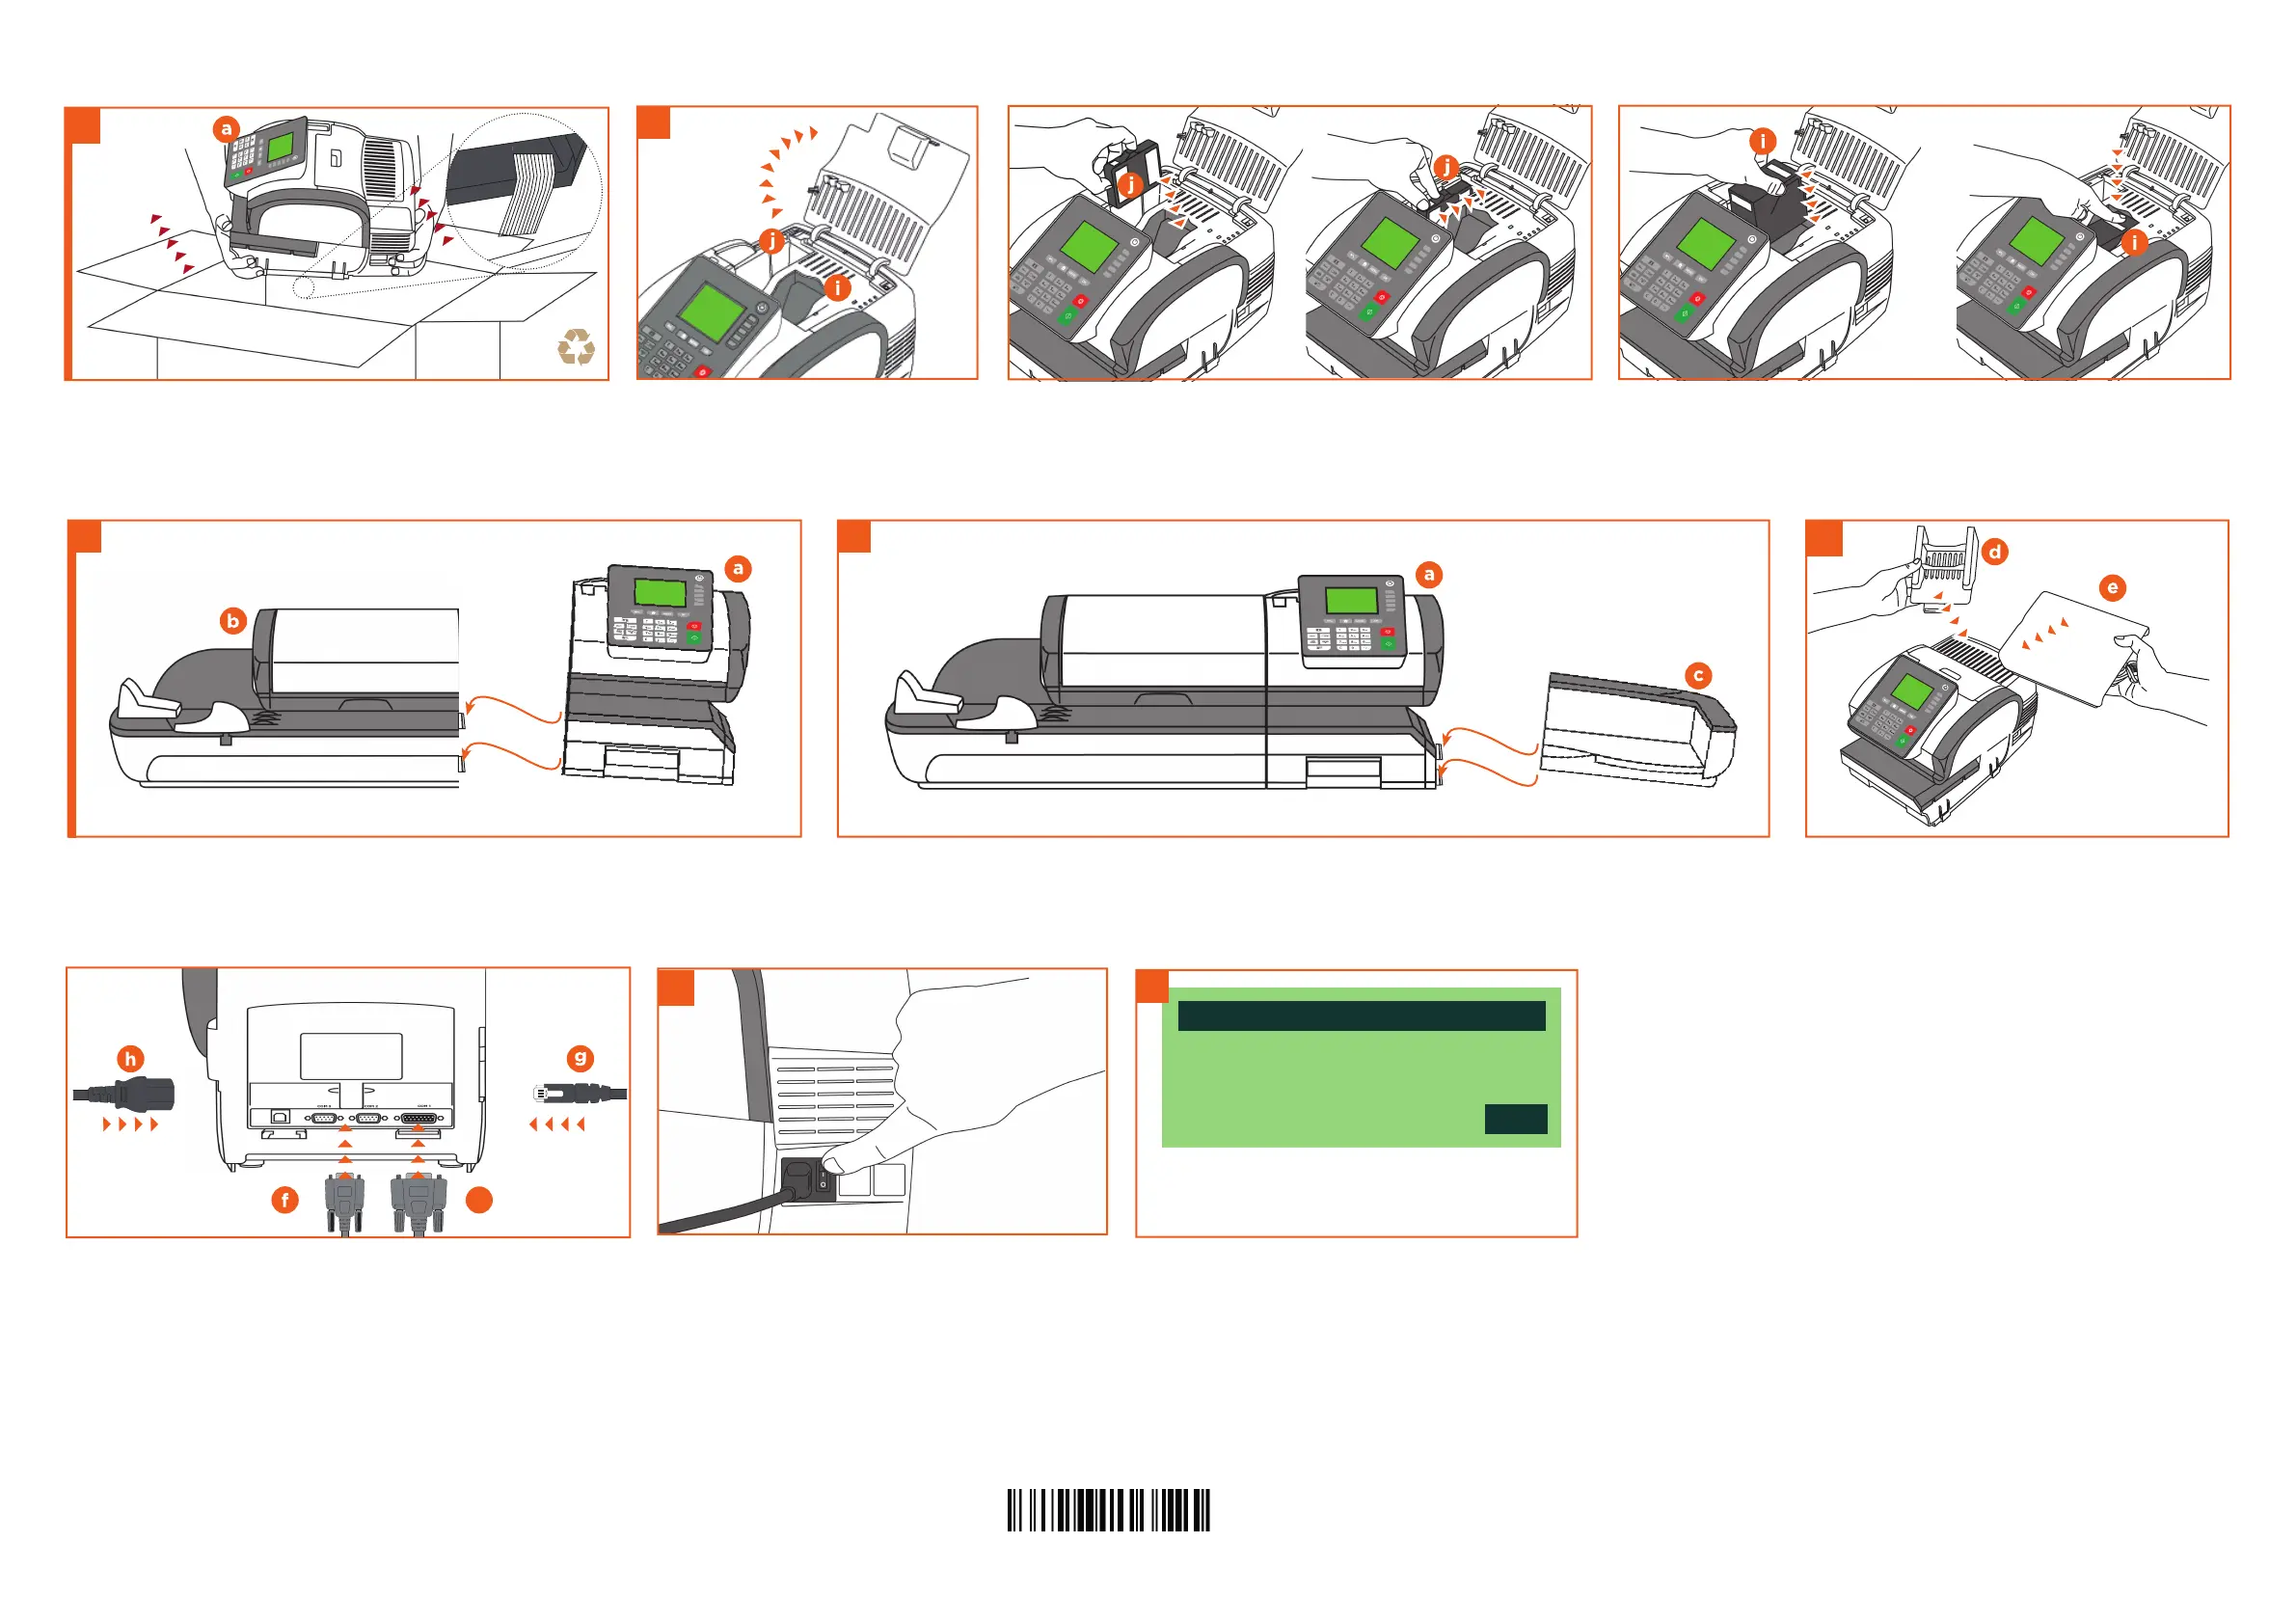
Attach the catch tray (c) to the base (a).
1
Attach the base (a) to the automatic feeder (b).
N5. Assembling the components
3
N6. Connect your Cables N7. Switch on the machine
N2. Unpack your replacement N3. Insert the Meter
N4. Install the Cartridge
k
Remove replacement unit from box. Remove all transit tape and
packaging from the replacement machine. Place original unit back
into box ready for collection.
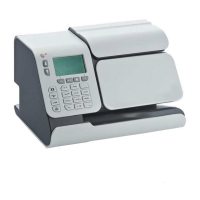
Place the meter (j) into the meter bay and slide in until it fi ts securely
into position. Close the cover.
Lift the cover of the machine to reveal the
ink cartridge (i) and meter (j) bays.
Insert the ink cartridge (i) at an angle into the machine with the ‘TOP’ and
‘LOCK’ stickers facing upwards. Push the ink cartridge (i) towards the back
of the machine until you hear a ‘click’ - close the cover of the machine.
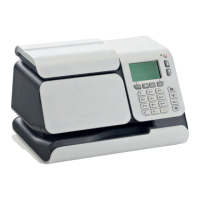
Install the shelf (d) and the weighing platform (e)
on the machine.
Turn on the machine by pressing the power button.
Plug in the LAN cable
(g)
, weighing platform cable
(f)
, automatic
feeder cable
(f)
and power cable
(h).
Congratulations
Your machine is
ready to use!
Next
Swap base
This process allows you to
install your new base.
Once the machine is switched on, follow the steps on
screen to complete the replacement procedure.
2
1
 Loading...