8-1
8-2
8-5
8-6
8-3
8-2
8-7
8-7
6
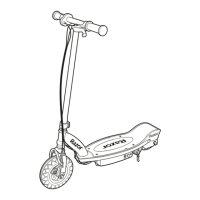
REPAIR AND MAINTENANCE
Replacing the Chain and Rear Wheel
Tools required: Phillips screwdriver and two (2) 13 mm wrenches.
2 Using two (2) 13 mm wrenches,
loosen the locknuts by turning
the wrenches counter clockwise.
Reference rear wheel hardware
sequence (page 7).
1 Using a Phillips screwdriver,
loosen the two (2) screws on the
chain guard and remove.
3 To loosen the chain, pushing
the tensioner down to create
some slack in the chain.
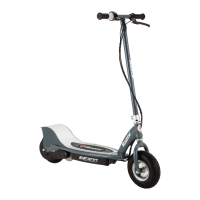
1 Using a 10 mm wrench loosen
the brake cable bolt.
Replacing the Front Wheel
Tools required: 10 mm wrench and two (2) 16 mm wrenches.
2 Using two (2) 16 mm wrenches,
loosen the locknuts by turning
the wrenches counter clockwise.
Remove wheel and install
replacement wheel. Reference front
wheel hardware sequence on this
page.
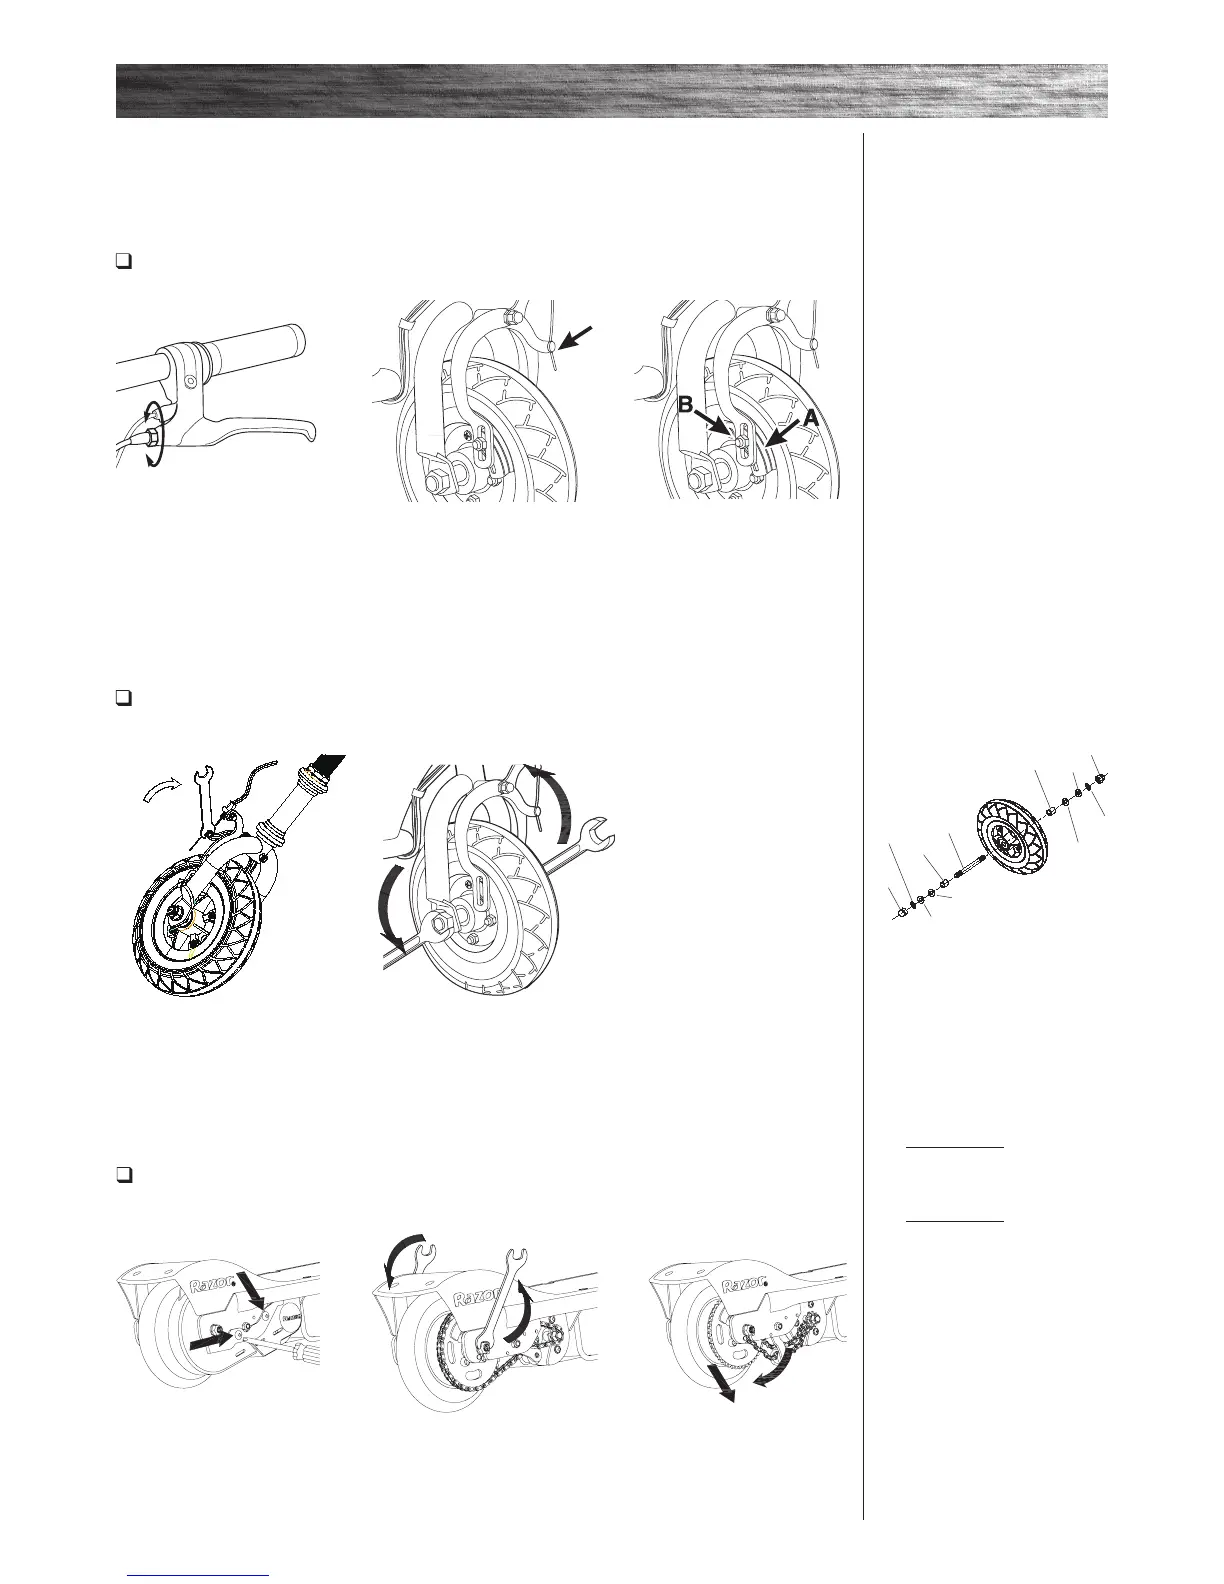
Right Side (Throttle)
8-3 Spacer
8-2 Washer
Fork
8-2 Washer
8-7 Spring Washer
8-1 16 mm Locknut
Left Side (Brake)
8-5 Spacer
8-2 Washer
Fork
8-2 Washer
8-7 Spring Washer
8-1 16 mm Locknut
Middle
8-6 Front Axle Bolt
Note: Front wheel hardware
sequence
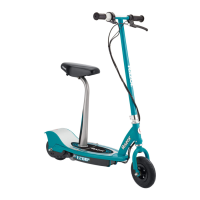
1 To adjust brake cable play, thread
the brake lever adjuster in or out
1/4 to 1/2 turn until the desired
brake adjustment is attained. Most
adjustments are complete at this
step. If brake still needs further
adjustment, proceed to step 2.
2 If brake is too tight or has too
much slack, use a 10 mm wrench
to loosen the brake cable and
adjust accordingly.
3 Inspect the brake pads (A)
for proper alignment against the
wheel or excess wear. To realign
brake pads, loosen the fixing nut
(B) and adjust the pad to contact
the rim. Re-tighten and readjust
as needed. Verify proper brake
function prior to riding the scooter.
Adjusting the Brakes
Tools required: 10 mm wrench
3 Reassemble, adjust and
tighten brake cable. Verify
proper brake function prior to
riding the scooter.
Turn power switch “OFF” before beginning repair or maintenance:
• Read the instructions
• Remove charger plug
• Turn the power switch off
• Secure the unit under repair
• Exercise caution around
exposed parts
• Contact Razor customer service
if unsure about any repair or
maintenance
 Loading...