4mm
4mm
5mm
5mm
3
HEADLINEHEADLINEASSEMBLY AND SET-UP
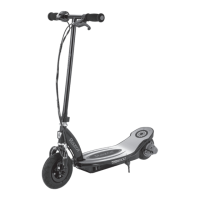
Attaching the Handlebars
Required Tool: 5 mm Allen Wrench (included)
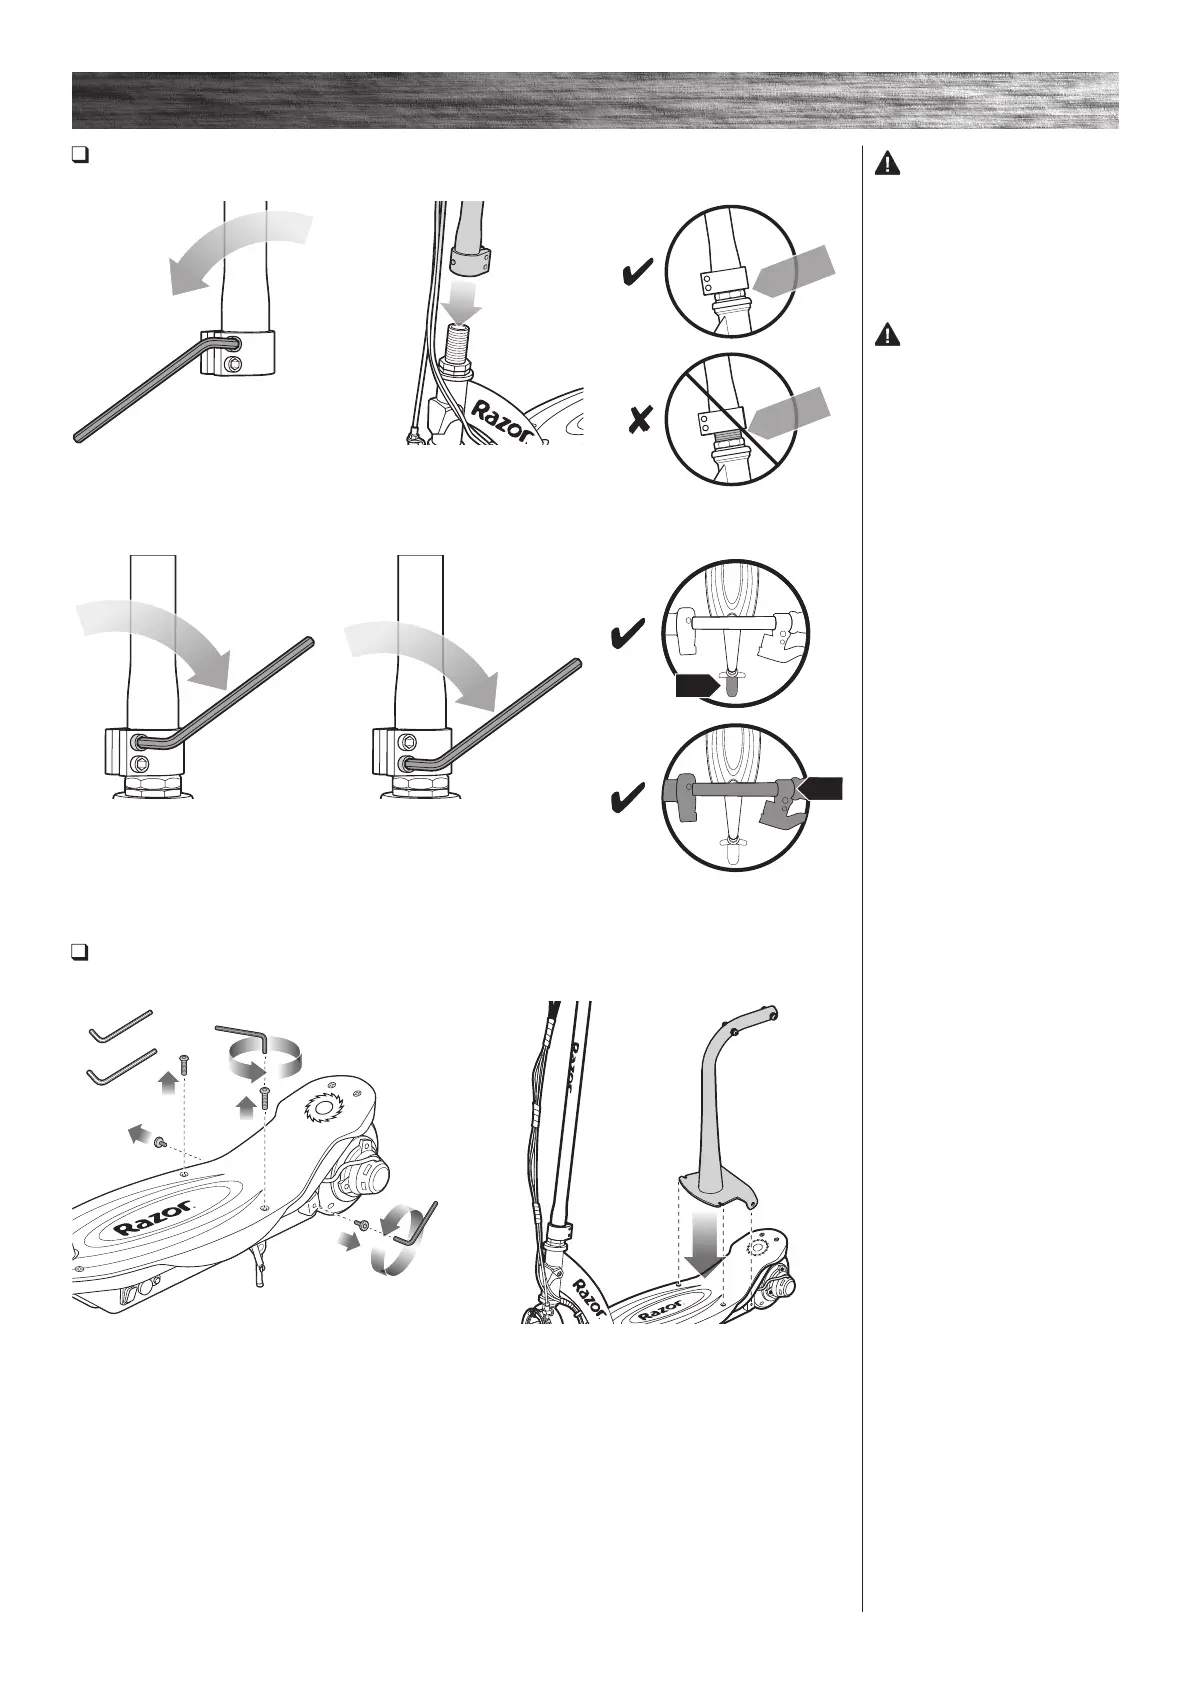
Seat Assembly (Power Core E100S Only)
Required Tools: Two (2) 4 mm Allen Wrenches and Two (2) 5 mm Allen Wrenches (included)
WARNING: Do not attempt
to thread the stem into the front
fork thread.
Note: Make sure any cables/wires
are out of the way before inserting
the stem into the fork.
WARNING: Failure to
properly tighten the collar clamp
may allow the handlebars to
dislodge while riding and may
cause you to lose control and fall.
When correctly tightened, the
handlebars will not rotate out of
alignment with the front wheel
under normal circumstances.
Note: The cable and wire assembly
from the handlebar must not
wrap around the steering tube or
handlebar. Sharp bends or twisting
of the brake cable can cause the
brake to malfunction.
1 Using 5 mm Allen wrench loosen
the bolts from the collar clamp.
2 With a twisting motion, push and
twist to slide the handlebars onto
the fork.
3 With the front wheel pointed straight ahead and the handlebars square to
the front wheel, tighten both bolts on the clamp with a 5 mm Allen wrench.
Tighten securely.
1 Remove bolts on the middle of the deck using 4 mm
and 5 mm Allen wrenches.
2 Place seat post on to the deck.
 Loading...