Red
Black
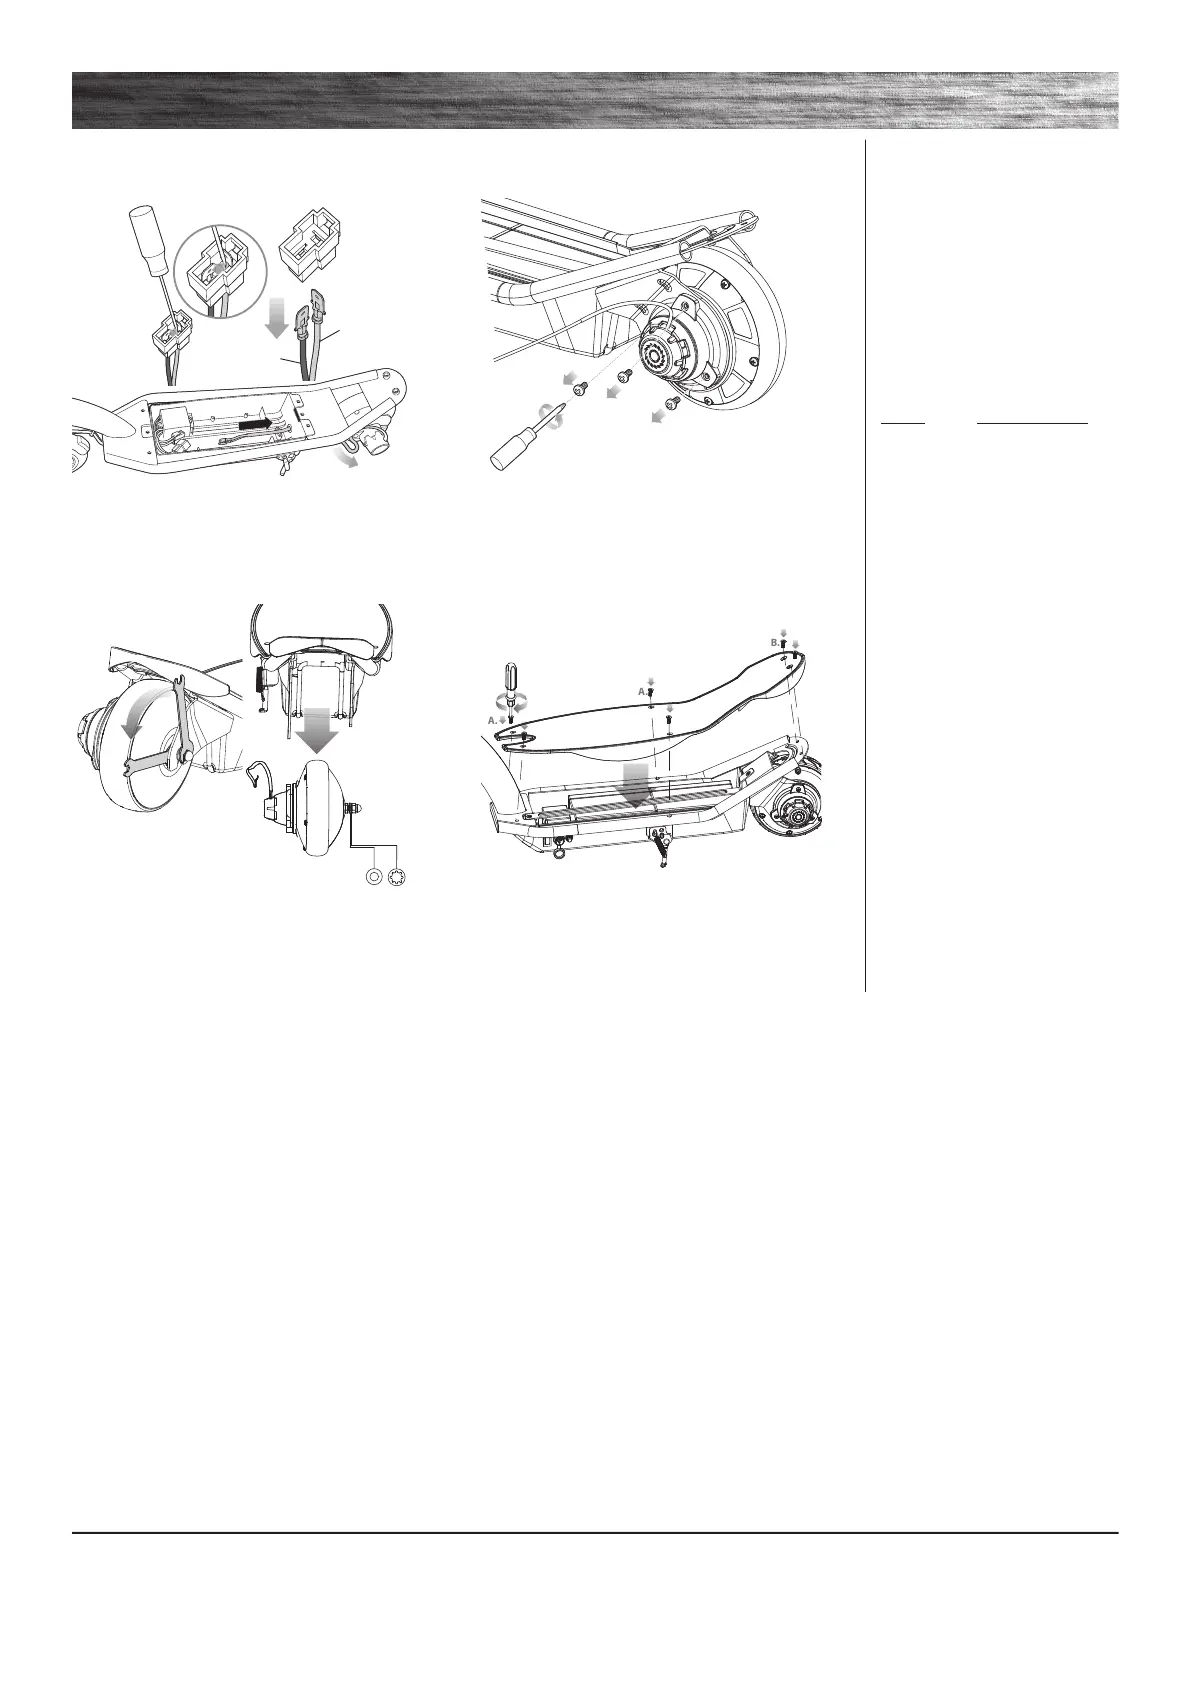
5 Using a pointed object carefully depress the
tabs on the metal pins inside of the motor wire
connector and remove the wires. Carefully pull
wires out from battery tray.
6 Using a Phillips screwdriver remove the
three (3) screws that attach the motor housing
to the frame.
7 Using a 13 mm wrench, loosen the outside
locknut (14-6). Use a 13 mm wrench to prevent
the inside nut (14-3) from turning.
Remove wheel/hub motor.
8 To install the replacement wheel/hub motor,
reverse steps 1 through 7.
9
Need Help? Visit our website for replacement parts, product support, a list of authorized service centers in the US and customer service contact information
at www.razor.com. Please have the product I.D. code (located on the white label of your product) available for better assistance. Additional Customer
Service contact information is listed at the back of this manual.
REPAIR AND MAINTENANCE
q Rear Wheel/Hub Motor/Battery Replacement (Continued)
Required Tools: Phillips Screwdriver and Two (2) 13 mm Wrenches (not included)
Note:
Motor Control Module
Red
1
Yellow
Black
1
Blue
Note: When re-inserting the
motor wires into the connector,
make sure the red wire connects
to the yellow wire and the black
wire connects to the blue wire.
 Loading...