Step 7: Insert the end caps
Insert the plastic end caps in the ends of the booms. Use a rubber mallet to gently tap
them into the antenna booms to secure them.
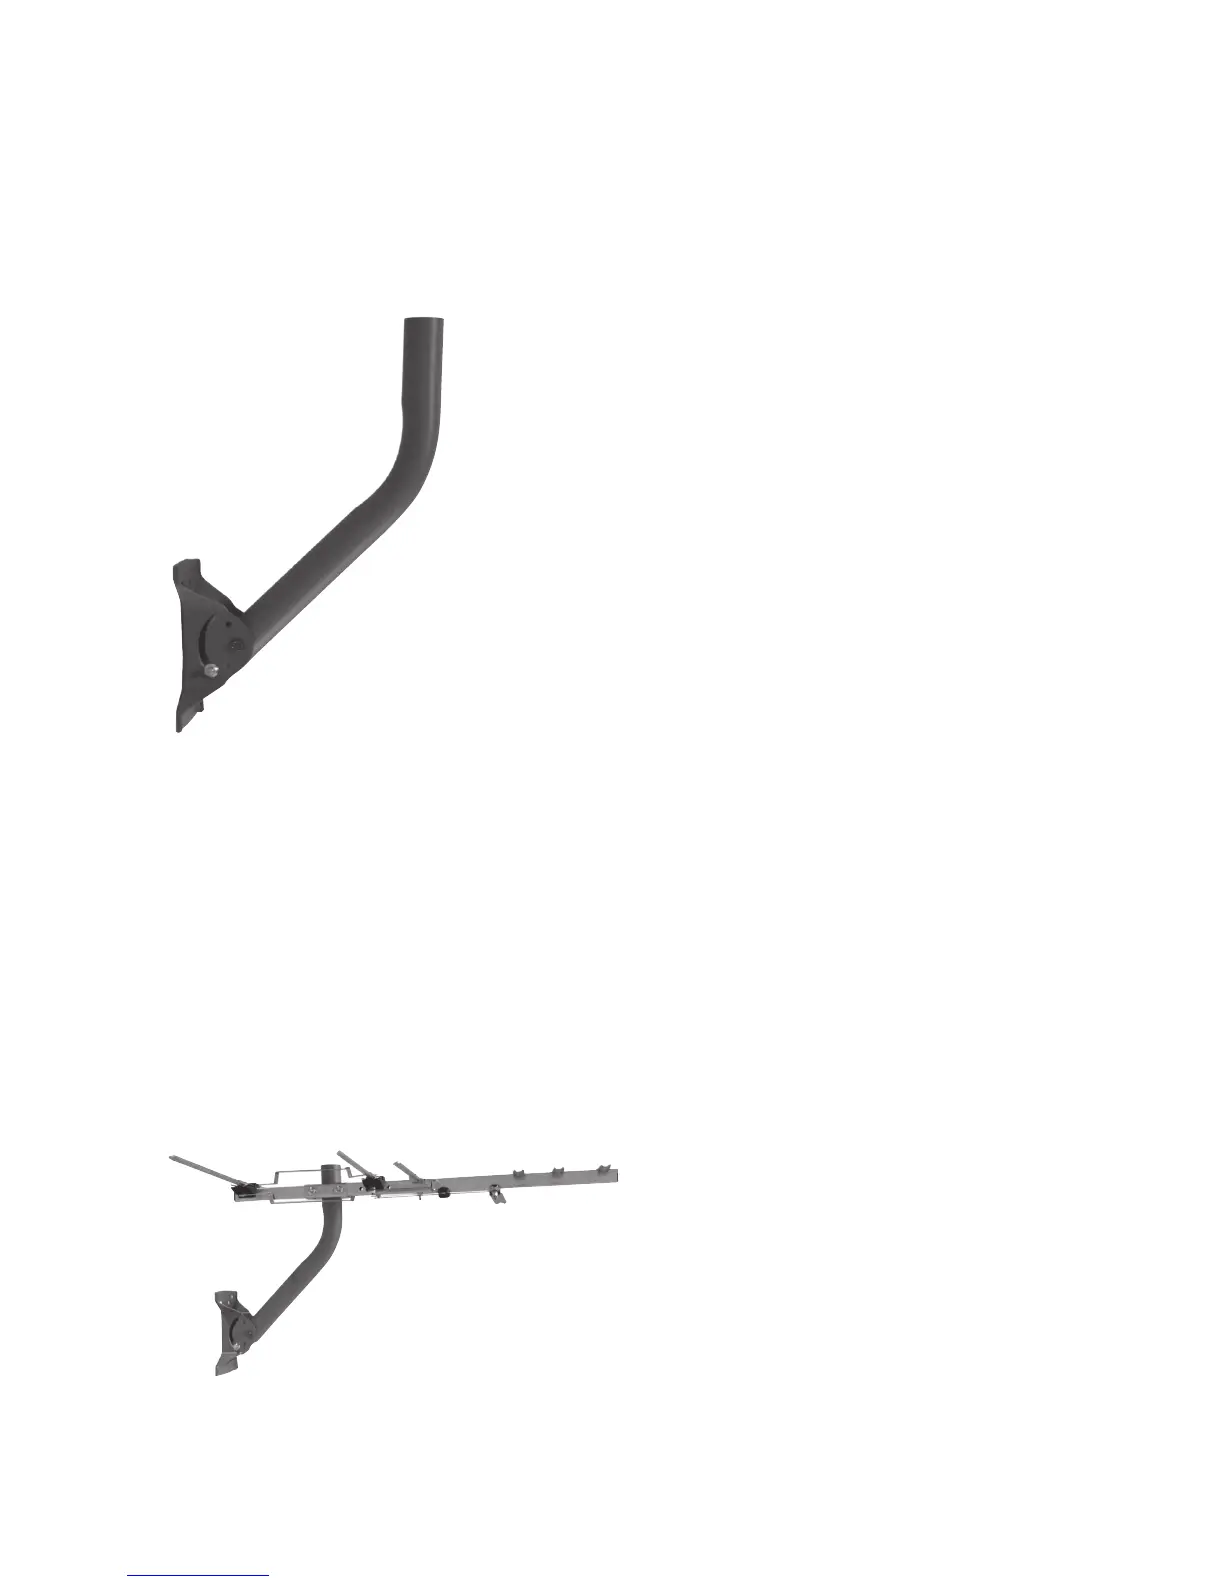
Step 8: Attach the mounting pipe to the foot
Find the end of the mounting pipe with holes on
the sides for screws. Insert this end into the middle
of the foot as shown here.
Then insert the 2 1/2” screw through the foot and
pipe as shown. Screw the 1/4” hex nut onto the
end of the screw to hold the pipe and foot together.
Don’t tighten the nut completely yet!
Find the square holes on either side of the bottom
of the pipe. Raise the pipe slightly and insert a
5/8” bolt through these holes and out the side of
the foot. Install the nuts on the outside of the foot
on the 5/8” bolts to hold the pipe in place. Don’t
tighten the nuts completely yet!
Step 9: Mount the foot and pipe
Secure the foot to its permanent location. Adjust the end of the pipe so that it’s
perpendicular to the ground. Tighten the hex nuts to hold the pipe in place.
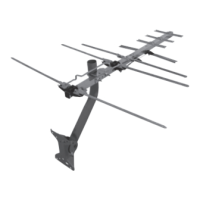
Step 10: Attach the antenna to the mast
IMPORTANT: Before you attach the antenna to your mast, visit RCAAntennas.net to
see the locations of your local broadcast towers. This information is crucial in pointing your
antenna correctly.
Loosen the nuts on the mounting
clamp U-bolt.
Slide the U-bolt over the mast. Point
the small end of the antenna toward
your local broadcast towers. Tighten
the mast clamp and nuts securely.
 Loading...