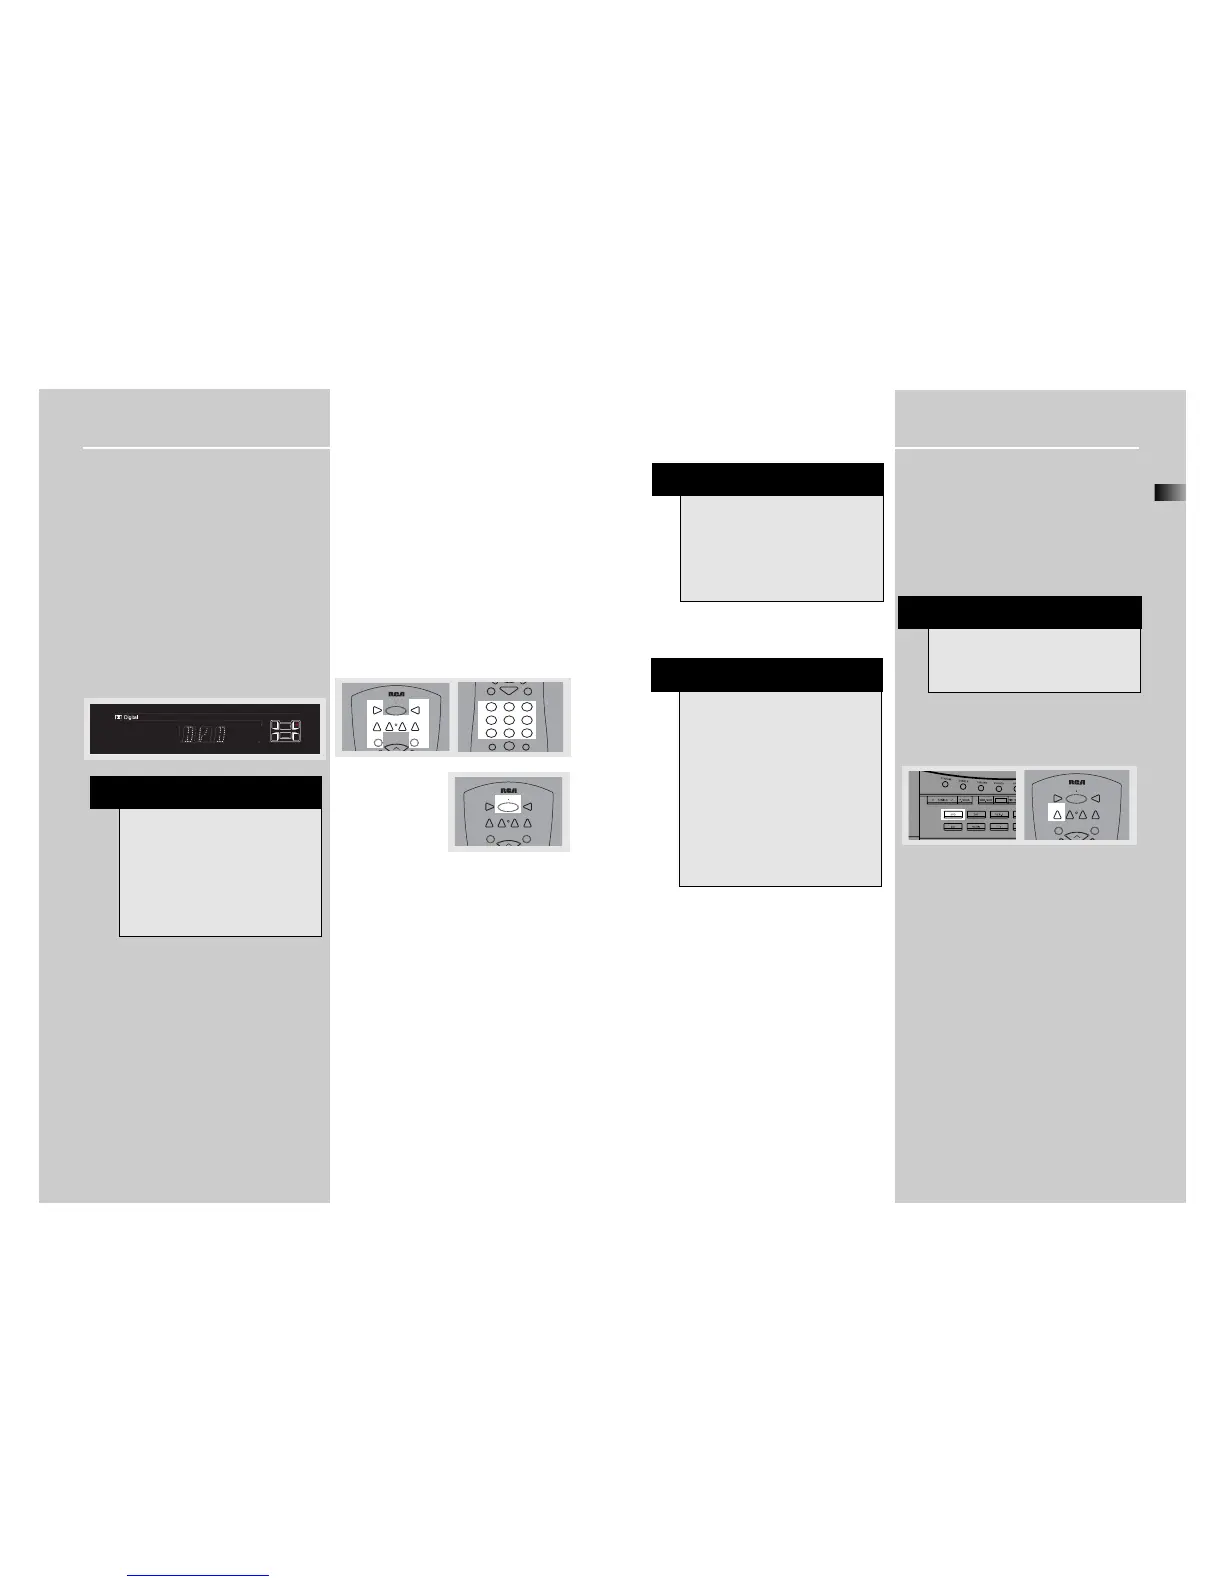
Operating your Receiver Operating your Receiver
EN
15
You can connect up to 7 audio/video sources to this
amplifier:
Source button Corresponding connector
(receiver front panel) (receiver back panel)
- DVD DVD IN (audio / video)
- SAT SAT IN (audio / video)
- VCR-1 VCR-1 IN (audio / video)
- VCR-2 VCR 2 IN (audio / video)
- CD CD IN (audio only)
- TV TV IN (audio only)
- TAPE TAPE IN (audio only)
- FM/AM built-in
When a source is selected, the source name will be
shown on the display.
Example: Press DVD to select DVD as the source to
the amplifier.
Using the Remote to Control Additional
Components
You can set your remote to control other components
(like CD, TV, DVD, TAPE, etc.). What you need is to
encode them in advance (not necessary for recent
RCA & Proscan models).
1. Turn on the component to be programmed.
2. Look up the brand and corresponding code num-
ber in the code list from page 24 to 26.
3. Press and hold the corresponding Source Button
(like VCR1, VCR2, TV, DVD) on the remote while
entering the code from the code list using the
Number Buttons.
4. Release the compo-
nent button, then press
ON•OFF to see if the
component will be
turned off.
5. If this does not work, repeat steps 3 and 4 by try-
ing to use the next code (if available) listed for the
brand of your component until the component
responds to the remote command.
NOTE
1. Your receiver has a built in tuner. Just con-
nect the appropriate antenna on the back of
the receiver and you will be able to listen to
radio stations. (See details in Tuner section)
2. Other sources can be connected to the
above standard source. Example: you can con-
nect a LD into the DVD inputs.
3. Refer to the "Connecting To Audio-Visual
Components" section for details on connec-
tion.
Using the receiver to play a source
After having properly connected a source (DVD, CD,
VCR) to the receiver, you can partly control them
through the receiver.
Playing a DVD with the receiver
1. Connect a DVD player to the receiver (see connect-
ing your receiver for details)
2. Press STANDBY/ON to switch on the receiver
3. Select the DVD source by pressing the DVD source
button
4. Switch ON the DVD player and start playback
5. Switch ON your TV
6. Select the appropriate A/V channel on the TV
(refer to your TV manual for details) until the image
from the DVD player is displayed
7. Set the sound Mode if needed (see "Advanced
sound control" for details)
Example 1:
To play 5.1 Dolby Digital surround sound
Press SURR. MODE button until "Dolby Digital"
appears on the Display and all of the speakers’
icons light up.
Example 2:
DVD: You may also need to select the Dolby Digital
5.1 on the DVD disc menu to have the digital sur-
round enabled providing that the disc is encoded
with Dolby Digital 5.1 (please refer to the DVD
player and DVD disc instruction)
NOTE
Once your remote is encoded, you can press
ON/OFF on the remote once to turn off the
component and then followed by the second
time quickly to turn off the receiver (i.e. this
unit). If you only want the receiver to be
turned off, select FM/ AM while the unit is ON
before pressing ON/OFF.
HINT
This remote may not operate all models of
the brands shown.
If batteries are removed from the battery
compartment of the remote control, all mem-
ory will be lost. You need to re-enter all
previously programmed codes again.
The buttons on the remote may not work
correspondingly with those on other brand
components. Experiment with the remote and
your components to see which buttons work.
If only a few functions operate, check to see if
another code set will work with more but-
tons.
NOTE
To play Dolby Digital sound, the source must be
connected to the receiver via the optical or
coaxial terminal (see "Digital Connection” on
page 5 for details)
 Loading...