GBGB
Unpack the inkpad carefully.
Squeeze the grips
on the back of the
inkpad and hold them.
Resting the back of the ink pad inside the
pad cradle slide the pad into the slot
of
the stamp.
In order to return to the print position,
simply push down on handle
.
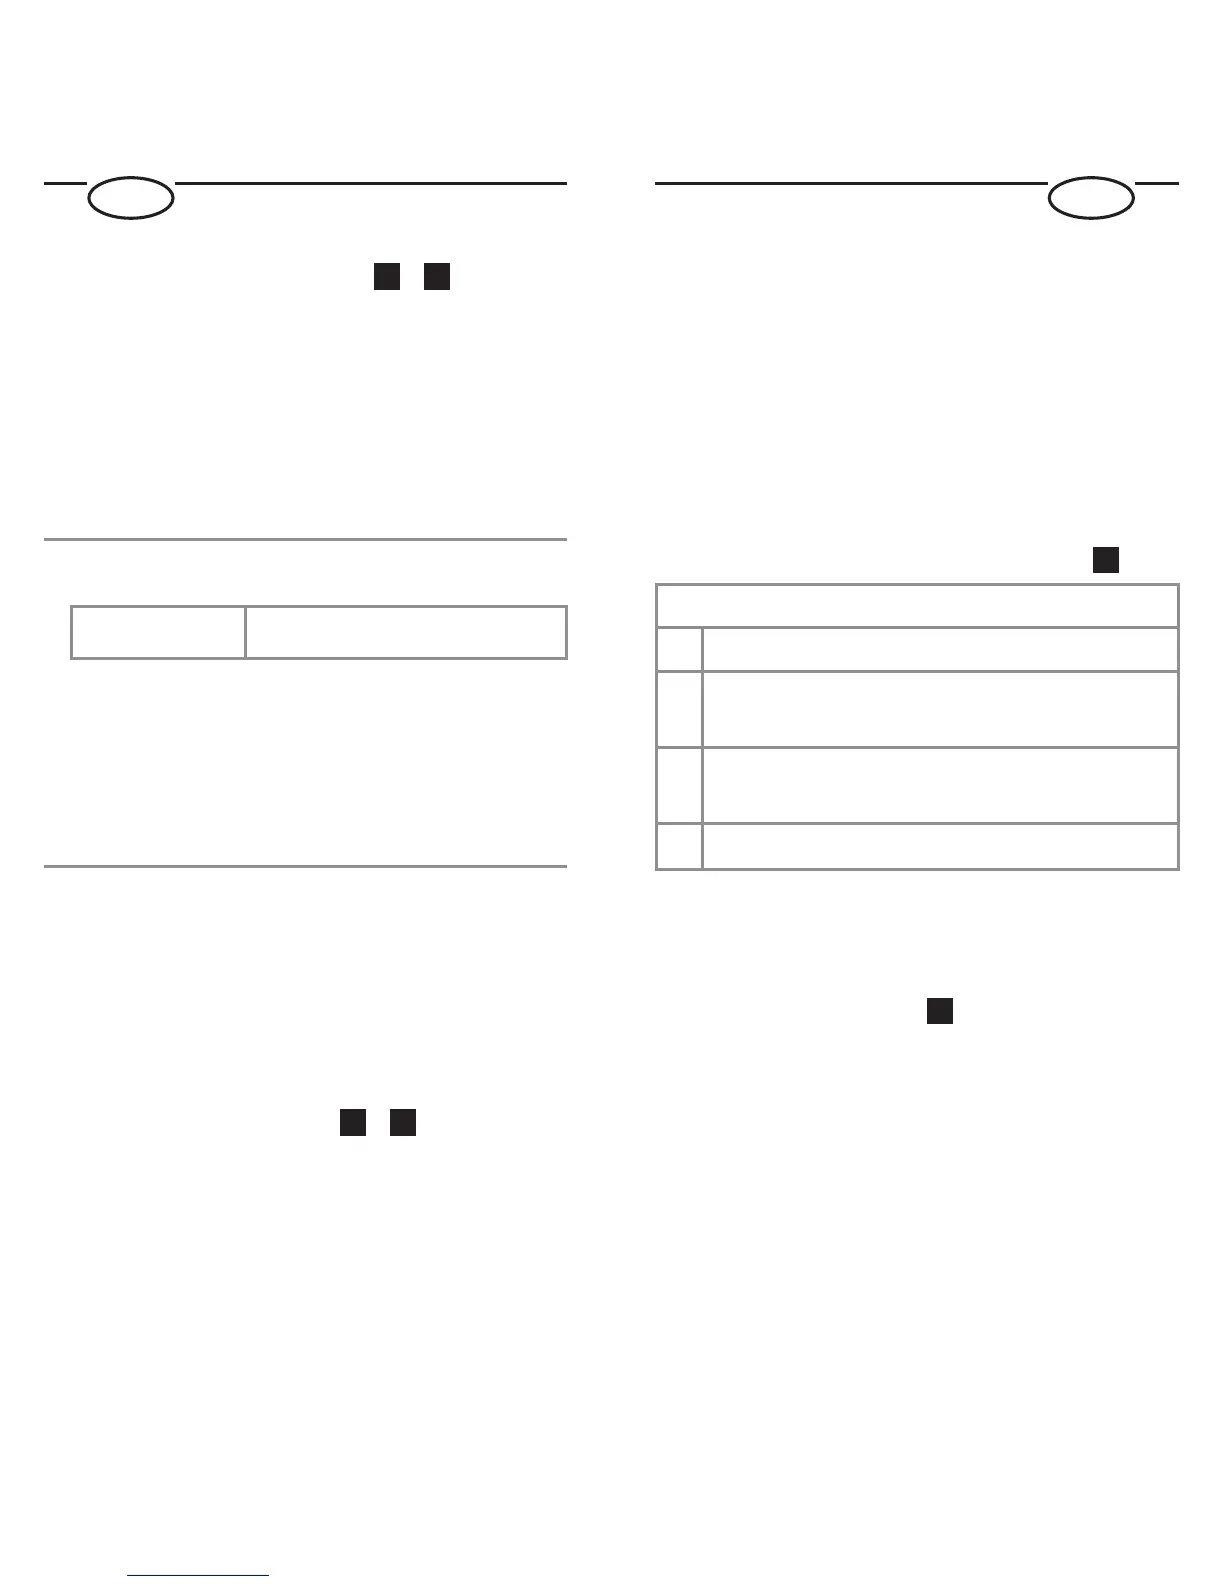
To change the numbering actions Fig.
4
Actions
0 The same number is stamped every time.
1 Number increases after each stamping
process.
2 Number increases after every 2
nd
stamping process.
etc.
Press the switch button
downwards and
place it at the desired interval.
To park the stamp Fig.
5
To prolong the life of the inkpad,
park the stamp!
Press and hold button
on the front plate.
Gently push handle
downwards until the
stamp clicks & locks in a raised position.
In order to return to the print position,
simply push down on handle
.
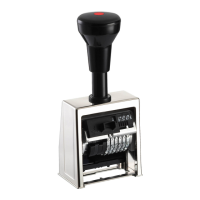
To set the stamp wheels Fig.
1
+
2
Press the handle
to the bottom of its
travel, then while still holding it.
Press and hold button
on the front plate.
Allow the handle
to move upwards until
the handle locks in place.
You will be able to move the stamp wheels
freely with the stylus
.
You can hide preceding zeros in a number!
Example: 49 instead of 000049
To do this move the stamp wheels
with
the adjusting pin
to the empty spaces
between “0” and “1”.
In order to return to the print position,
simply push down on handle
.
Any wheel which has been put in ‘non-print
position’ will automatically be brought into
play as the numbering sequence progresses.
Wheels in ‘non-print position’ can also be
brought into play by simply rotating them
further (ie. push towards figure 1.).
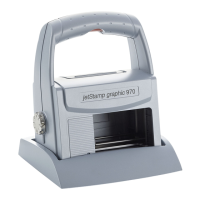
To insert the inkpad Fig.
1
+
3
Note: Use only oil-containing stamp ink. Handle
with caution to avoid dirt from ink!
Press the handle
to the bottom of its
travel, then while still holding it.
Press the button
on the front plate and
continue to hold it pressed.
Allow the handle
to move upwards until
the handle locks in place.
 Loading...