EcoNet
®
Smart Thermostat Quick Start Guide 8> Return to Table of Contents
1. Turn off power
WARNING: Turn off
power to HVAC system
at circuit breaker
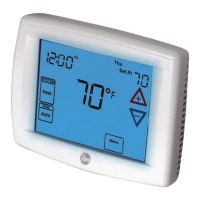
2. Place ferrite toroid
(if provided) around
thermostat wires and
nest in drywall
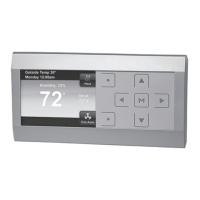
3. Secure the wall plate
Use the dry wall anchors and
screws provided.
QUICK START
GUIDE
E1
E2
C
R
R
E1
E2
S1
S2
C
R
E1
E2
C
OUTDOOR UNIT INDOOR UNIT OPTIONAL REMOTE
TEMPERATURE SENSOR
ECONET
SMART THERMOSTAT
R C S1 S2 E1 E2
QUICK START
GUIDE
E1
E2
C
R
R
E1
E2
S1
S2
C
R
E1
E2
C
OUTDOOR UNIT INDOOR UNIT OPTIONAL REMOTE
TEMPERATURE SENSOR
ECONET
SMART THERMOSTAT
R C S1 S2 E1 E2
Interior view of wall
Tip: Ensure the back plate
is straight by centering the
bubble on the built-in level.
4. Connect wires to the
thermostat terminal
Note the wire color used
for each terminal; it’s good
practice to use the same wire
color on identical termination
points on the indoor and
outdoor units.
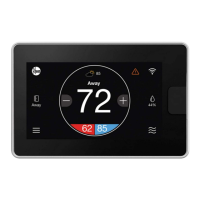
5. Attach display to
mounted wall plate
6. Turn power on
Power system back on
and let the EcoNet Smart
Thermostat auto configure
your equipment.
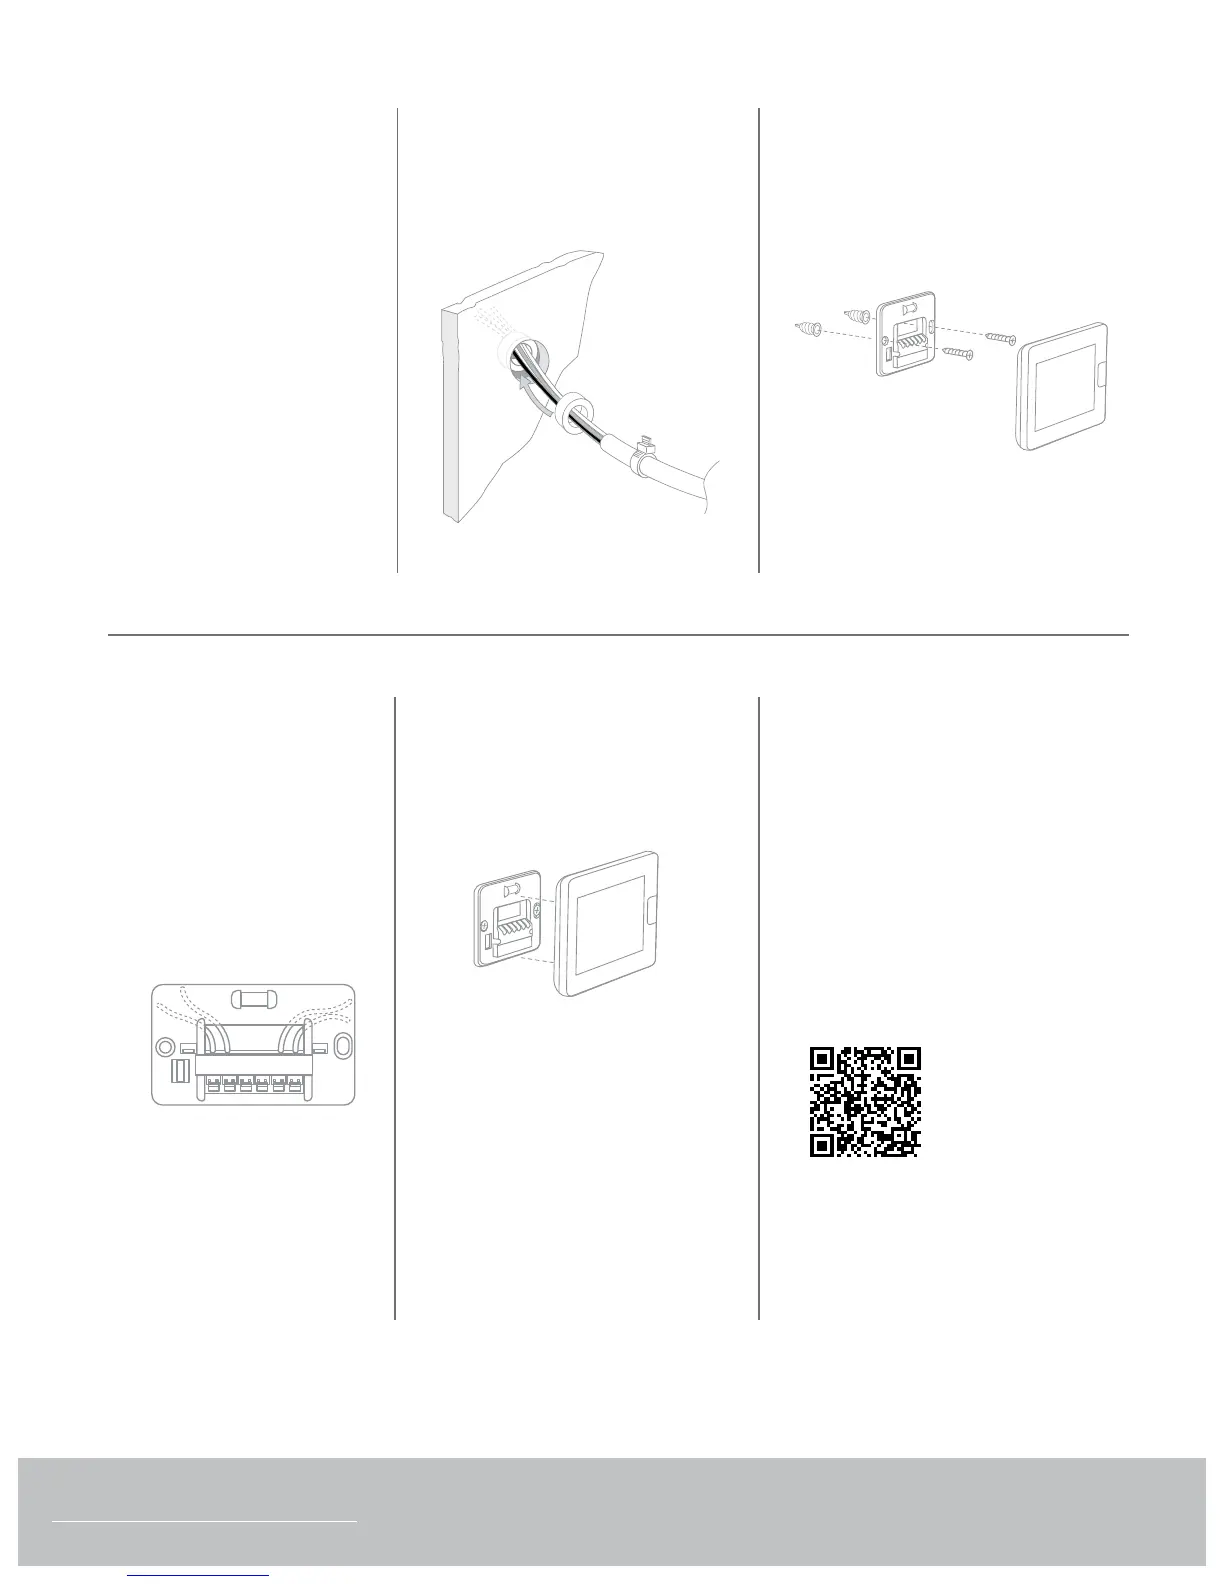
Full Instructions
RECOMMENDED: Scan the QR
code below using your mobile
device to view the full instructions.
QUICK START
GUIDE
E1
E2
C
R
R
E1
E2
S1
S2
C
R
E1
E2
C
OUTDOOR UNIT INDOOR UNIT OPTIONAL REMOTE
TEMPERATURE SENSOR
ECONET
SMART THERMOSTAT
R C S1 S2 E1 E2
QUICK START
GUIDE
E1
E2
C
R
R
E1
E2
S1
S2
C
R
E1
E2
C
OUTDOOR UNIT INDOOR UNIT OPTIONAL REMOTE
TEMPERATURE SENSOR
ECONET
SMART THERMOSTAT
R C S1 S2 E1 E2
Tip: When installed correctly,
the release lever of the
terminal block will lower to
indicate engagement.
 Loading...