06
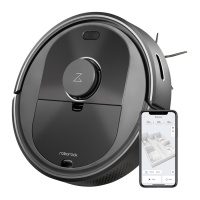
A2
Robot (Bottom View)
A2-1—Wall Sensor
A2-2—Cli Sensors
A2-3—Omni-Directional Wheel
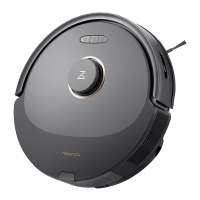
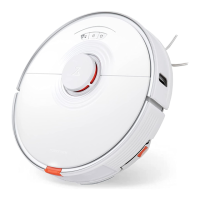
A1-1—Bumper
A1-2—LiDAR Sensor
A1-3—Vertical Bumper
A1-4—Dustbin
A1-5—Dock Locator
Product Overview
A
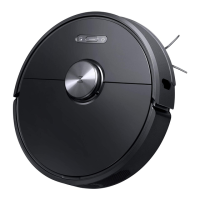
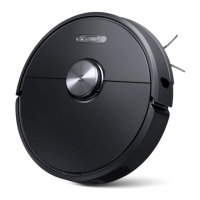
A1
Robot (Top View)
•
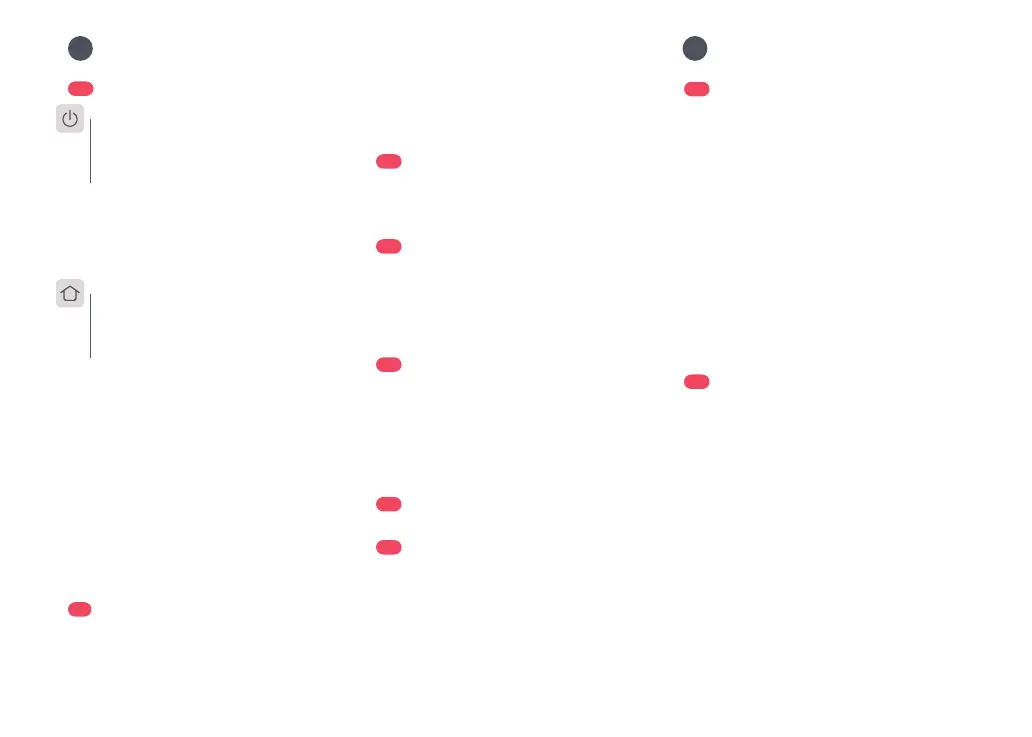
Press and hold to turn the robot on or o
•
Press to start cleaning
—Power/Clean
•
White: Battery level
≥
20%
•
Red: Battery level < 20%
•
Pulsing: Charging or starting up
•
Flashing red: Error
—Power Indicator
Note: Press any button to stop the robot during cleaning or docking.
A2-4—Charging Contacts
A2-5—Side Brush
A2-6—Main Wheel
A2-7—Main Brush
A2-8—Main Brush Cover Latches
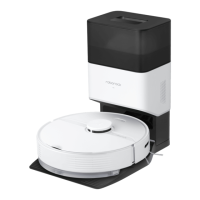
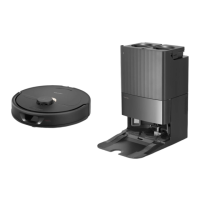
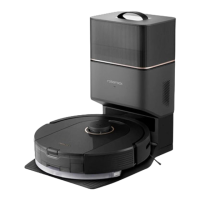
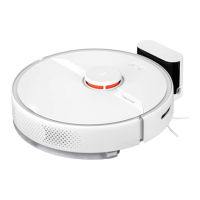
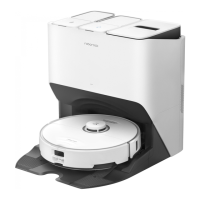
A5
Docking Station
A6
Main Brush Cleaning Tool
A7
Power Supply
A5-1—Power Indicator
A5-2—Dock Location Beacon
A5-3—Charging Contacts
A5-4—Power Socket
A5-5—Electrode Brushes
A3
Robot (Dustbin Removed)
A3-1—Air Inlets
A3-2—Reset Button
A4
Dustbin
A4-1—Air Inlets
A4-2—Dustbin Latches
A4-3—Washable Filter
A4-4—Filter Latch
Installation
B
B1
Important Information
B1-1—Tidy cables and loose items from the
ground and move any unstable, fragile,
precious, or dangerous items to prevent
personal injury or property damage due
to items becoming tangled in, struck by,
or knocked over by the robot.
Note: When using the robot for the first time, follow it
throughout its whole cleaning route and watch for potential
problems. The robot will be able to clean by itself in future uses.
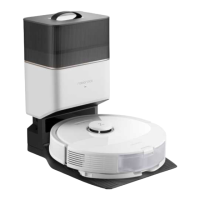
B2
Position the docking station
B1-2—When using the robot in a raised area,
always use a secure physical barrier to
prevent accidental falls that may result in
personal injury or property damage.
•
Allow at least 0.5m (1.6ft) of clearance on each side, and
more than 1.5m (4.9ft) in front of the docking station.
•
If the power cable hangs vertical to the ground, it may be
caught by the robot, causing the docking station to be
disconnected.
•
The docking station indicator is on when the docking station
is electried, and o when the robot is charging.
Notes:
Keep the docking station on a level surface,
at against a wall. Connect the power cable
to the docking station and tidy cables from
the oor. To ensure a better user experience
of the mobile app, place the docking station
in an area with good WiFi coverage.
B2-1 More than 0.5m (1.6ft)
B2-2 More than 1.5m (4.9ft)
•
Flashing blue slowly: Waiting for
connection
•
Flashing blue quickly: Connecting
•
Steady blue for ve seconds: WiFi
connected
•
Press to return to dock
•
Press and hold to start spot cleaning
—WiFi Indicator Light
—Dock/Spot Clean
 Loading...