9
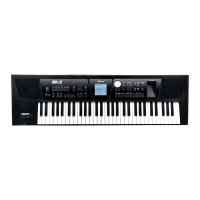
Style parameter
On this screen, you can select a different arpeggio—
referred to as a “style”—or even create your own.
5. If the Style parameter isn’t highlighted, press
5 until it is.
6. Hold down some notes on the keyboard with one hand.
7. While you’re holding down the notes, turn the VALUE dial
to select different arpeggio styles. Listen to how they can
do many different things with the same notes.
8. For even more fun, set the Motif parameter to Phrase, hold
down some notes, and try out some more styles—Phrase
can do very interesting things with the notes you play.
9. When you’re done experimenting, press ARPEGGIO once
more to turn off the arpeggiator.
The arpeggiator uses the same tempo as the Fantom-Xa rhythm patterns
and sequencer, so when you use the sequencer, rhythms and the arpeggiator
together, they stay perfectly in time with each other.
Skip Back Sampling
As you probably know, the Fantom-Xa contains a powerful
sampler. What you may not know is that it’s always listening to
what you do on the Fantom-Xa.
This means that when you’ve just played something unexpected
and great, the Fantom-Xa’s powerful Skip Back Sampling can
easily retrieve it for you as a new sample.
1. Select a patch you’d like to play.
2. Play anything you like on the keyboard, for about five
seconds.
3. Press the blue SKIP BACK button.
If the SKIP BACK button isn’t lit, you don’t have enough
free sample memory available for Skip Back Sampling.
See “If the SKIP BACK Button Isn’t Lit” on Page 10 in this
booklet.
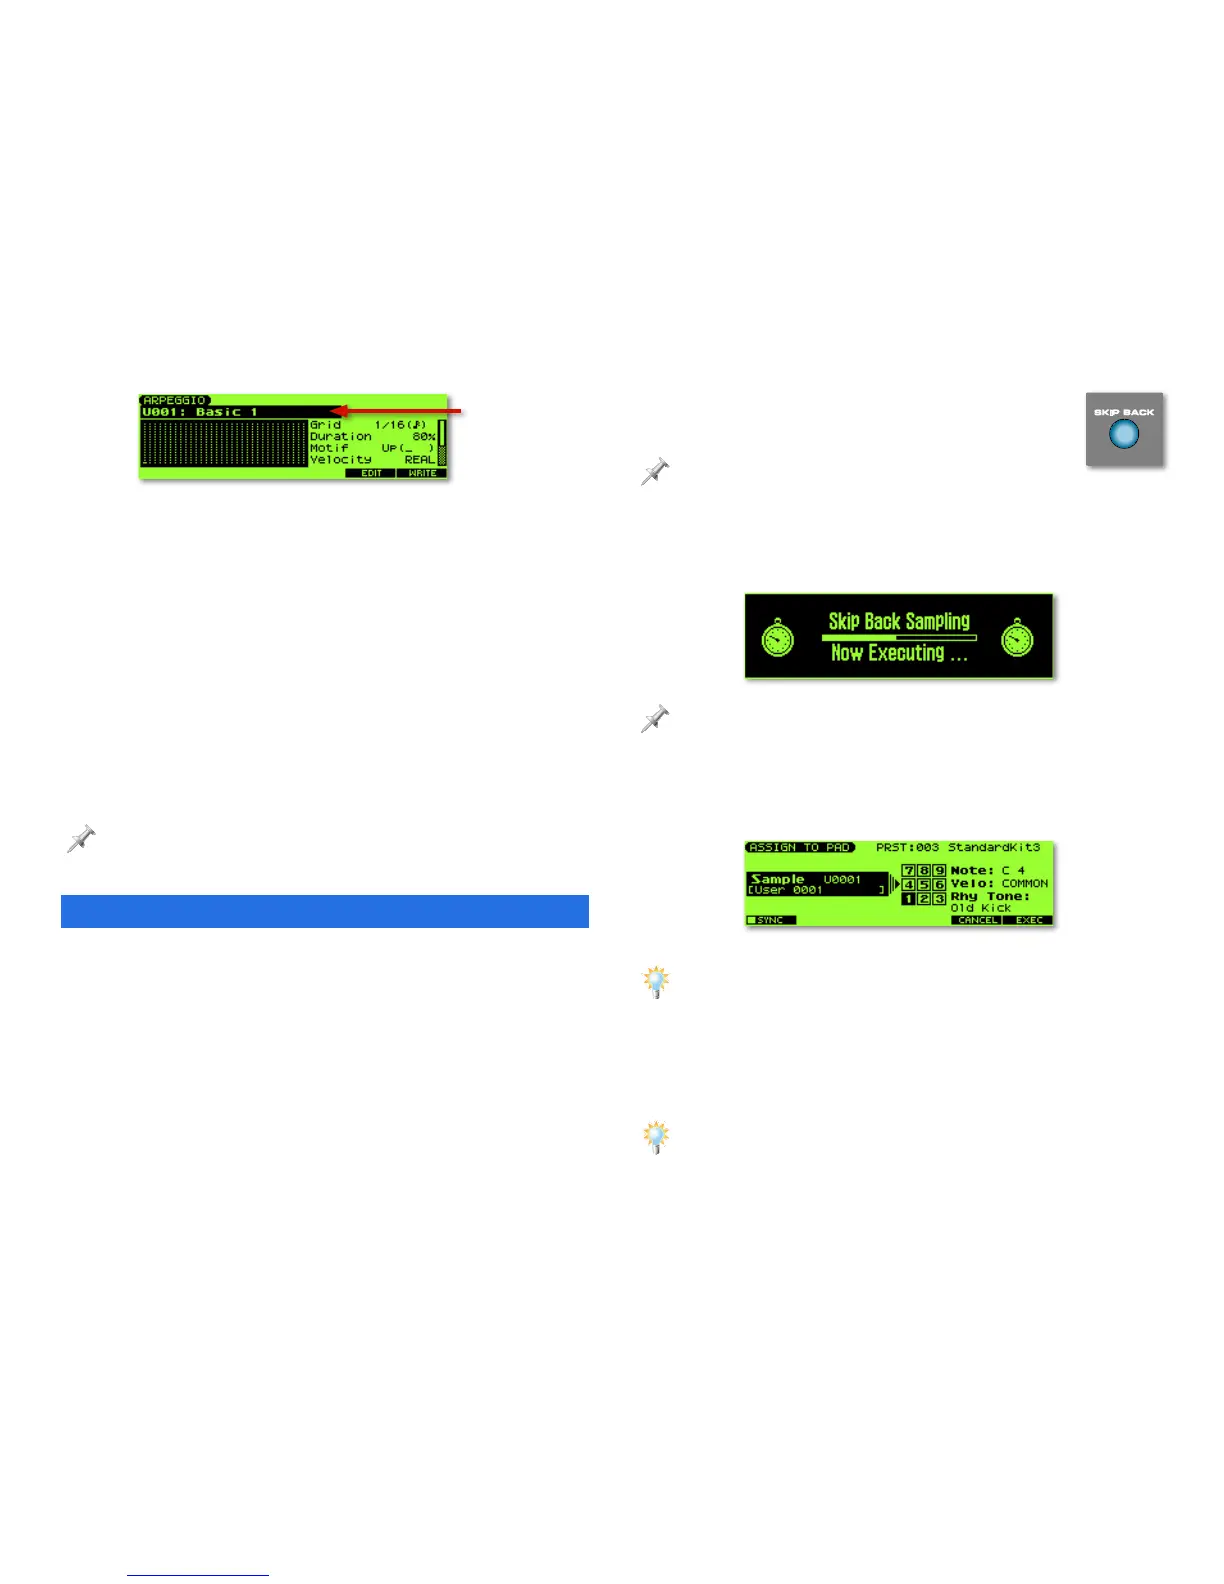
The Fantom-Xa goes back in time and creates a new
sample from the last five seconds of your playing.
Skip Back Sampling can be pre-set to grab anywhere from the last five to
40 seconds of music. Five seconds is the default setting.
4. When the Fantom-Xa has captured your sample, it displays
the ASSIGN TO PAD screen on which you can select a pad
for playing the newly captured sample.
If you know the sample’s tempo, you can automatically keep the sample
in time with rhythms, arpeggios and the sequencer. To do this, press F1
(SYNC) so it’s checkmarked.
5. You can select any pad from 1-9 by striking it or by pressing
3, 4, 5, or 6 to highlight the pad onscreen—the
currently selected pad turns black on the display.
Strike a pad to preview what’s currently assigned to it—this’ll help you
quickly find the pad you want to use.

 Loading...