NederlandsPortuguêsEspañolItalianoFrançaisDeutschEnglish
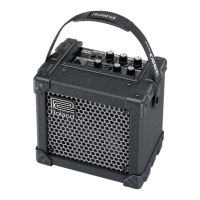
Panel Descriptions
7
5 [EFX] knob
Turn this knob to select the eect. Turn the knob to adjust
the amount of eect applied.
* Graduations for each eect on a panel are for reference. Be
sure to check the sound as you adjust the eects.
Eect Explanation
CHORUS
In this eect, a slightly detuned sound is added
to the original sound, giving the sound greater
breadth and fullness.
FLANGER
This creates a anging eect that creates a sort of
spinning sensation with the sound.
PHASER
This eect adds a variable phase-shifted signal
to the direct sound, giving the sound a swirling
character.
TREMOLO
Tremolo is an eect that creates a cyclic change
in volume.
HEAVY
OCTAVE
This adds sound lowered by an octave to the
original sound. Since you can play chords even
when using this eect, you can use it to fatten the
sound of your chordal playing as well.
6 [DELAY/REVERB] knob
Turn this knob to DELAY or REVERB to switch to that eect.
Turn the knob to adjust the amount of eect applied.
* Graduations for each eect on a panel are for reference. Be
sure to check the sound as you adjust the eects.
Eect Explanation
DELAY
Turn the knob to change the time and amount of
delay eect.
REVERB Turn the knob to adjust the reverb level.
SPRING
This is modeled on spring reverb. It produces the
distinctive reverberations of a spring.
7 [GAIN] knob
Adjusts the amount of distortion and the input level.
8 [VOLUME] knob
Adjusts the volume of your electric guitar or microphone.
9 [TONE] knob
This adjusts the tone. Turn the knob clockwise for
a brighter tone; to get a milder tone, turn the knob
counterclockwise.
10 [MASTER] knob
Adjusts the overall volume.
11 [TUNER] button
Use this when you want to tune your guitar.
For details, refer to “Using the Tuner Function” (p. 9).
12 [POWER] switch
Turns the power on and o (p. 8). The power indicator will
light when you turn on the power.
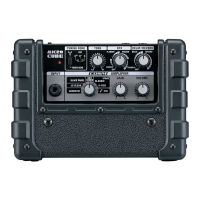
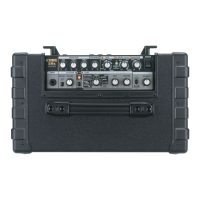
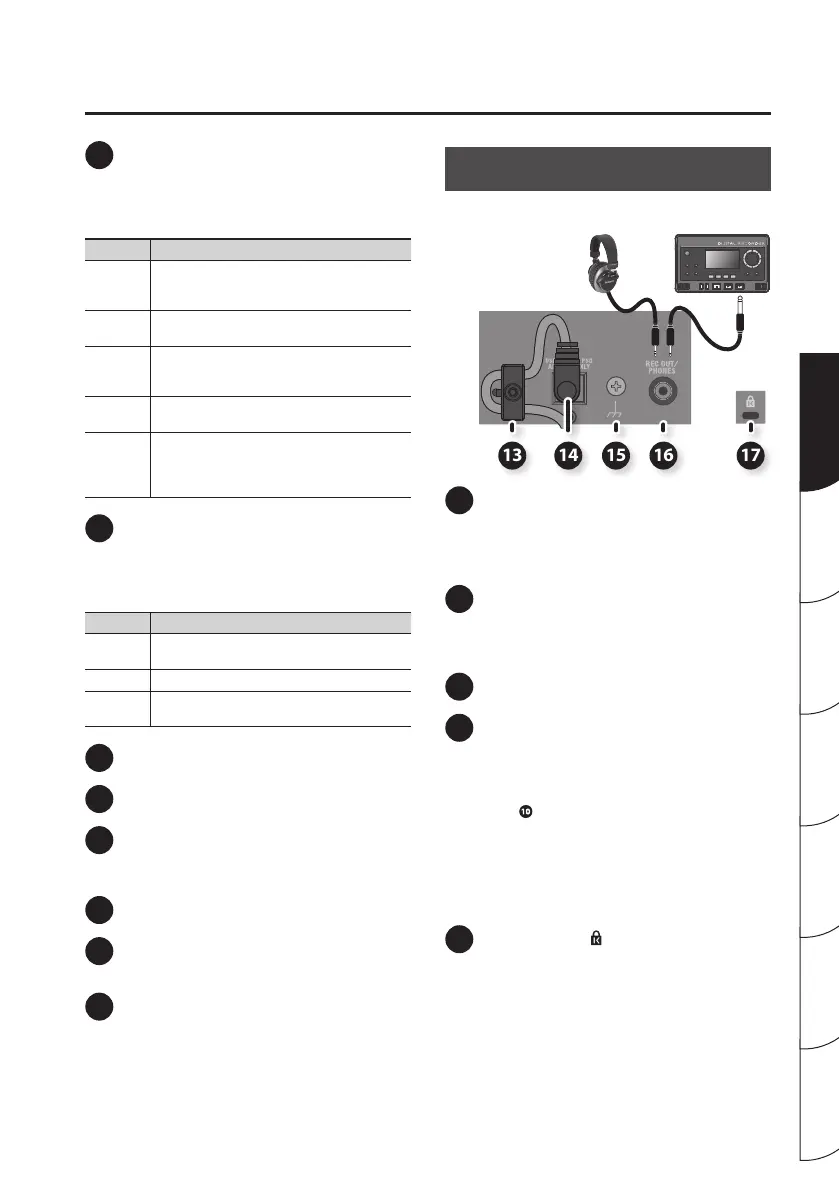
Rear Panel
13 14 15 16 17
Headphones Recorder
13 Cord hook
To prevent the inadvertent disruption of power to your
unit (should the plug be pulled out accidentally), and to
avoid applying undue stress to the DC IN jack, anchor
the power cord using the cord hook, as shown in the
illustration.
14 DC IN jack
Connect the included AC adopter to this jack.
* Use only the AC adaptor included with the
MICRO CUBE GX. Use of other AC adaptors may damage
the amp or result in other problems.
15 Ground terminal
For details, refer to”Ground terminal” (p. 11).
16 REC OUT/PHONES jack
REC OUT
Connect a recorder, when recording the MICRO CUBE GX’s
output. Use mono miniature phone plugs when
connecting to this jack.
Use the [MASTER] knob to adjust the volume of the
signal output from REC OUT to the appropriate level.
PHONES
Connect headphones to this jack.
* The sound is output in mono.
* No sound is played through the unit’s speaker while the
REC OUT/PHONES jack is in use.
17 Security slot ( )
http://www.kensington.com/
 Loading...