EasyManuals Logo
Home>Ryobi>Trimmer>825r

Ryobi 825r User Manual

Ryobi 825r
30 pages
To Next Page IconTo Next Page
To Previous Page IconTo Previous Page
Page #9 background imageLoading...
Page #9 background image
ASSEMBLY INSTRUCTIONS
9
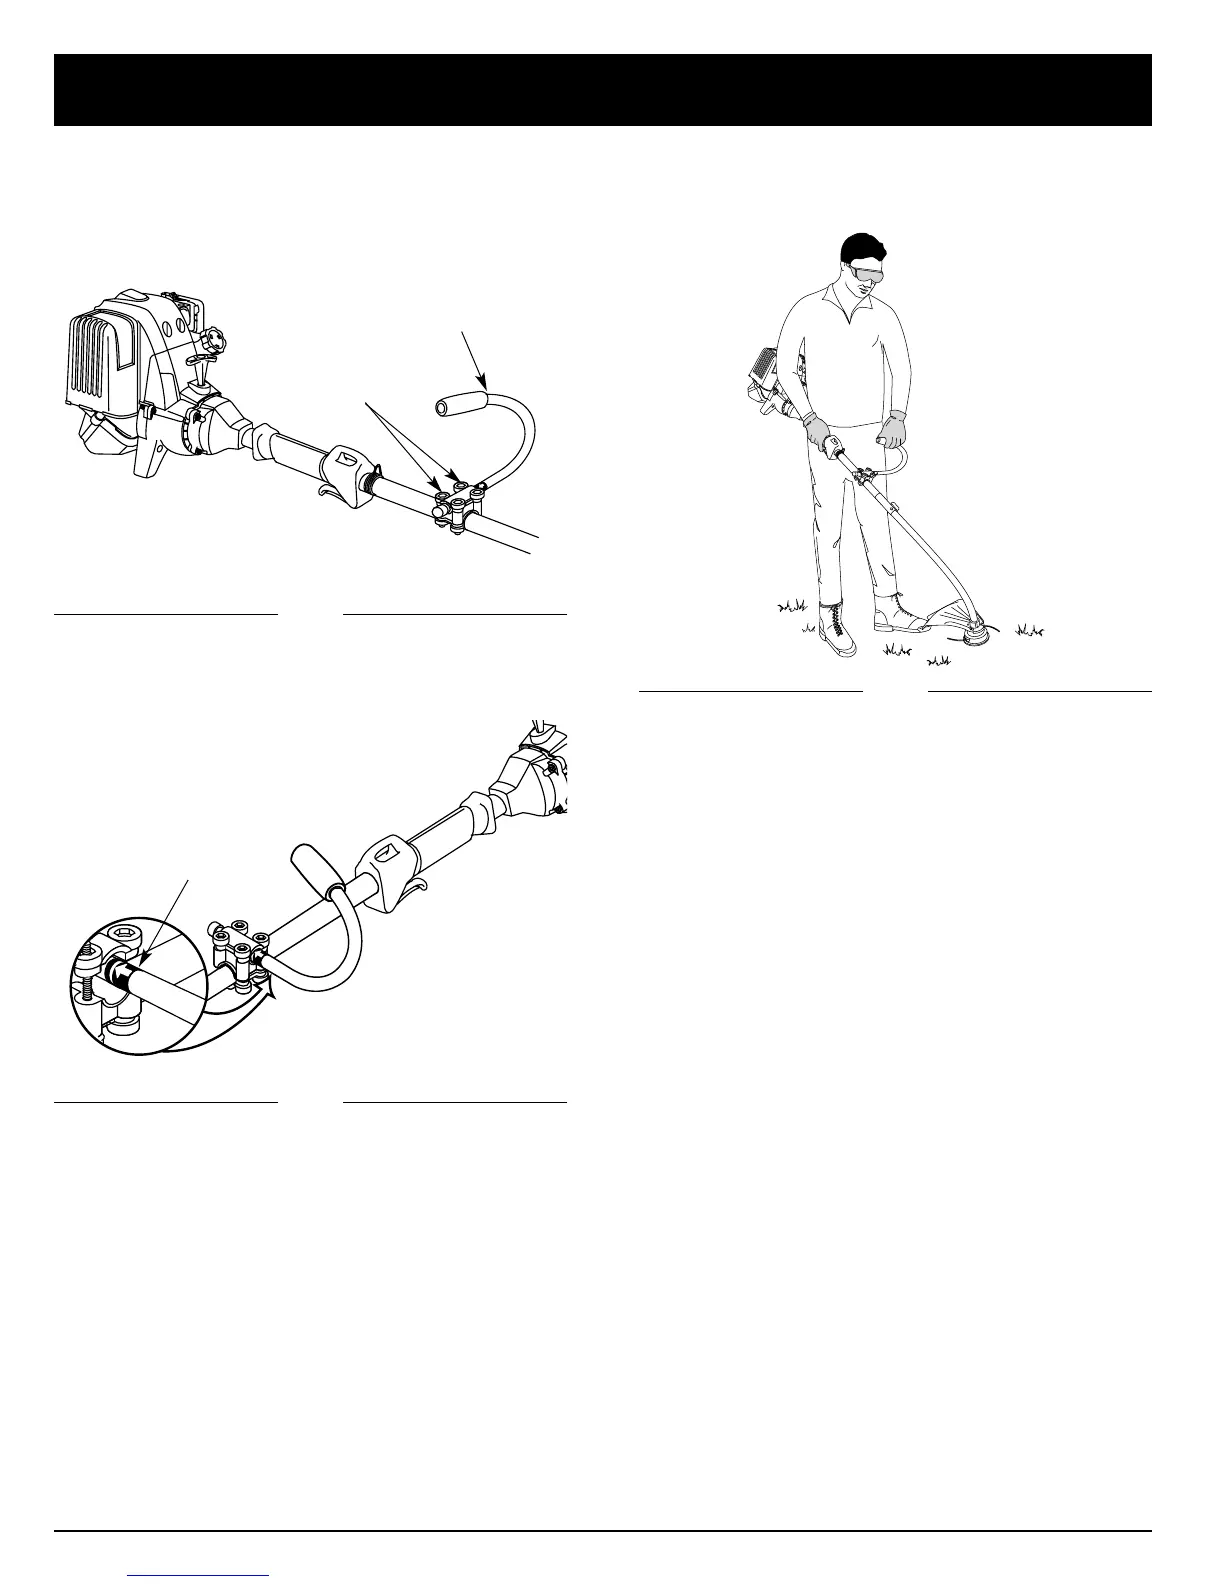
4. Tighten the clamp screws evenly, until the J-handle
is secure.
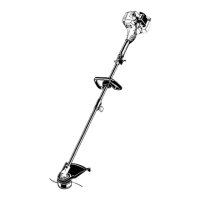
3. While holding the unit in the operating position
(Fig. 3), position the J-handle to the location
that provides you the best grip.
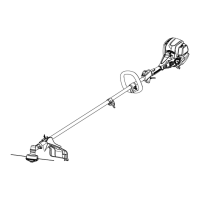
Decal
ADJUSTING THE J-HANDLE
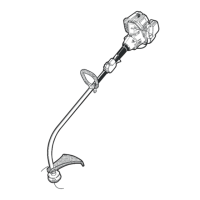
1. Loosen the four (4) screws holding the J-handle in
place (Fig. 1). Do not completely remove the screws.
(4) Screws
J-Handle
2. Slide the J-handle in or out until the arrow/white line
on the decal touches the clamp assembly (Fig. 2).
Fig. 1
Fig. 2
Fig. 3

Other manuals for Ryobi 825r

Questions and Answers:

Question and Answer IconNeed help?

Do you have a question about the Ryobi 825r and is the answer not in the manual?

Ryobi 825r Specifications

General IconGeneral
BrandRyobi
Model825r
CategoryTrimmer
LanguageEnglish

Related product manuals