EasyManua.ls Logo

Ryobi P118B User Manual

Ryobi P118B
82 pages
To Next Page IconTo Next Page
To Previous Page IconTo Previous Page
Page #73 background imageLoading...
Page #73 background image
9 - English
ANGLE CUTTING (BEVEL CUTTING)
See Figures 11-12, page 12.
Bevel cutting angles may be adjusted from 0° to 45° right
or left. Angles for cuts from 0° to 45° in 15° increments are
marked on a scale on both the left and right side of the base.
Notches on the underside of the base provide positive stops
at each of the above mentioned 15° increments. A protractor
is recommended when accurate cuts are required.
Remove the battery pack.
Remove the hex key from the storage compartment.
Loosen the two base pivot screws until the base can be
moved.
NOTE: Do not completely remove screws.
Slide the base backward until the base can move freely
left and right.
OPERATION
Align the pointer on the housing with the desired angle
indicated on the scale on the saw base.
Once the desired angle is reached, slide base forward until
the tab on the motor housing aligns with the appropriate
notch on the underside of the base.
NOTE: When making a set-up for accurate cuts with
a protractor, or for angles other than the preset 15°
increments, the positive stop notches on the underside
of the base are not used.
Tighten the base pivot screws securely.
Return the hex key to the storage compartment.
Reinstall the battery pack.
ACCESSORIES
Look for these accessories where you purchased this product or call 1-800-525-2579:
Edge Guide Kit .................................................................................................................................................202936001
WARNING:
Current attachments and accessories available for use with this product are listed above. Do not use any attachments
or accessories not recommended by the manufacturer of this product. The use of attachments or accessories not
recommended can result in serious personal injury.
WARNING:
When servicing, use only identical replacement parts.
Use of any other parts could create a hazard or cause
product damage.
MAINTENANCE
GENERAL MAINTENANCE
Avoid using solvents when cleaning plastic parts. Most
plastics are susceptible to damage from various types of
commercial solvents and may be damaged by their use. Use
clean cloths to remove dirt, dust, oil, grease, etc.
NOTE: ILLUSTRATIONS START ON PAGE 10
AFTER FRENCH AND SPANISH LANGUAGE SECTIONS.
Question and Answer IconNeed help?

Do you have a question about the Ryobi P118B and is the answer not in the manual?

Ryobi P118B Specifications

General IconGeneral
BrandRyobi
ModelP118B
CategoryBattery Charger
LanguageEnglish

Summary

Safety Rules for Charger

Charge Only One Lithium-Ion Battery

Charge only one lithium-ion battery; other types may burst.

Do Not Use Charger Outdoors

Do not use charger outdoors or expose to wet/damp conditions.

Do Not Charge a Wet Battery

Do not charge a wet battery or one exposed to liquids.

Use Only Recommended Attachments

Use only manufacturer-recommended attachments to avoid hazards.

Avoid Damp Charging Locations

Do not charge in damp locations; observe temperature limits.

Do Not Abuse Cord or Charger

Do not abuse cord, pull by cord, or use damaged cord.

Avoid Electric Shock from Connector

Avoid touching uninsulated output connector or battery terminals.

Important Safety Instructions

Save and Follow All Safety Instructions

Save and carefully follow all safety instructions to reduce fire/shock risk.

Read All Instructions Before Use

Read all instructions on charger, battery, and product before use.

Charge Only Lithium-Ion Batteries

Charge only lithium-ion batteries; other types may burst.

Symbols

Signal Word Meanings

Explains signal words (DANGER, WARNING, CAUTION, NOTICE) and their meanings.

Product Symbol Explanations

Explains symbols used on the product for safe operation.

Assembly

Do Not Use If Not Fully Assembled

Do not use if not fully assembled or if parts are missing/damaged.

Do Not Modify Product or Use Unrecommended Accessories

Do not modify product or use unrecommended accessories; misuse is hazardous.

Contact Support for Damaged or Missing Parts

Contact support if parts are damaged or missing.

Operation

Applications

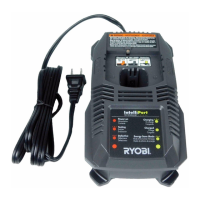
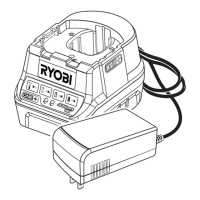
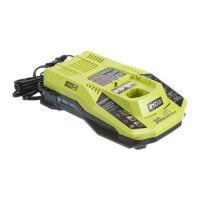
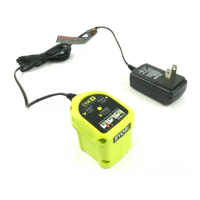
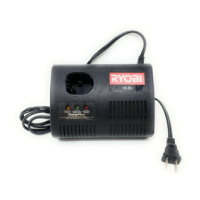
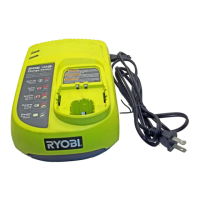
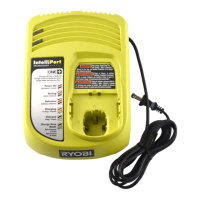
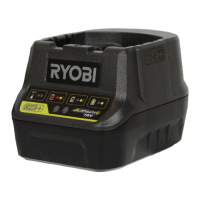
Lists applications: Charging Ryobi 18V Li-ion battery packs.

Key Hole Hanger

Instructions for mounting the charger using the key hole feature.

Charging

Battery packs need charging before first use; return for check if not charging.

Charging a Hot Battery Pack

Hot battery packs must cool before charging begins.

Operation (Continued)

LED Function of Charger

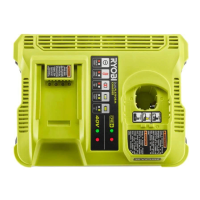
Table detailing charger LED indicators and battery pack status.

Maintenance Instructions

Use only identical replacement parts during servicing to avoid hazards.

General Maintenance

Avoid solvents; use clean cloths for cleaning plastic parts.

Storage Guidelines

Store battery pack properly when not in use.

Service and Support

Immediate Service for Damaged Parts

Call for immediate service if parts or accessories are damaged or missing.

Obtain Model and Serial Number for Service

Obtain model and serial number from product data plate for service.

3-Year Limited Warranty Information

Product is covered under a 3-year limited warranty; proof of purchase is required.

Related product manuals