www.scheppach.com
GB
|
25
7. Before starting the equipment
• Open the packaging and remove the device care-
• Remove the packaging material as well as the
•
•
damage.
•
ATTENTION
The device and packaging materials are not toys!
Children must not be allowed to play with plas-
tic bags, lm and small parts! There is a risk of
swallowing and suocation!
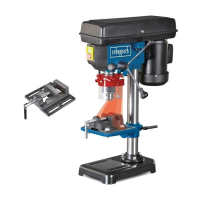
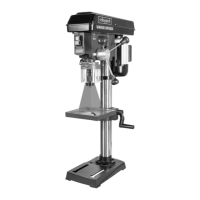
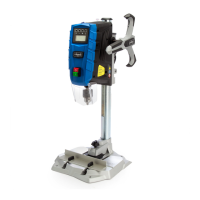
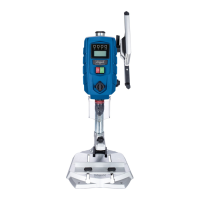
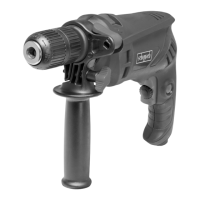
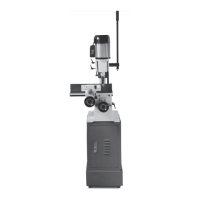
8. Montage
Column and machine foot (Fig. 3)
1.
the workbench.
2.
3. -
umn into the base plate and tighten them using a
Table and pillar (Fig. 4)
1. -
2.
the left side and tighten it.
Machine head and pillar (Fig. 5)
1.
2. Put the spindle of the drilling machine with the ta-
ble and the base plate in the cover and fasten the
Drill chuck protection with depth stop (Fig. 6)
1.
2.
3.
4.
5.
6.
Feed handles to the shaft hub (Fig. 7)
1. -
ed holes in the hub.
Installing the chuck (Fig. 8)
1.
spindle cone with a clean piece of fabric. Make
sure there are no foreign particles sticking to the
these surfaces will prevent the chuck from seating
cleaning solvent on the clean cloth.
2. Push the chuck up on the spindle nose as far as
it wiII go.
3.
4. Place a piece of wood on the machine table and
lower the spindle onto the piece of wood. Press
Installing laser module (Fig. 15, 16)
Make sure the plastic pin on the laser module sits in
the hole without thread.
Fastening radial drill press to supporting surface
-
Warning:
9. Operation
Warning:
-
erational instruction before attempting to operate this
product.
Pivoting the table (Fig. 10)
1. -
table angle.
2. Re-tighten the table locking.
Adjusting table height (Fig. 11)
1.
2.
3.
4. Note: It is better to lock the table to the column in
a position so that the tip of the drill bit is just slight-
 Loading...