7
SR80/185T - SR100/185T 1.0.0 - 2009
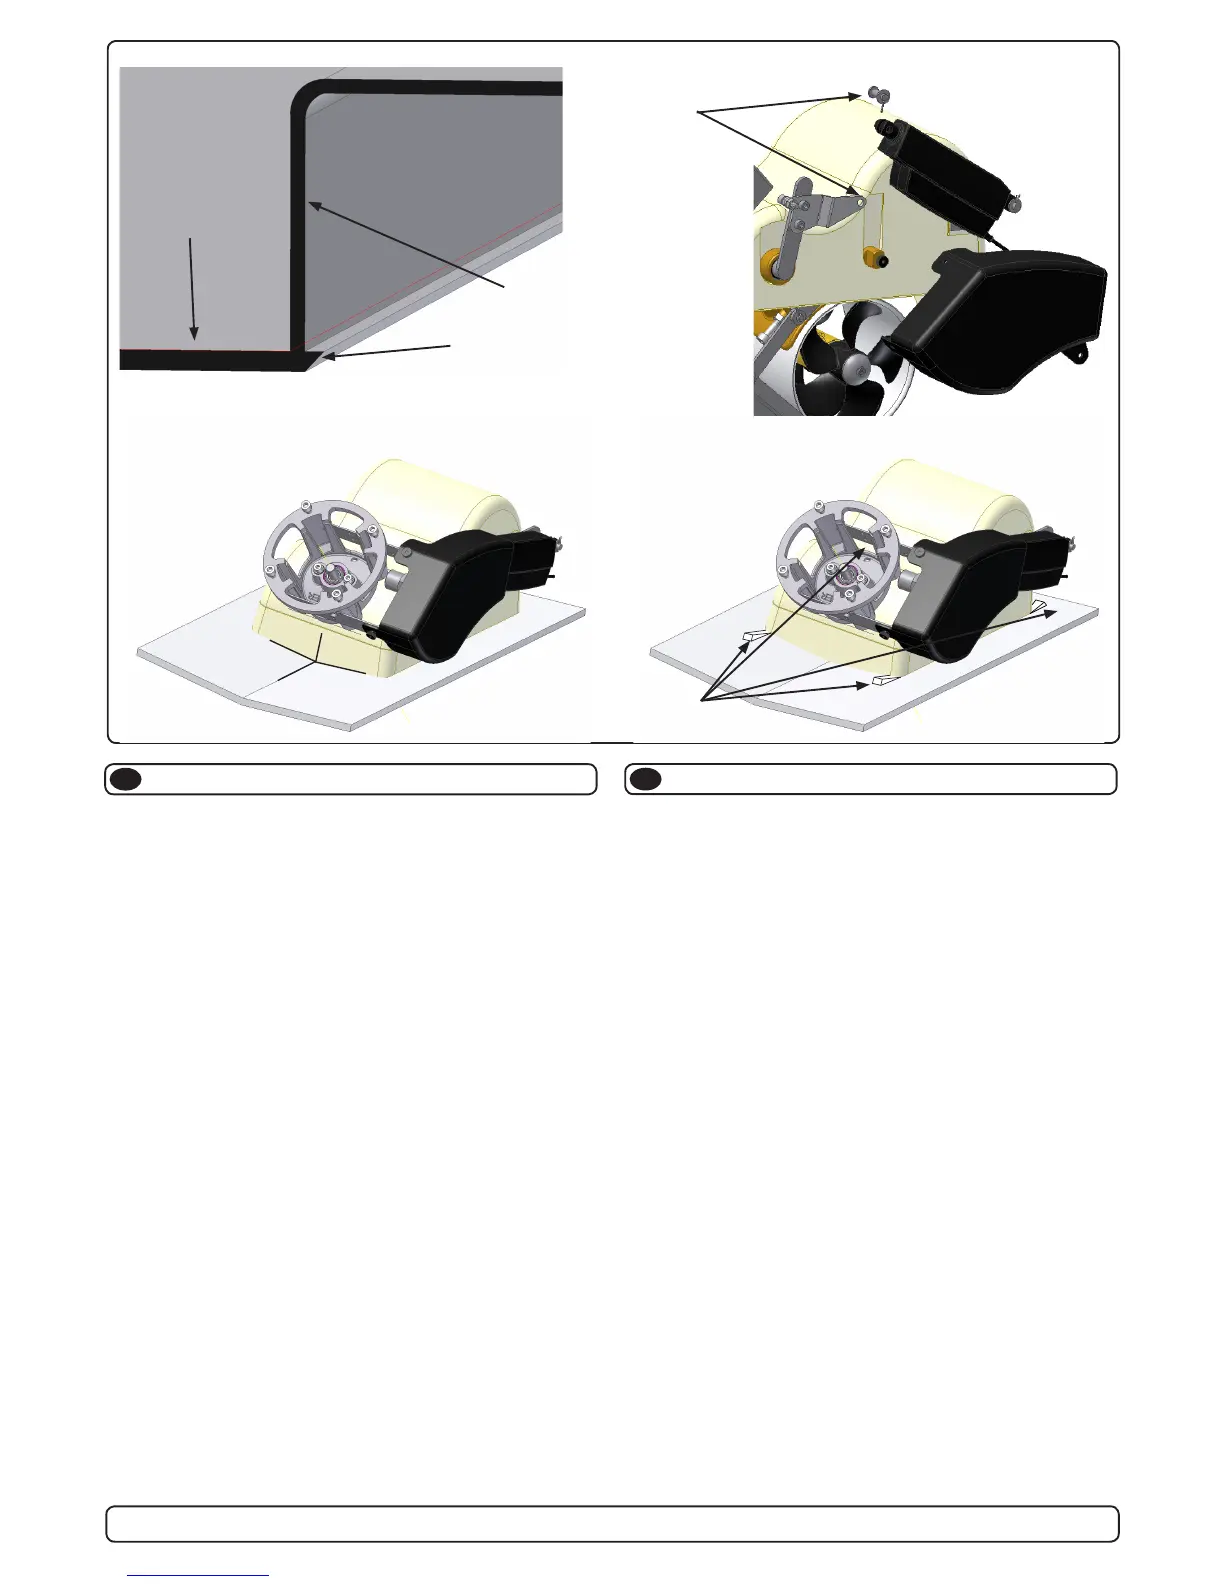
Wedges/shims in
all four corners
N
GB
Cut, 45 degree
chamfer out-
wards
Hull
Thruster casing
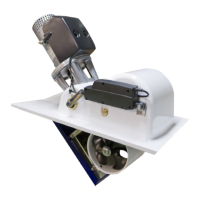
Tilpassing av luke
Fitting the hatch
Loosen actuator
from front
mounting point
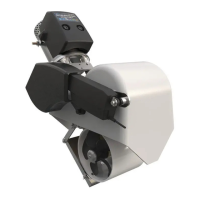
7. Place unit according to marks and check that hull opening is cor-
rectly placed and is of correct size.
Loosen actuator from front mounting point and carefully swing the
retracting unit out of hull (people outside hull recommended to control
moving part of thruster)
Mount the hatch to the retract mechanism, fold mechanism back into
hull, and remount actuator.
With hach and actuator mounted, use wedges/shims in each corner of
WKUXVWHUJUSFDVLQJWRPDNHWKHKDWFK¿WWLJKWLQWKHRSHQLQJ7KHKDWFK
should be parallel with the hull on all edges, and the gap between
hatch and hull should be equal on all four sides.
When the casing is secured with the hatch in the correct place with
wedges/shims, mould in the casing.
6OHLSQHU0RWRU$6UHFRPHQGVWRXVHUHVLQDQG¿EHUJODVVFXWWLQJ
mixed to a paste to be used between casing and hull before moulding/
ODPLQDWLQJWKHFDVLQJWRWKHKXOOWRDYRLGUHVLQWRÀRZLQWRWKHFDVLQJ
and to avoid the risk of getting the hatch stuck to the opening.
7. Sett deretter enheten på plass over hullet, og kontroller at hullet er
korrekt og i riktig størrelse.
Ta av aktuator i fremre innfesting og sving retracten forsiktig ut av
VNURJHW7LOGHQQHMREEHQDQEHIDOHVGHWDWGXKDUHQKMHOSHUSnXWVLGHQ
av skroget for å ta imot den utsvingbare delen på trusteren.
Deretter skrus luken på plass på bunnrammen, og foldes inn og aktua-
WRUPRQWHUHVSnLJMHQ
'HWHUHQIRUGHOnVHWLODWOXNHQKDUHQMHYQW\NNHOVHRYHUGHWKHOHI¡U
GHQVNUXVIDVWGHWWHIRUHQSHQHVWRJEHVWPXOLJLQVWDOODVMRQ
1nUOXNHRJDNWXDWRUHUPRQWHUWVKLPVHVNLOHVNDVVHQLKYHUWKM¡UQH
innvendig opp slik at luken passer perfekt i hullet.
Luken skal ligge parallelt med skroget rundt og glippen mellom luke og
VNURJVNDOYUHOLNKHOHYHLHQUXQGW
1nUGHWHUJMRUWODPLQHUHVHQKHWHQIDVW
6OHLSQHU0RWRU$6DQEHIDOHUnEUXNHIHNVHSR[\RJJODVV¿EHUNXW-
ting blandet til en fast masse som legges mellom enheten og skrog
før laminering. Dette for å unngå at det renner epoxy inn i enheten og
OLPHULJMHQOXNHWLOVNURJ
 Loading...