25
Application How to set the application
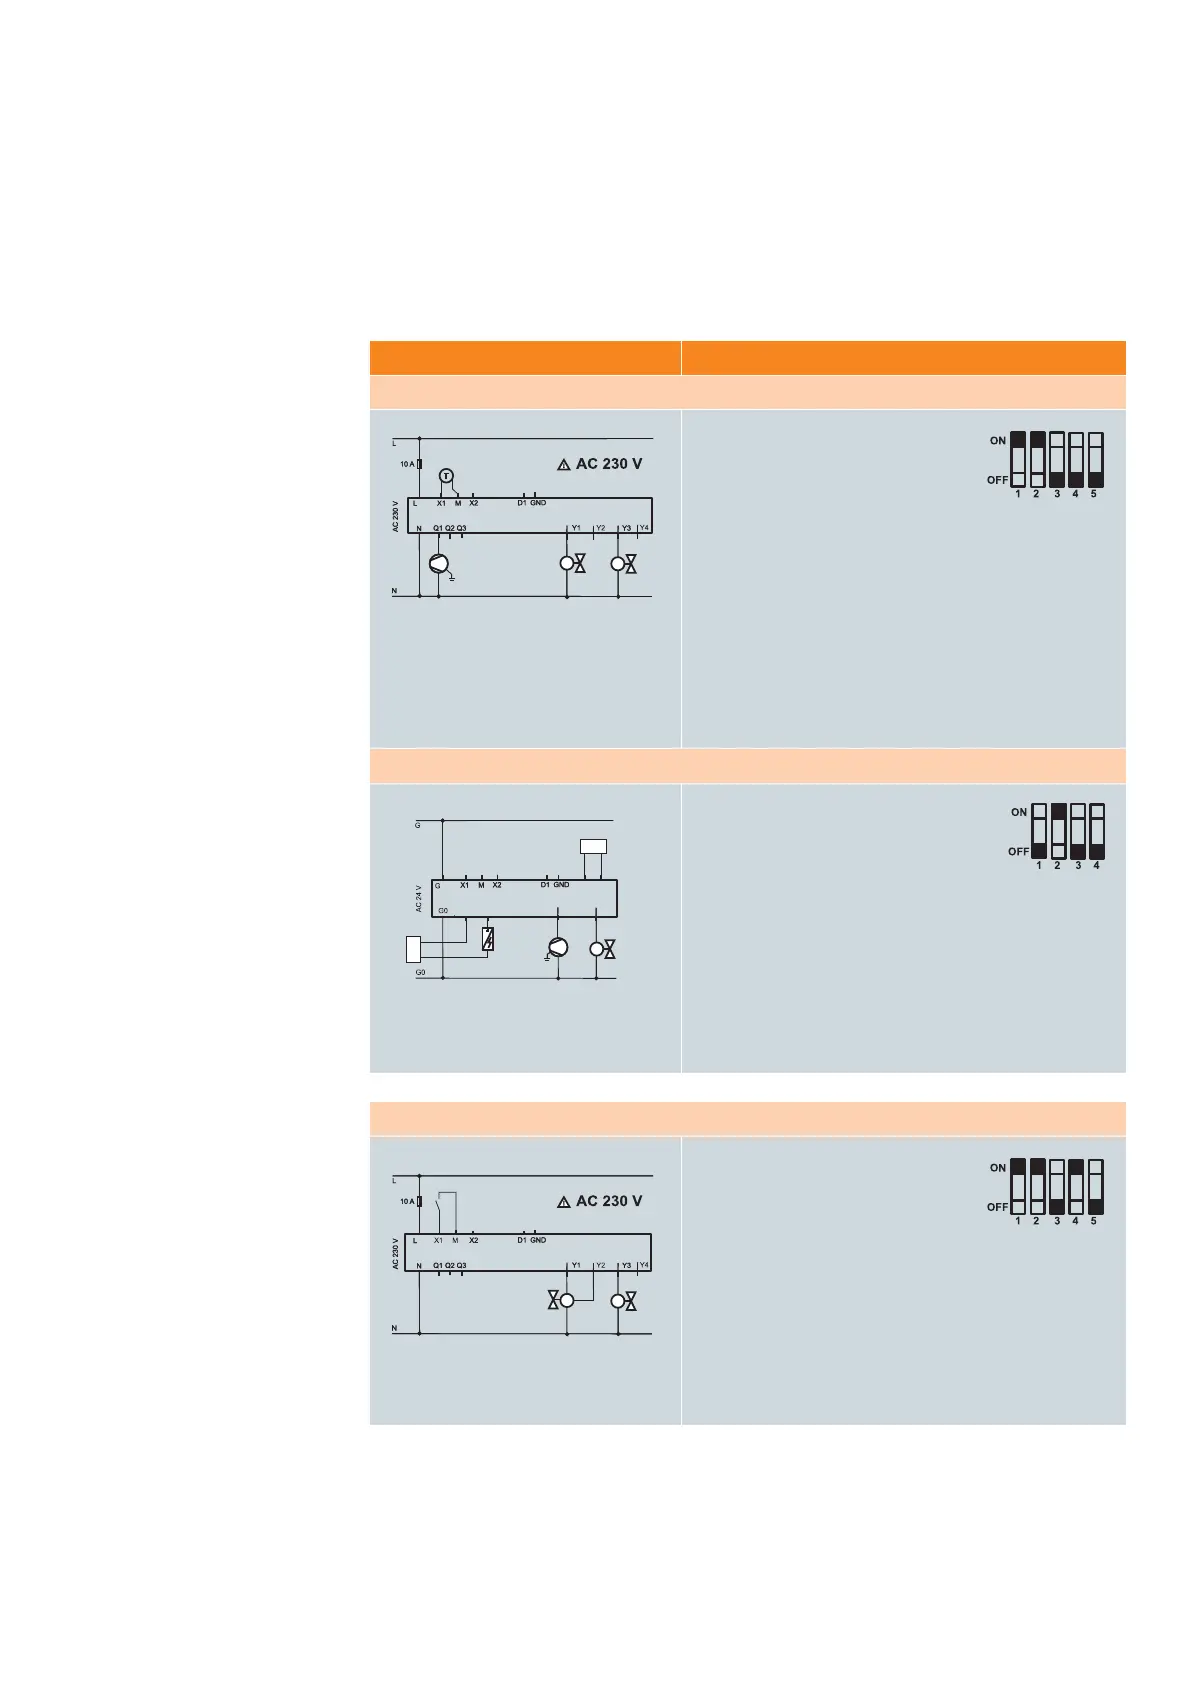
FCU, 2-pipe and fl oor heating, single speed
– 2-pipe, cooling only: ON/OFF
– Floor heating limitation (ON/OFF)
with temperature limitation
– Single speed fan
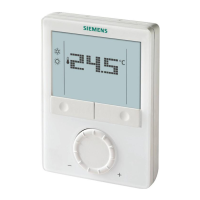
1. Thermostat: RDG100
2. DIP switch:
2-pipe application and radiator
Y1 = ON/OFF
Y3 = ON/OFF
3. Wiring: Actuator cooling → Y1-N
Actuator heating → à Y3-N
Fan → Q1-N
Floor temperature sensor → X1-M
4. Parameters: P51 = 25 °C (fl oor Heat. Temp. limit)
P53 = 1 (single speed fan)
TIPS
– Limited heat supply to the fl oor to avoid overheating (DIN
EN 1264) thus protecting the fl oor and ensuring more comfort
– Select “2-pipe and el. heater” for application with electric
fl oor heating
FCU, 2-pipe with electric heater, ECM fans, thermostat with KNX
– Valve actuators (DC 0...10 V)
– Electric heater ON/OFF (relay)
– ECM fan (DC signal)
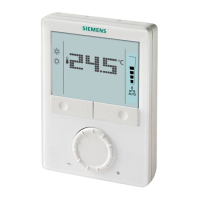
1. Thermostat: RDG160KN
2. DIP switch: 2-pipe application, el. heater
Y10 = DC 0…10 V
Q2 = ON/OFF
3. Wiring: Actuator → Y10-Go
El. heater → Q2-N
ECM fan → Y50-Go
4. Parameters: No changes necessary (factory-setting)
TIPS
– Modulating (ECM) fan control for optimal comfort, lower level
of noise and energy costs saving
– Check ECM fan max. (P55) and min. (P56)
Chilled ceiling and radiator
– Chilled ceiling (3-pos.) and radiator (PWM)
– Dew point monitor
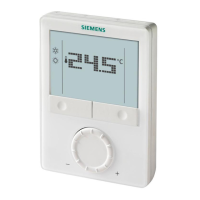
1. Thermostat: RDG100
2. DIP switch:
2-pipe application and radiator
Y1/Y2 = 3-pos.
Y3 = PWM
3. Wiring: Actuator cooling → Y1/Y2-N
Actuator heating → Y3-N
Dew point monitor → X1-M
4. Parameters: P38 = 4 (dew point input)
P46 = 2 (PWM)
P52 = 0 (fan disable)
TIP
– Dew point monitoring to detect condensation.
Cooling is stopped if condensation occurs.
L
N
Y50L-Q2 Y10
CE+ CE-
KNX
Universal application
example
 Loading...