8
Safety instructions
– Read and follow the operating an d installation instructions and all other informatio n
enclosed with the washing machine.
– Retain documents for subsequent u se.
Risk of electric shock
– Never pull out the mains plug by tugging the power cord.
– Never insert/p ull out the mains plug w ith damp hands.
Risk of death For worn-out appliances:
– Pull out the ma ins plug.
– Sever the pow er cord and discard togeth er with the plug.
– Destroy the lo ck on the washing machine door.
This will prevent children from locking themselves and risking their
lives.
Risk of suffocation – Keep packaging, plastic film and packa ging parts out of the reach
of children.
Risk of poisoning
– Keep deterge nts and care products out of the reach of children.
Risk of explosion
– Items of laun dry pretreated with cleaning agents containing
solvents, e.g. stain remov er/cleaning solvents ma y lead to an
explosion after being loade d into the washing mac hine.
Rinse items of laundry thoroughly by hand beforeha nd.
Risk of injury
– Washing ma chine door may become ve ry hot.
– Take care w hen draining hot detergen t solution.
– Do not climb onto the washing machine .
– Do not lean on the open washing machine door.
– Do not touch the drum in case it is still sp inning.
– Be careful when opening the detergent drawer while the machine
is in operation.
Consumption values
Programme
Additional
function
Load
Electricity
consumption
**
Water
**
Programme
duration
**
Cottons
Ê
30 °C
Intensive 8,0 kg 0,47 kWh 75 l 2:41 h
Cottons
Ê
40 °C
Intensive 8,0 kg 0,80 kWh 75 l 2:41 h
Cottons
Êü
60 °C*
Intensive
*
8,0 kg 1,36 kW h 70 l 2:46 h
Cottons
Ê
90 °C
—- 8,0 kg 2,63 kW h 84 l 2:35 h
Easy-Care 40 °C —- 3,5 kg 0,52 kW h 55 l 1:00 h
Mix n 40 °C —- 3,5 kg 0,61 kW h 52 l 1:03 h
Delicate/Silk 30 °C —- 2,0 kg 0,16 kW h 30 l 0:39 h
düWooløÉ : (cold) —- 2,0 kg 0,08 kW h 41 l 0:36 h
düWooløÉ 30 °C —- 2,0 kg 0,14 kW h 39 l 0:36 h
* Programme setting for testing and energy labelling in accordance with IEC60456.
** The values may deviate from the indicated values depending on water pressure, hardness, and inlet temperature, ambient
temperature, type, amount and soiling of the laundr y, detergent used, fluctuations in the power supply and selected addi-
tional functions.
9
Important information
Preparing/Protect ing the laundry and the machin e
– Empty pockets.
– Look out for metal items (paperclip s, etc.).
– Wash delicates in a net/bag (tig hts, curtains, underwired bras).
– Fasten zips, do up any buttons.
– Brush sand out of pockets and c ollars.
– Remove curtain fittings or in a lau ndry bag.
Before washing for the first time
Do not load any laundry into the machine. Turn on the tap. Add the following to compartment
II:
– approx. 1 litre water
– detergent (dosage according to the manufacturer's instructions for light soiling and the
appropriate degree of water hardness)
Set the programme selector to Drum Clean 40 °C and select Start/Reload. At the end
of the programme, turn the programm e selector to Off.
Laundry with different deg rees of soiling
Wash new items separately.
Light Do not prewash.
If required, pretreat stains. Select Intensive a dditional function.
Heavy Load less laundry. Prewash.
If required, pretreat stains. Select Intensive a dditional function.
Soaking Load laundry of the same colour.
Pour soaking agent/detergent into com partment II according to the manufacturer’s
instructions. Set CottonsÊ30 °C programme and select Start/Reload. After approx. 10
minutes, select Start/Reload. After t he required soaking time, reselect Start/Re load if
the programme is to be continued or change the programme.
Starching
Laundry must not be treated with fabric soft ener.
Starching is possible in all washing p rogrammes if liquid starch is used. Add sta rch to the
fabric softener compartment ~ in accordance wi th the manufacturer’s instructions.
Dyeing/bleaching
Dye in small quantities only. Salt can corrode stainless steel.
Observe the dye manufacturer’s instruc tions.
Do not bleach laundry in the washin g machine.
Sport Shoes
Special programme for machine washable sport shoes. Remove the shoelace and insole, put
the shoes in the drum transversely.
Caution: First wipe away sand or stones on the shoes to prevent damage of the mach ine.
Down
Laundry must not be treated with fabric sof tener.
Special programme for washable clothes filled with down. Only wash down clothes, no down
pillows or bedding. Wash large items seperately. Dose detergent economically. Then dry the
down in dryer machine to avoid agglome ration.
10
Care
Machine housin g, control panel
– Wipe with a soft, damp cloth .
– Do not use any abrasive clot hs, scourers or cleaning agents (stainless stee l cleaners).
– Immediately remove laundr y and cleaning agent residues.
– Do not clean the applianc e with a water jet.
Clean the detergen t drawer ...
... if it contains detergent or fabric softener re sidues.
1. Pull o ut the drawer up to the stop position, pres s down the latch on the
insert and remove the drawer complet ely .
2. Rem ove insert: pull insert upwards with finger.
3. Cle an the detergent dispenser and the insert with water and a brush.
4. Refit th e insert and secure in place (the cylind er should fit over the
guide pin).
5. Ins ert the detergent drawer.
6. Leave the detergent drawer open so that residua l water can evaporate.
Drum
Leave the washing machine door op en after washing so that the drum can dry.
Rust stains – use chlorine–free cleani ng agent, not steel wool.
Descaling No la undry in the machine!
This is not necessary if the detergent is dosed correctly. However, if it is necessary, follow the
instructions of the descaler manufactu rer. Suitable descaling products can be pur chased
from our website or customer service. apage 13
Information on the display
Please close the door immediately because of r ising water level. In pause
status and are displayed alternately.
Door is locked due to safety reasons (water level and/or temperature are too
high); in pause status, and are displayed alternately. If you need
to open the door, wait for the temperature to drop or drain the water (e.g. select
Single Spin programme).
Door cannot be locked/unlocke d due to high temperature of the door lock.
Wait a moment and try again.
üx
Flashing (no water supply):
Tap turned on?
Inlet filter blocked ? Clean filter. ap age 11
Supply hose kinked or blocked ?
Clean drain pump; apage 11
outlet pipe/drainage hose blocked.
other displays
Switch off the appliance, wait 5 seconds a nd switch it back on.
If the display appears again, call the custom er service apage 13
– Risk of electric shock!
Pull out the mains plug!
– Risk of explosion! No solvents!
11
Maintenance
Drain pump
– Set the programme selector to Off, disconnect the mains p lug.
1. Open and re move the service flap.
2. Release t he drainage hose from the clip.
Remove the sealing plug from the drainage hose, allow the detergent
solution to flow out. Push the sealing cap b ack in.
3. Remove the p ump cap. Remove foreign objects/loose debr is/fluff from
inside and clean the pump. (impeller in the pump must be able to rotate).
4. Clean any residual lye or fluff from the thread of the pum p cap and
pump housing.
5. Attach the pump cap and screw it on tight until the stop, handle is upright.
Place the drainage hose back in the retain er.
6. Place the s ervice flap back on and close.
To prevent unused detergent from flowing stra ight into the drain during
the next wash cycle: pour 1 litre of water into c ompartment II and start
the Single Spin programme. Then select and start a new washing
programme with detergent as usual.
Filter in the water inl et hose
Reduce the water pressure in the supply hose:
1. Turn off the tap.
2. Select any programme (except Single Spin ).
3. Touch Start/Reload button and allow th e programme to run for approx. 40 seconds.
4. Set t he programme selector to Off. Disconnect the m ains plug.
Clean the filter:
1. Remove the s upply hose from the tap.
Clean the filter with a small brush.
or
Remove the supply hose from the r ear of the
appliance. Remove the filter with pliers and clean.
2. Reconn ect the supply hose and check if it is tight.
– Risk of scalding!
Allow detergent solution to cool down!
– Turn off the tap!
12
What to do if ...
ʑ
Water is leaking out. – Fit/refit drainage hose correctly.
– Tighten the screw connection o f the supply hose.
ʑ
No water supply.
Detergent not dispensed.
– Start/Reload not selected?
– Water tap not turned on?
– Supply hose filter blocked? Cle an the filter. apage 11
– Supply hose kinked or trapped ?
ʑ
Washing machine door cannot be
opened.
– Safety function active. Program me stopped? apage 4
– (Rinse stop = no final drain/spin) selected?apage 5
– Can be opened by emergency release only. apage13
ʑ
Programme does not start. – Start/Reload or Finish in time selected?
– Washing machine door closed ?
ʑ
Detergent solution is not drained. – Clean the drain pu mp. apage 11
– Clean waste pipe and/or drai nage hose.
ʑ
Water not visible in the drum. – Not a fault - wate r below the visible area.
ʑ
Spin result not satisfactory. – Wash small and large items of laundry toge ther.
– SLess Iron selected? apage 6
– Speed selected too low? apag e 5
ʑ
Spin cycle performed several
times.
– Not a fault - unbalanced load detection system adjusts
the imbalance.
ʑ
Compartment ~ not rinsed out
completely.
– Remove the insert. Clean detergent drawer and insert.
apage 10
ʑ
Odour formation in the washing
machine.
– Run the Drum Clean 90 °C pro gramme without
laundry.
– Use standard detergent.
ʑ
Foam escapes from the detergent
drawer.
– Too much detergent used?
Mix 1 tablespoon of fabric softener with ½ litre of water
and pour into compartment II in the de tergent drawer.
– Reduce detergent dosage for th e next wash cycle.
ʑ
Excessive noise, vibrations and
“wandering” during spin cycle.
– Are the appliance feet fixed?
Secure the appliance feet. aInstallation instructions,
page 5
– Transport bolts removed?
Remove transport bolts.
Installation instructions, page 3
ʑ
Display panel/indicator lamps do
not light up while the appliance is
running.
– Power failure/off? Interrupted progra mme will be
resumed when power returns.
– Circuit breaker tripped? Rese t the circuit breaker/
change the fuse.
– If the fault occurs repeatedly, call the customer service.
ʑ
Programme sequence longer than
usual.
– Not a fault - unbalanced load detection system adjusts
imbalance by repeatedly distributing th e laundry.
– Not a fault - foam detection system active - adds an
additional rinse cycle.
ʑ
Detergent residues on the laundry. – Occasionally, phosphate-free detergents contain water-
insoluble residues.
– Select Single Rinse m o r brush the laundry after
washing.
ʑ
If you cannot correct a fault yourself or a rep air is required:
– Turn the programme selector to Off and pull the mains plug out of the socket.
– Turn off the tap and call the custom er services. apage 13
13
Emergency release e.g. in the ev ent of power failure
Interrupted programme will be resumed wh en power returns.
However, if the laundry has to be remove d, the washing
machine door can be opened as follows:
Risk of scalding.
The detergent solution an d laundry may be hot.
If possible, leave it to cool down.
Do not reach into the dru m if it is still rotating.
Do not open the washing machine door if water can be seen
through the glass.
– Set the programme selector to Off and disconnect the mains
plug.
– Drain the detergent sol ution. apage 11
– Pull the emergen cy release with a tool and release. The washing
machine door can then be opened.
Customer service
ʑ
If you cannot rectify the fault yourself ap age 12: What to do if ..., please contact our
customer service. We will always find a suitable solution and will avoid a visit from a service
technician wherever possible.
ʑ
The contact details for all countries can be found in the enclosed customer service directory.
ʑ
Please give the customer service the product nu mber (E-Nr.) and the production number
(FD) of the appliance.
Product number Production numbe r
You will find the identification plate containing
this information on the frame of the open door ,
and of the rating plate on the back of the
appliance.
Rely on the professionalism of the manufacturer. Please contact us.
This will ensure that the repair is carried out by train ed service technicians who arrive
equipped with genuine spare parts for your app liance.
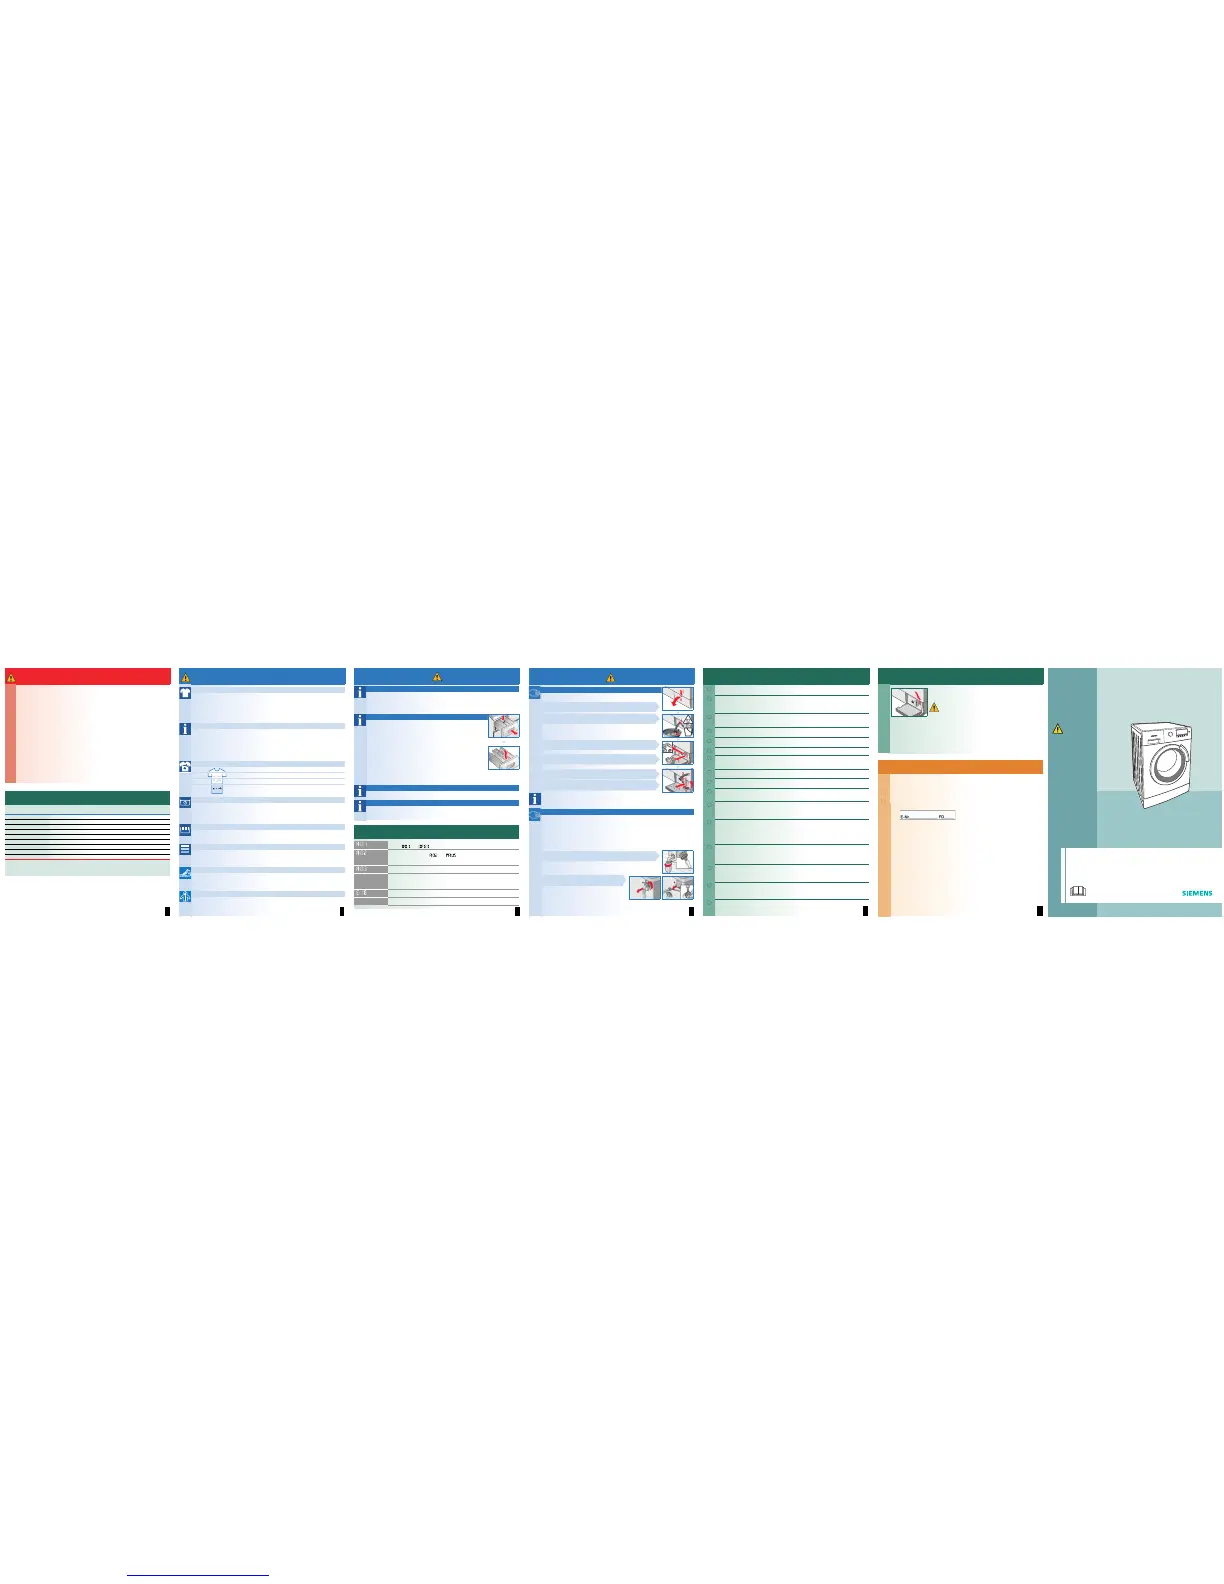
Operating instructions
WM12S425GC
en
Follow the safety
instructions on Page 8.
Read these instructions before switch ing on
the washing machine. Also follow the separate
Installation and maintenance instructions.
 Loading...