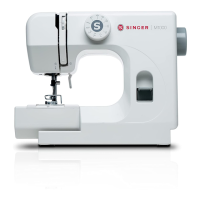
Threading the Machine
WARNING:
Disconnect the AC adapter from the machine
before threading.
* Place a spool on the spool pin, with thread
coming off as shown.
* Raise the thread take-up lever to its highest
position by turning the handwheel counter-
clockwise.
* Raise the presser foot.
Draw the end of thread around under the
thread guide.
1 Thread guide
While holding the thread with your right hand
near the spool, use your left hand to draw
the end of the thread down along the right
channel and around the bottom of the guide
plate.
2 Guide plate
Firmly draw the thread up along the left
channel.
Pass the thread through the eye of the take-up
lever from right to left.
3 Take-up lever
Draw the thread down along the left channel
and pass it behind the needle bar thread
guide from the left.
4 Needle bar thread guide
Insert the threader loop through the needle
eye from behind.
Pass the thread end through the threader loop.
5 Needle eye
6 Threader loop
Pull the threader loop out from the needle eye.
Remove the thread end from the threader
loop.
8

 Loading...