36
UTILITY AND BUTTONHOLE STITCH
SEWING
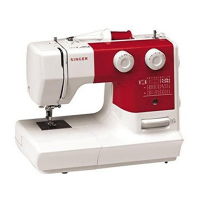
When the machine is turned on, straight stitch is selected
automatically and pop-up screen for individual preference
settings appears on the LCD display.
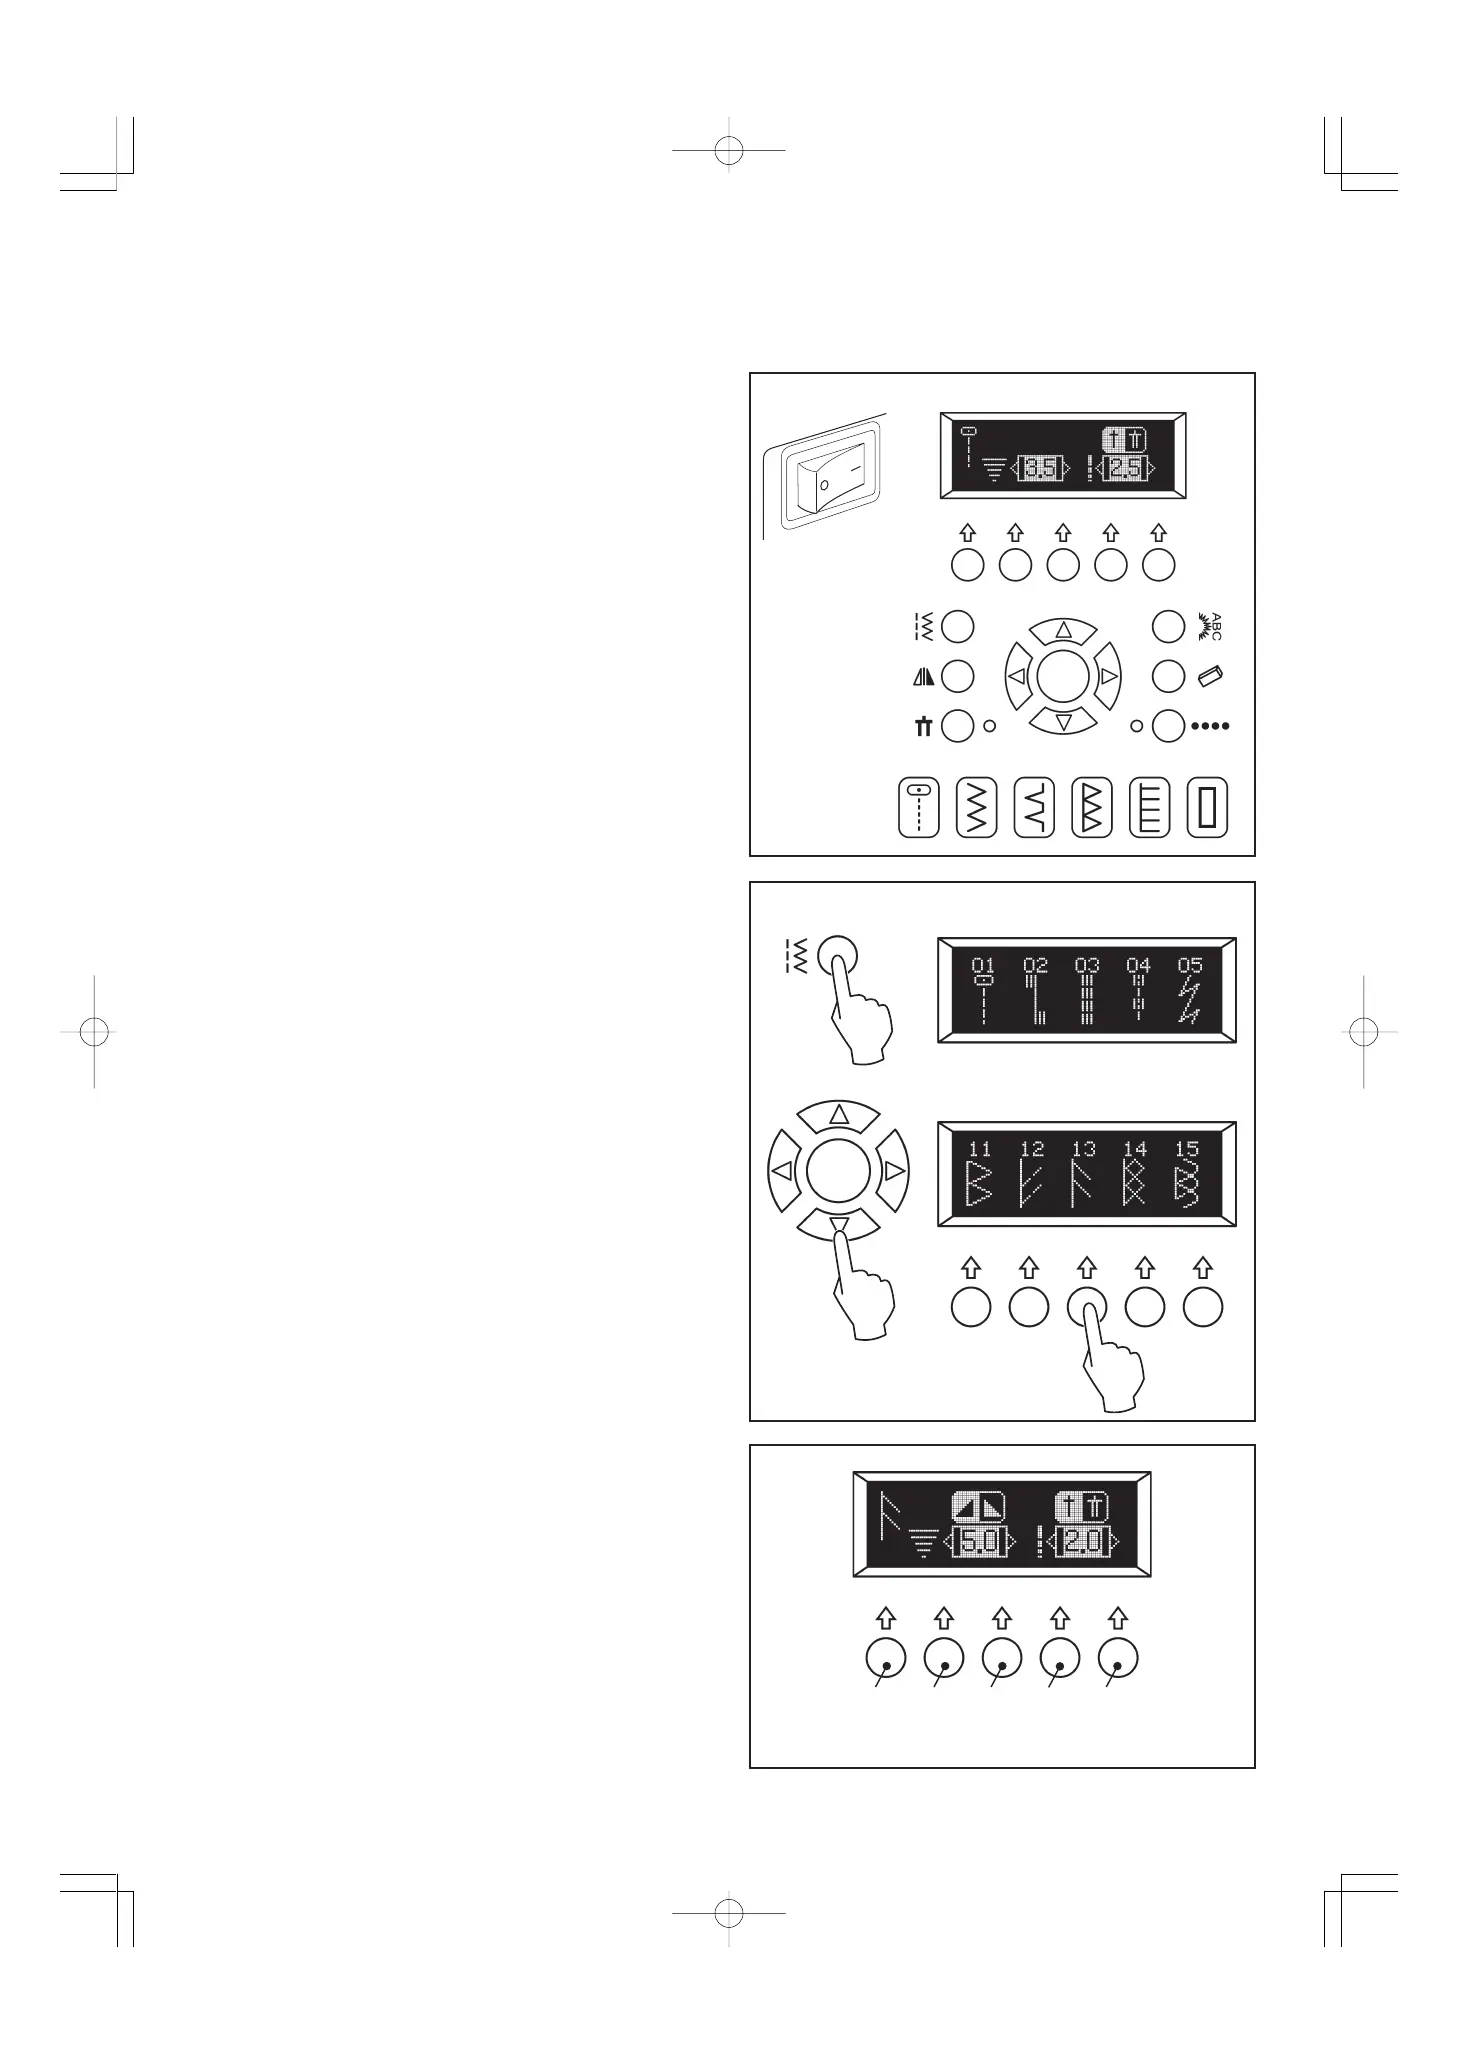
SELECTING THE PATTERN
(1) Press the utility stitch button and first 5 patterns (group 1)
will appear on the display.
(2) Press the scroll down or up button and new pattern group
will appear on the display.
(3) When a desired pattern appears, press the multi-function
button below the pattern and pop-up screen for individual
preference settings will appear:
*Pattern illustration
*Stitch width
*Stitch length
*Mirror image icon (if available)
*Twin needle icon (if available)
STITCH WIDTH AND LENGTH SETTINGS
When a pattern is selected, it will automatically sew at default
settings of stitch length, width and needle position for straight
stitch. Default settings are indicated as highlighted numbers.
You can make changes by pressing multi-function buttons:
(1) Press the button (B) for narrower width and the button (C)
for wider width.
(2) Press the button (D) for shorter length and the button (E) for
longer length.
Note: If further adjustment is not possible, multiple beeps will
sound.
(1)
(2)
(3)
A B C
D
E
2. STARTING TO SEW
 Loading...