C
HAPTER
3
| Installing the Switch
Mounting
– 42 –
CONNECTING TO A POWER SOURCE
To connect a switch to a power source:
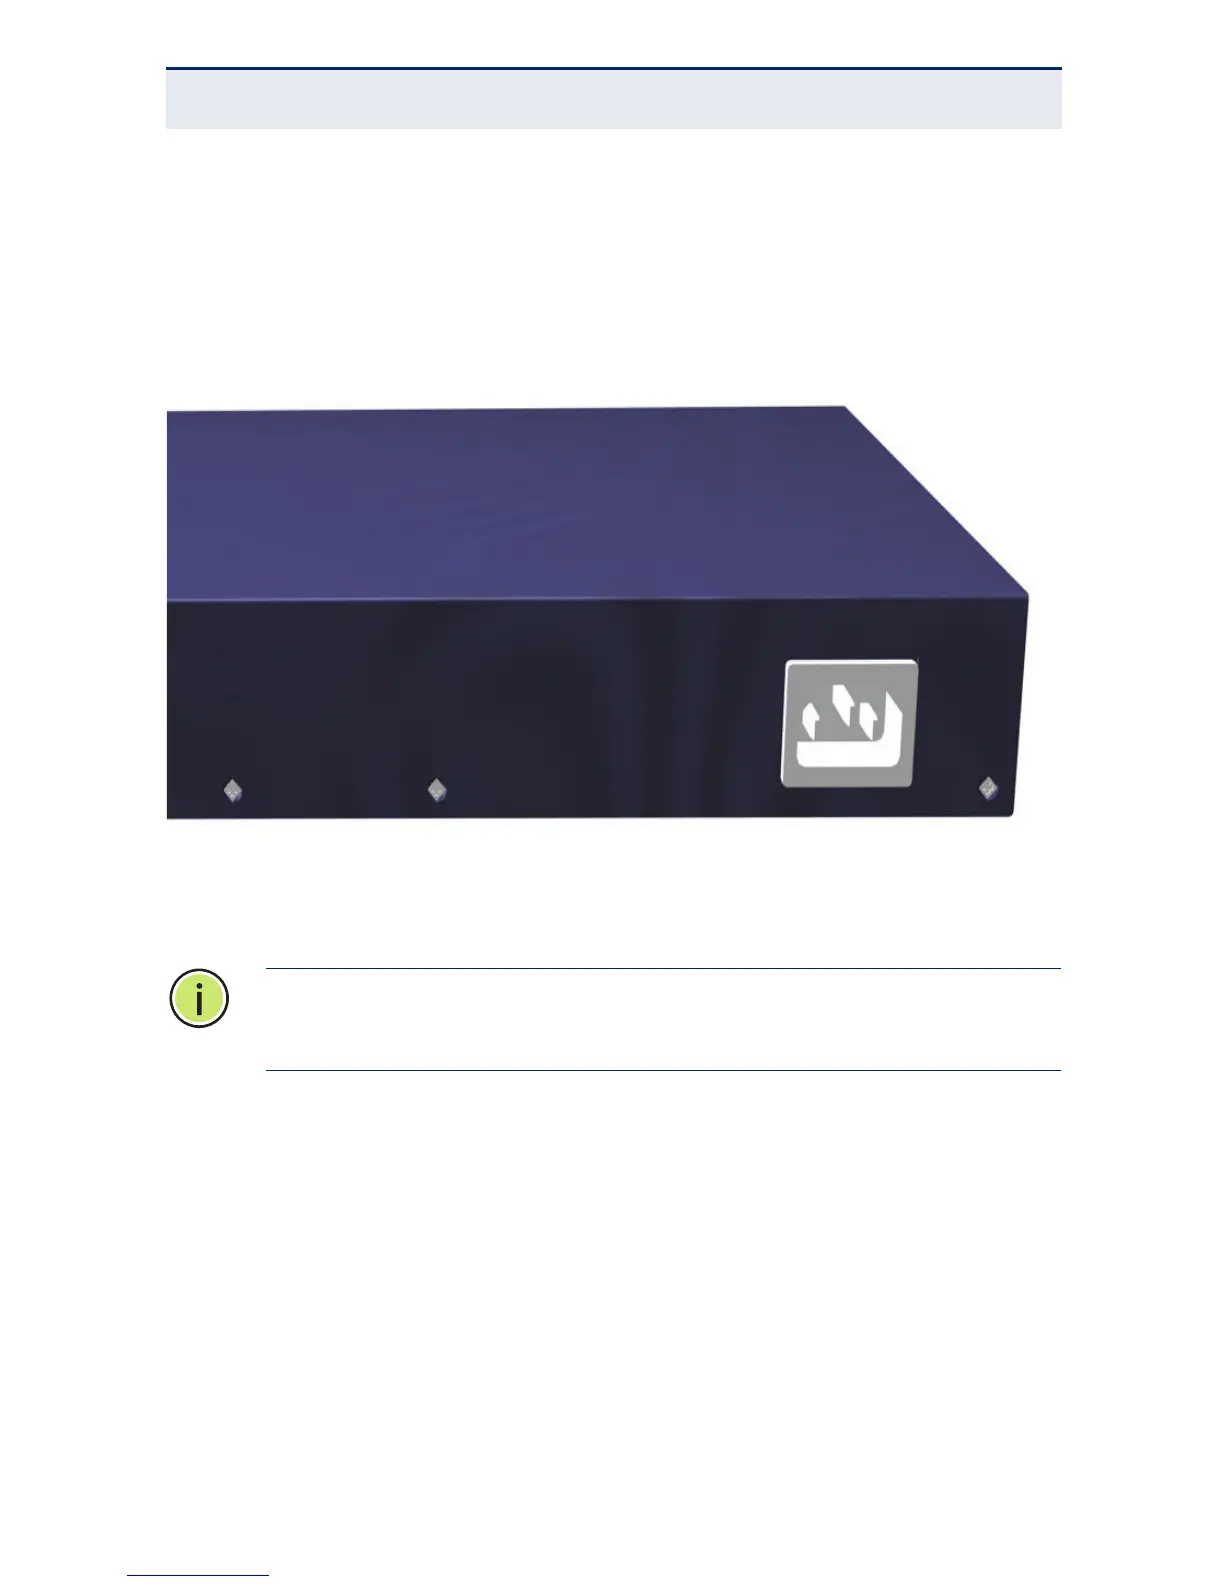
1. Insert the power cable plug directly into the AC inlet located at the back of
the switch.
Figure 17: Power Inlet
2. Plug the other end of the cable into a grounded, 3-pin, AC power source.
3. Check the front-panel LEDs as the device is powered on to be sure the
Power LED is on green. If not, check that the power cable is correctly
plugged in.
N
OTE
:
For International use, you may need to change the AC line cord.
You must use a line cord set that has been approved for the wall socket
type in your country.
AC 100-240Vac, 50~60Hz, 1.7AAC 100-240Vac, 50~60Hz, 1.7A
 Loading...