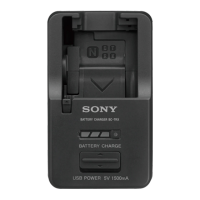
English
Thank you for purchasing the Sony Battery charger.
Before operating this Battery charger, please read this manual thoroughly
and retain it for future reference.
• The BC-TRX battery charger can only be used to charge lithium
ion type battery packs (type X/type N/type G/type D/type
K)
and
"InfoLITHIUM" battery packs (type G/type D/type T/type
R).
• Designed for use with compatible Sony battery packs.
• This unit cannot be used to charge a nickel cadmium type
or
nickel
metal hydride type battery pack.
• "Info LITHIUM"
is
a trademark
of
Sony Corporation.
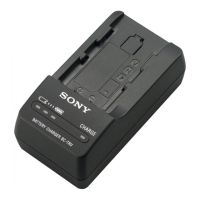
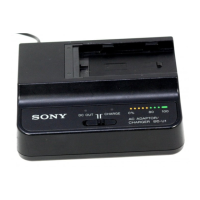
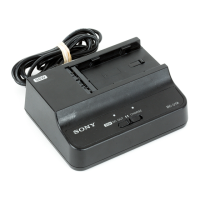
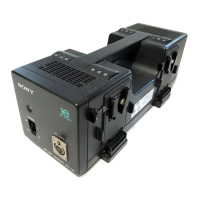
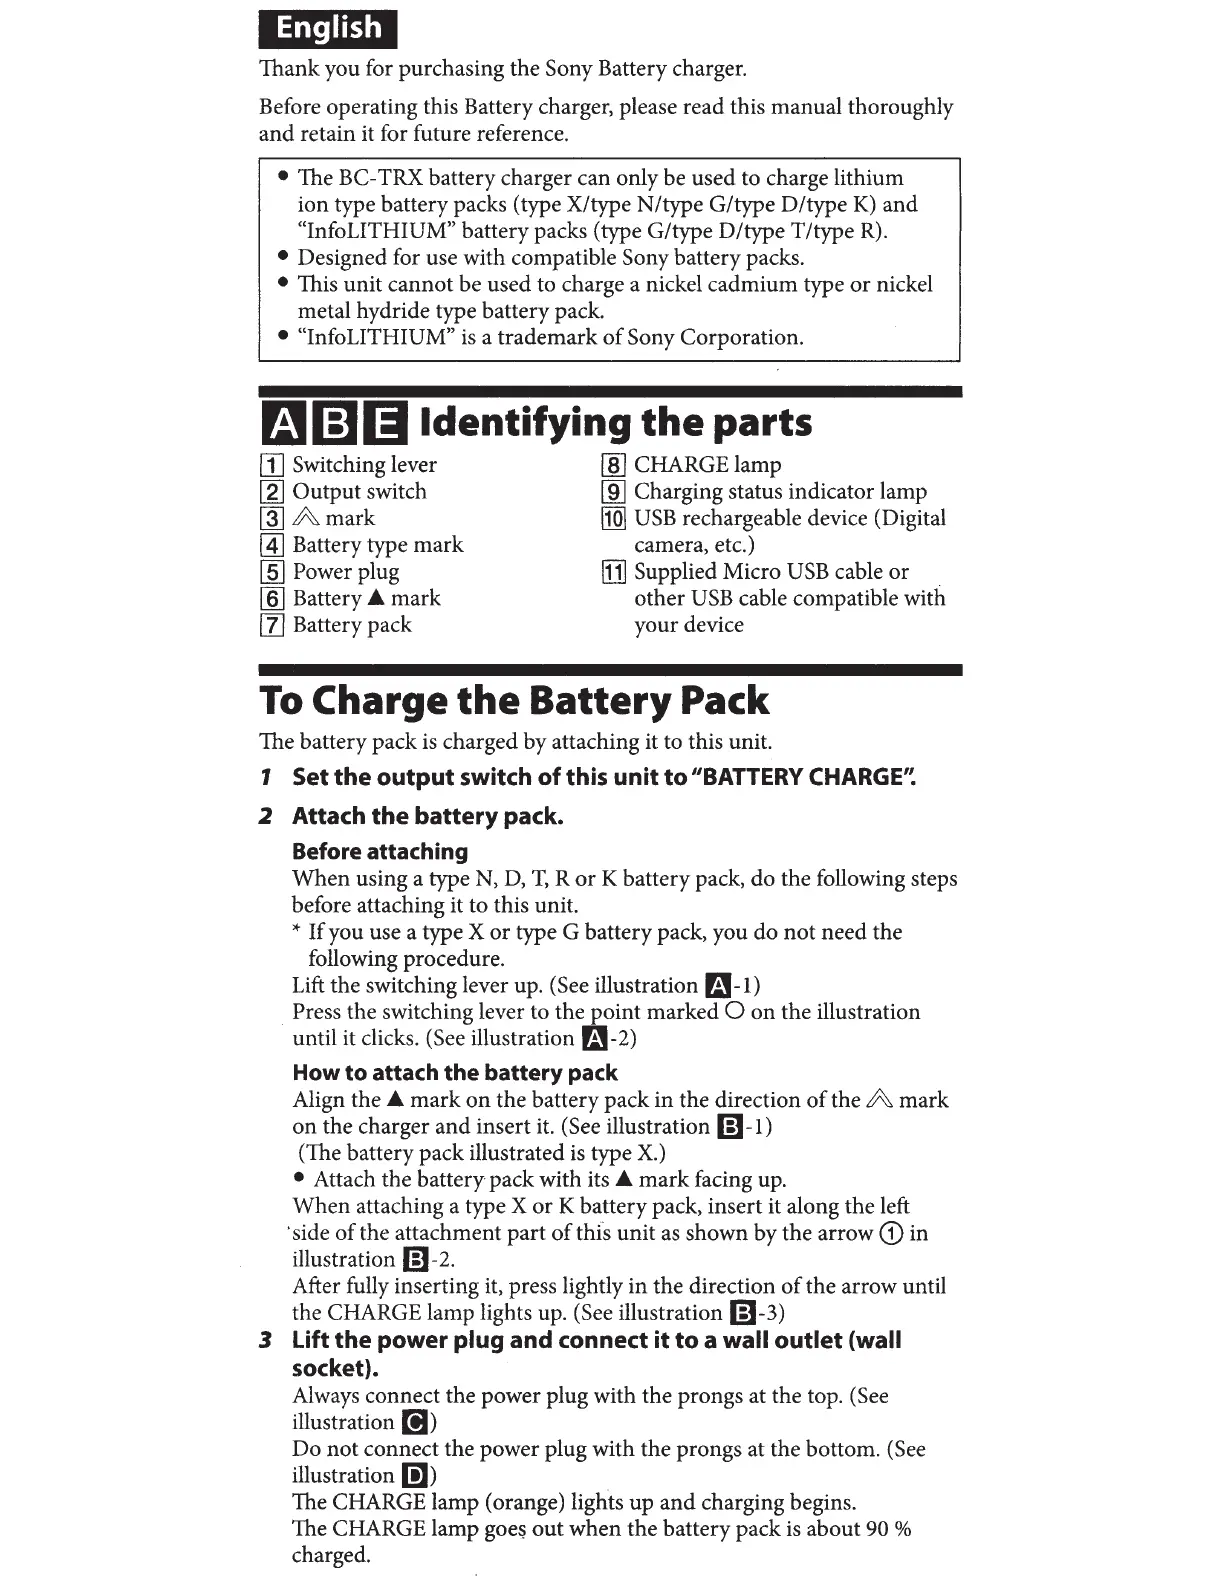
f.t.11i]l)ldentifying
the
parts
[j] Switching lever
[g]
Output switch
rnJ
A mark
~
Battery type mark
[§]
Power plug
[§] Battery A mark
[1]
Battery pack
[ID
CHARGE lamp
[ID
Charging status indicator lamp
IIQ]
USB
rechargeable device (Digital
camera, etc.)
[j)
Supplied Micro
USB
cable or
other
USB
cable compatible with
your device
To
Charge
the
Battery
Pack
The battery pack is charged by attaching it to this unit.
1 Set
the
output
switch
of
this
unit
to
"BATTERY
CHARGE'~
2 Attach
the
battery
pack.
Before attaching
When using a type N,
D,
T,
R
or
K battery pack, do the following steps
before attaching it to this unit.
*
If
you use a type X or type G battery pack, you do
not
need the
following procedure.
Lift
the switching lever up. (See illustration r.i!-1)
. Press the switching lever to the point marked 0 on the illustration
until it clicks. (See illustration
Fa-2)
How
to
attach
the
battery pack
Align the A mark
on
the battery pack in the direction
of
the A mark
on the charger and insert it. (See illustration
6)-1)
(The battery pack illustrated
is
type
X.)
• Attach the battery pack with its A
mark
facing up.
When attaching a type X or K battery pack, insert it along the left
·side
of
the attachment part
of
this unit
as
shown by the arrow
CD
in
illustration
m-2.
After fully inserting it, press lightly in the direction
of
the arrow until
the CHARGE lamp lights up. (See illustration
6)-3)
3 Lift the power plug and connect
it
to
a wall
outlet
(wall
socket).
Always connect the power plug with the prongs at the top.
(See
illustration
[!I)
Do not connect the power plug with the prongs at the bottom. (See
illustration
D])
The CHARGE lamp (orange) lights up
and
charging begins.
The CHARGE lamp
goe~
out
when the battery pack
is
about 90 %
charged.
 Loading...