EasyManuals Logo

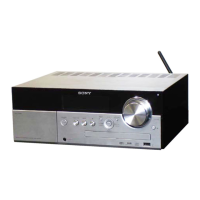
Sony HCD-MX700Ni Service Manual

Sony HCD-MX700Ni
82 pages
To Next Page IconTo Next Page
To Previous Page IconTo Previous Page
Page #11 background imageLoading...
Page #11 background image
HCD-MX700Ni/MX50Ni
11
2-4. FRONT PANEL BLOCK
bottom side
1 Insert the hard metal fittings of L character type in the
hole of the chassis, and push the lever in the direction
of the arrow.
2 Draw out
the tray.
3 two claws
4 panel (CD) block
6 flexible flat cable
(13 core) (CN409)
8 flexible flat cable
(15 core) (CN403)
9 connector
(CN402)
0 connector
(CN402)
qa screw
(BV3)
7 ferrite core
5 Lift up the coating clip.
qs three screws
(BV3)
qs two screws
(BV3)
qg two claws
qh front panel block
qg two claws
qd screw (BV3)
qf
lead wire (from HP board)

Questions and Answers:

Question and Answer IconNeed help?

Do you have a question about the Sony HCD-MX700Ni and is the answer not in the manual?

Sony HCD-MX700Ni Specifications

General IconGeneral
BrandSony
ModelHCD-MX700Ni
CategoryReceiver
LanguageEnglish

Related product manuals