9
FR
1 Positionnez l’appareil de façon à ce
que l’objectif soit parallèle à l’écran.
2 Après avoir branché le cordon
d’alimentation à l’appareil, branchez
le cordon d’alimentation secteur à une
prise murale.
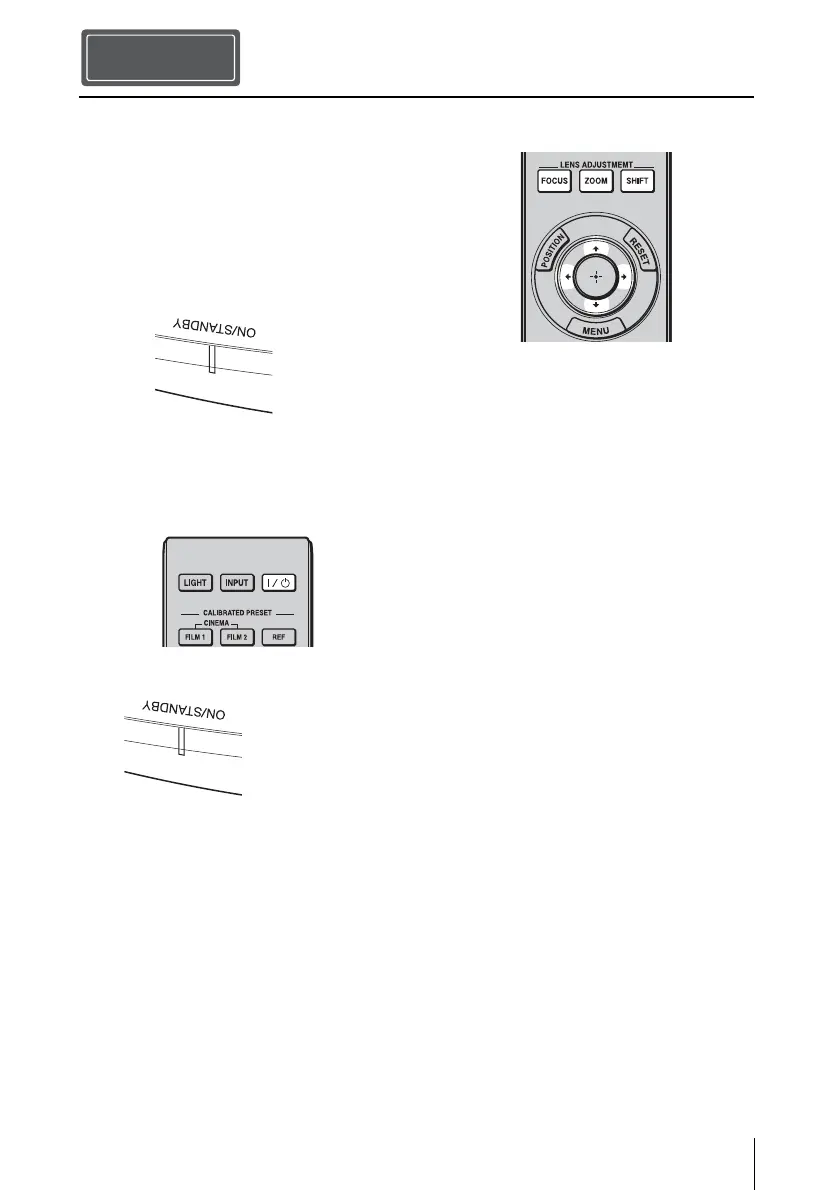
3 Appuyez sur le bouton ?/1 (ON/
STANDBY) pour mettre l’appareil
sous tension.
4 Projetez une image sur l’écran, puis
réglez la mise au point, la taille et la
position.
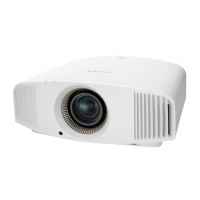
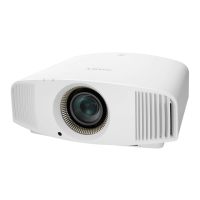
VPL-VW520
a Réglez la mise au point.
Appuyez sur le bouton LENS
ADJUSTMENT (FOCUS) pour afficher
la fenêtre de réglage Focus d’objectif
(mire d’essai). Réglez ensuite la mise au
point de l’image en appuyant sur les
boutons M/m/</,.
b Réglez la taille de l’image.
Appuyez sur le bouton LENS
ADJUSTMENT (ZOOM) pour afficher
la fenêtre de réglage Zoom d’objectif
(mire d’essai). Réglez ensuite la taille de
l’image en appuyant sur les boutons
M/m/</,.
c Réglez la position de l’image.
Appuyez sur le bouton LENS
ADJUSTMENT (SHIFT) pour afficher
la fenêtre de réglage Déplac. objectif
(mire d’essai). Réglez ensuite la position
correcte de l’image en appuyant sur les
boutons M/m/</,.
Installation de l’appareil
Etape 2
S’allume en
rouge.
Avant de l’appareil
Clignote en vert
pendant dix
secondes, puis
s’allume en vert.
Avant de l’appareil
 Loading...