EasyManua.ls Logo

Stiga GARDEN 8211-0202-11 User Manual

Stiga GARDEN 8211-0202-11
12 pages
To Next Page IconTo Next Page
To Previous Page IconTo Previous Page
Page #5 background imageLoading...
Page #5 background image
ENGLISH
GB
GENERAL
This symbol indicates WARNING. Per-
sonalinjury and/ordamage to property
may result if the instructions are not
followed carefully.
SYMBOLS
The following symbols can be found on the ma-
chine to remind you of the care and attention that
are required during use:
The symbols mean:
Warning!
Read the instruction manual and the safety
manual before using the machine.
Warning!
Do not insert your hands or feet under the
cover when the machine is in operation.
Warning!
Watch out for discarded objects. Keep on-
lookers away.
Warning!
Before starting repair work, remove the
spark plug cable from the spark plug.
Warning!
Use hearing protectors.
Warning!
This machine is not designed to be driven
on public roads.
INSTALLATION
To avoid injury and damage to people
and property, try not to start the engine
before all the measures under “AS-
SEMBLY“ have been carried out.
ACCESSORIES BAG
A plastic bag is enclosed with the machine con-
taining:
No. Designation Dimension
1 Spark plug sleeve
1 Torsion pin for ditto
1 Shim washer 16 x 38 x 0.5
1 Shim washer 16 x 38 x 1.0
2 Locking nut
2 Wing nut
2 Washer 8.4 x 24 x 2.0
1 Battery mount
STEERING WHEEL
Install the wheel on the steering column with the
enclosed pin and push on the steering column
sleeve.
The shim washers in the accessories bag should be
installed between the lower and upper steering col-
umn jacket to compensate for any axial play: 0, 1
or 2 washers may be necessary (fig. 1).
BATTERY
The battery is a valve-regulated battery with 12 V
nominal voltage. The battery is maintenance-free
insofar as you don’t have to check or top up the
electrolyte level.
On delivery, the battery is in the accessories box.
The battery must be fully charged be-
fore being used for the first time. The
battery should always be stored fully
charged. If the battery is stored for
longer than 10 days without being
charged, it can be damaged.
If the machine is not going to be used for an ex-
tended period (more than 1 month), the battery
should be charged, disconnected and then stored in
a cool, safe place. Charge the battery completely
before reinstalling.
The battery can be charged in two ways:
1. Via a battery charger (recommended). This must
be a charger with constant voltage. The battery
can be damaged if a standard type battery
charger (for acid batteries) is used.
Stigarecommends battery chargerwith item no.
1136-0602-01 which may be ordered by an au-
thorised dealer.
2. You can also allow the engine to charge the bat-
tery. In this case it is very important, above all
when starting the machine for the first time and
when it has not been used for a long time, to al-
low the engine to run continuously for at least
45 minutes.
Question and Answer IconNeed help?

Do you have a question about the Stiga GARDEN 8211-0202-11 and is the answer not in the manual?

Stiga GARDEN 8211-0202-11 Specifications

General IconGeneral
BrandStiga
ModelGARDEN 8211-0202-11
CategoryLawn Mower
LanguageEnglish

Summary

GENERAL INFORMATION

Safety Warnings

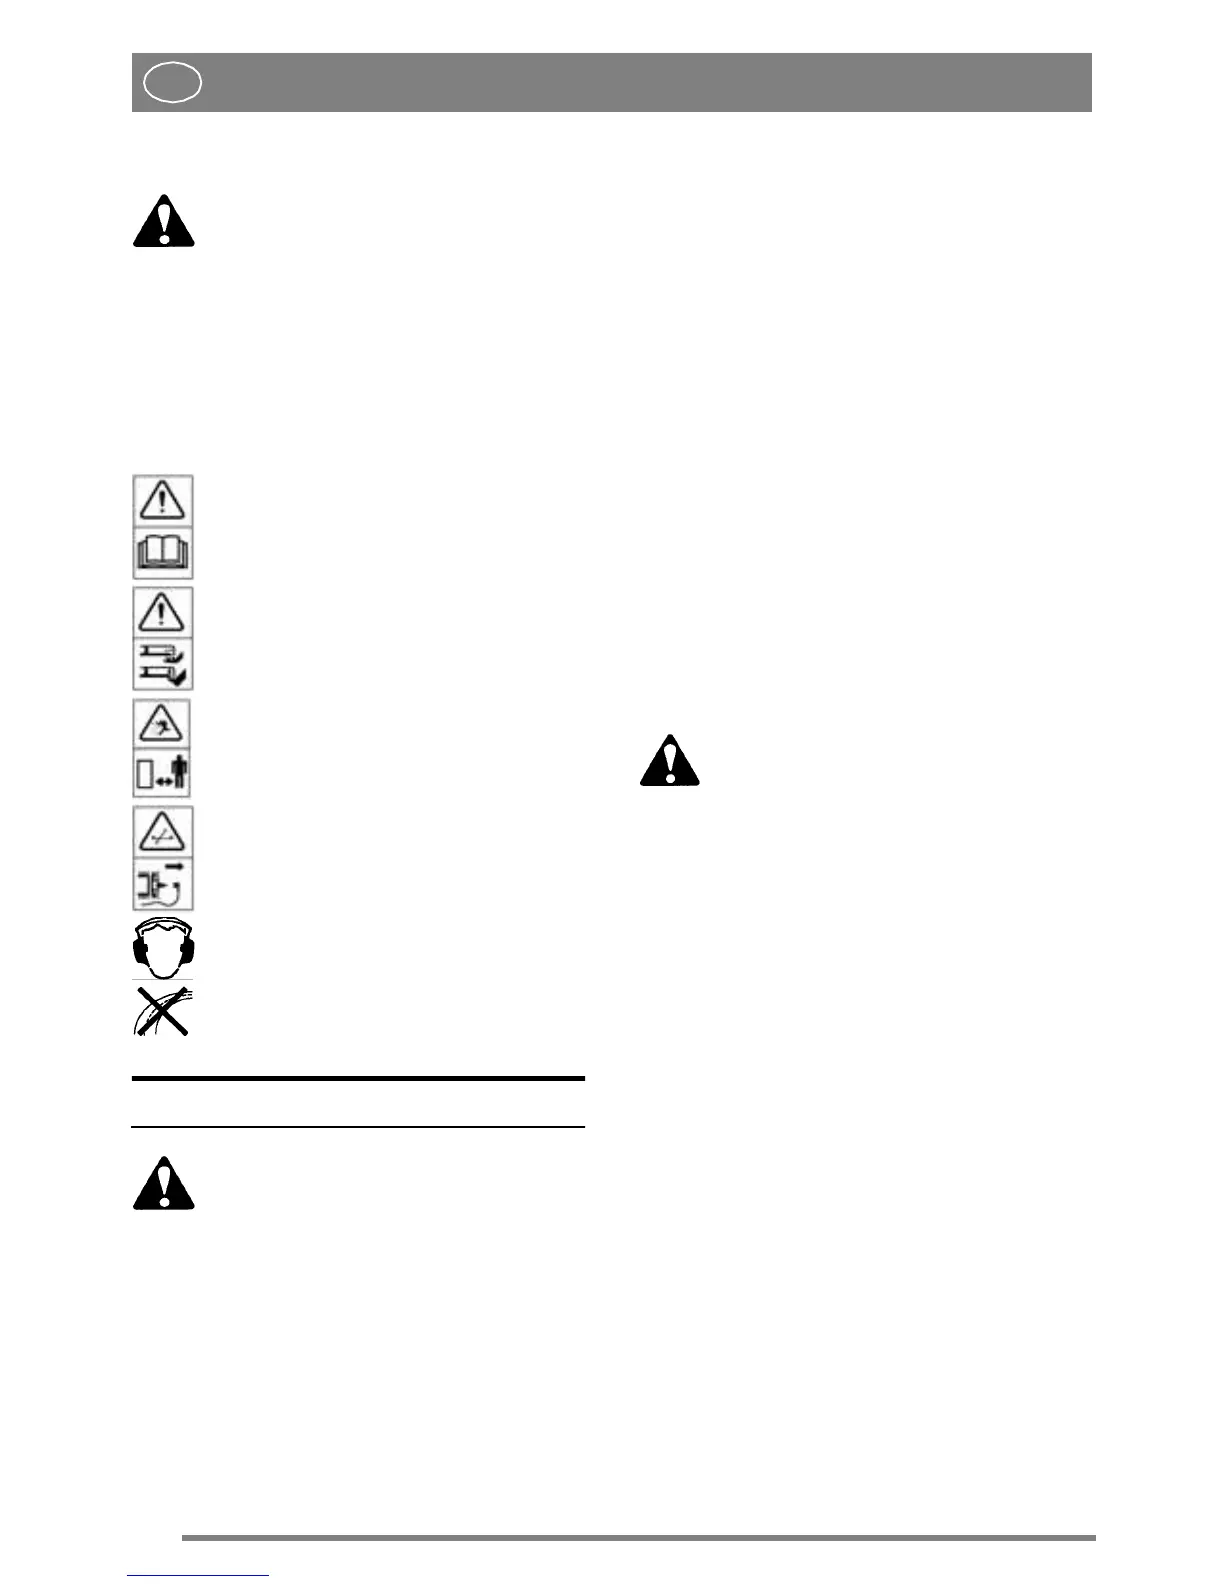
Indicates potential personal injury or property damage if instructions are not followed.

Understanding Machine Symbols

Explains symbols found on the machine for care and attention during use.

INSTALLATION AND COMPONENTS

Initial Installation Steps

Avoid starting engine before assembly measures are completed to prevent injury.

Steering Wheel Assembly

Guides installation of the steering wheel and use of shim washers for play compensation.

Accessories Bag Contents

Lists items included in the plastic bag with the machine.

BATTERY AND BASIC CHECKS

Battery Installation and Care

Instructions for charging, storing, and connecting the 12V maintenance-free battery.

Tyre Pressure Requirements

Specifies correct air pressure for front and rear tyres.

Cutting Deck Setup

Details parallel alignment adjustment and installation of Multiclip/Collector.

Grass Collector Assembly

Instructions for assembling the grass collector and its ejector tube for safe use.

OPERATING CONTROLS

Height Setting Lever

Lever for adjusting cutting deck height, with five positions from 35 to 75 mm.

Blade Engaging Lever

Lever to engage or disengage the cutting blade and activate the blade brake.

Service Brake and Clutch Pedal

Combined pedal for braking and clutching, with three positions for drive engagement.

Parking Brake Operation

How to engage and disengage the parking brake to lock the brake pedal.

Throttle and Choke Control

Control for engine speed and choke function for starting from cold.

Gear Lever Operation

Lever for selecting forward gears, neutral, or reverse, requiring clutch pedal use.

Starter Key Functions

Ignition lock for starting/stopping the engine with STOP, OPERATING, and START positions.

USING THE MOWER

Areas of Use

Permitted uses include mowing, grass/leaf collection, and grass/leaf transport with accessories.

Safety System Checks

Describes the machine's safety system components and their function.

Engine Starting Procedure

Steps for starting cold/warm engines using throttle, brake, and starter key.

Engine Stopping Procedure

Steps to safely stop the engine, including blade disengagement and key removal.

Fueling and Oil Level Check

Procedures for safely fueling the tank and checking engine oil levels.

OPERATIONAL TIPS AND MAINTENANCE

Cutting Tips

Advice on preparing for mowing and achieving optimal 'Multiclip effect'.

Slope Operation Guidelines

Precautions for operating the machine on slopes to prevent tipping or loss of control.

General Maintenance Precautions

Conditions required before performing any servicing on the engine or cutting deck.

Engine Oil Change

Schedule and procedure for changing engine oil, including capacity and type.

ROUTINE MAINTENANCE

Lubrication Points

Locations and frequency for applying grease to the front axle and steering pinions.

Air Filter Maintenance

Cleaning and replacement procedures for foam and paper air filters.

Engine Cleaning

Importance of cleaning cooling fins and air intake for engine longevity.

Spark Plug Servicing

Procedure for checking, cleaning, and replacing the spark plug, including gap setting.

Clutch/Brake Adjustment

Adjustment steps for drive belt slip and brake lining.

COMPONENT REPLACEMENT AND BLADE CARE

Removing the Cutting Deck

Step-by-step guide to removing the cutting deck, including safety precautions.

V-Belt Replacement

Procedures for replacing V-belts for the cutting deck and transmission.

Blade Brake Adjustment

How to adjust the blade brake to ensure it is flush with the belt pulley.

Blade Sharpening and Replacement

Guidance on proper blade sharpening techniques and using genuine spare parts for replacement.

Spare Parts Information

Emphasis on using genuine STIGA spare parts for safety and function.

Related product manuals