0478 111 9841 A - EN
24
● Select the highest cutting level. (Ö 8.4)
● Detach the grass catcher box. (Ö 8.3)
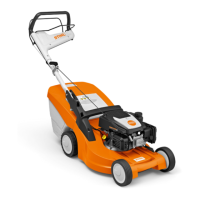
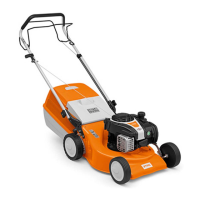
Cleaning position RM 443, RM 443 T,
RM 448 PT, RM 448 T, RM 448 TX:
● Hold upper handlebar (1) and open the
quick-clamping devices – fold
downwards.
● Set down upper handlebar (1)
rearwards.
● Open discharge flap (2) and hold it
open.
● Lift up the machine at the front and
place in the cleaning position as shown.
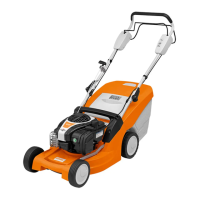
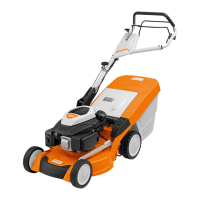
Cleaning position RM 448 PC,
RM 448 TC, RM 448 VC:
● Stand to the right of the machine to tilt it
upwards.
● Set the upper handlebar to the lowest
position (as far as the stop, the detent
lever does not engage in this position).
(Ö 8.2)
● Open discharge flap (2) with the right
hand and hold it open.
● Hold the bracket with the left hand as
shown and hold the discharge flap
open. Press detent lever (3) with the
thumb at the same time and hold.
● Hold the machine with the right hand at
the front handle and tilt it slowly
rearwards until the handlebar is in
contact with the ground as shown.
● Release discharge flap (2) and detent
lever (3) and check that the machine is
standing securely.
Notes on cleaning:
● Clean off dirt using little water, with a
brush or with a cloth. In particular, also
clean the mowing blade. Never spray
water onto engine components, seals
or bearing points.
● First, remove accumulated clipping
deposits using a stick.
● If necessary, use a special cleaner
(e.g. STIHL special cleaner).
12.4 Checking blade wear
Maintenance interval:
Before each use
● Tilt the mower upwards into the
cleaning position. (Ö 12.3)
● Clean the mowing blade (1).
● Place a ruler (1) against the front blade
edge and measure permissible
grinding A.
● Measure blade width B using a slide
calliper (2).
● Check blade thickness C at 5 points at
least using a slide calliper (2). In
particular, minimum thickness must
also be ensured in the area of the blade
wings.
Wear limits:
Permissible grinding A: < 15mm
Blade width B: > 39 mm
Blade thickness C: > 2 mm
The blade must be replaced,
– if it is damaged (notches, cracks),
– if the measured values are achieved at
one or more points or are outside the
permissible limits.
If the multi-blade available as a special
accessory is installed on the lawn mower,
different wear limits apply (see instruction
manual for accessory).
12.5 Removing and installing the
mowing blade
Removing:
● Use a suitable wooden block (1) to
counterhold mowing blade (2).
● Unscrew the blade fastening screw (3).
Remove the mowing blade (2), blade
fastening screw (3) and retaining
washer (4).
Risk of injury!
Stop the engine, detach the spark
plug socket and allow the machine
to cool down.
Empty the fuel tank (run empty)
before placing the machine in the
cleaning position.
The machine is only safely in the
cleaning position when the
discharge flap is open.
Risk of injury!
Blades are subjected to differing
degrees of wear depending on the
location and duration of use. If you
use the machine on sandy ground
or use it frequently under dry
conditions, the blade will be
subjected to greater loads and will
wear more quickly than the
average. A worn blade may break
off and cause serious injuries. The
instructions for blade maintenance
must therefore always be observed.
20
21
 Loading...