6 T2000 Installation Guide
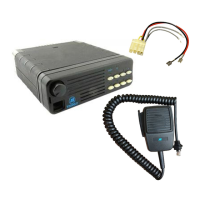
Components of the T2000II Radio Kit
The T2000II Radio kit includes the following parts:
• T2000II Radio kit
• BNC Antenna Crimp Plug
• Microphone
• Cradle Keys (2)
• Complete Cradle
• Power Cable (5m)
• 4 Ohm Speaker (not for internal speaker models)
• Installation Kit:
Two-way hermaphroditic connector (1)
Socket receptacle (2)
10A 12V Blade fuse (2)
Inline crimp fuse holder (2)
Self tapping screw (4)
Shakeproof washer (4)
Microphone clip kit (1)
Control head mounting bracket (T2020II and T2040II only)
Recommended Installation Tools
• Portable Drill
• Centre Punch
• Drill Bits: 4mm for self-tapping screws, 6mm for nuts and bolts
•“Pozidriv” Screwdrivers
• BNC Crimp Tool (e.g. Transradio England Duo crimp 894)
• In-line Power Meter capable of measuring forward and reflected power at the operating fre-
quency of the radio
• Hammer
Installation of Your Radio
To ensure trouble-free, efficient installation, inspect the vehicle and determine how and where the
antenna, radio and accessories are to be mounted.
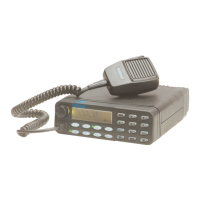
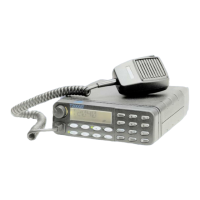
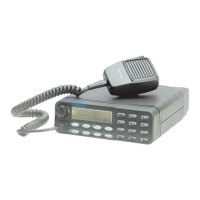
It is possible to remote-mount the T2020II, T2040II and T2050II models as these have alphanumeric
keypads, with the control head separate from the radio chassis. This enables the radio to be
mounted in a discrete location, e.g. the rear luggage space, with the control head mounted in a con-
venient position for the vehicle’s occupants. See the M2000 service manual, available from your Tait
dealer, for details of this modification.
T2000 Installation Guide 7
Occupant’s Safety
Check that the chosen locations for the radio and accessories do not endanger the vehicle occupants.
Overhead mounting is not recommended, especially without an additional safety strap. Check that
the radio may be conveniently operated when seat belts are worn.
Caution:
To prevent interference with vehicle electronic systems (such as ignition and anti-skid
devices), the radio, its antenna and wiring should be mounted away from these units and
their associated cables.
Allow sufficient airflow around the radio to permit adequate cooling. Once you have found a suita-
ble mounting position for the radio, hold it (fitted in the cradle) in the proposed mounting position
and check there is clearance behind it for the heatsink, cables, etc. Check that the position provides a
large enough flat surface that the cradle will not be distorted.
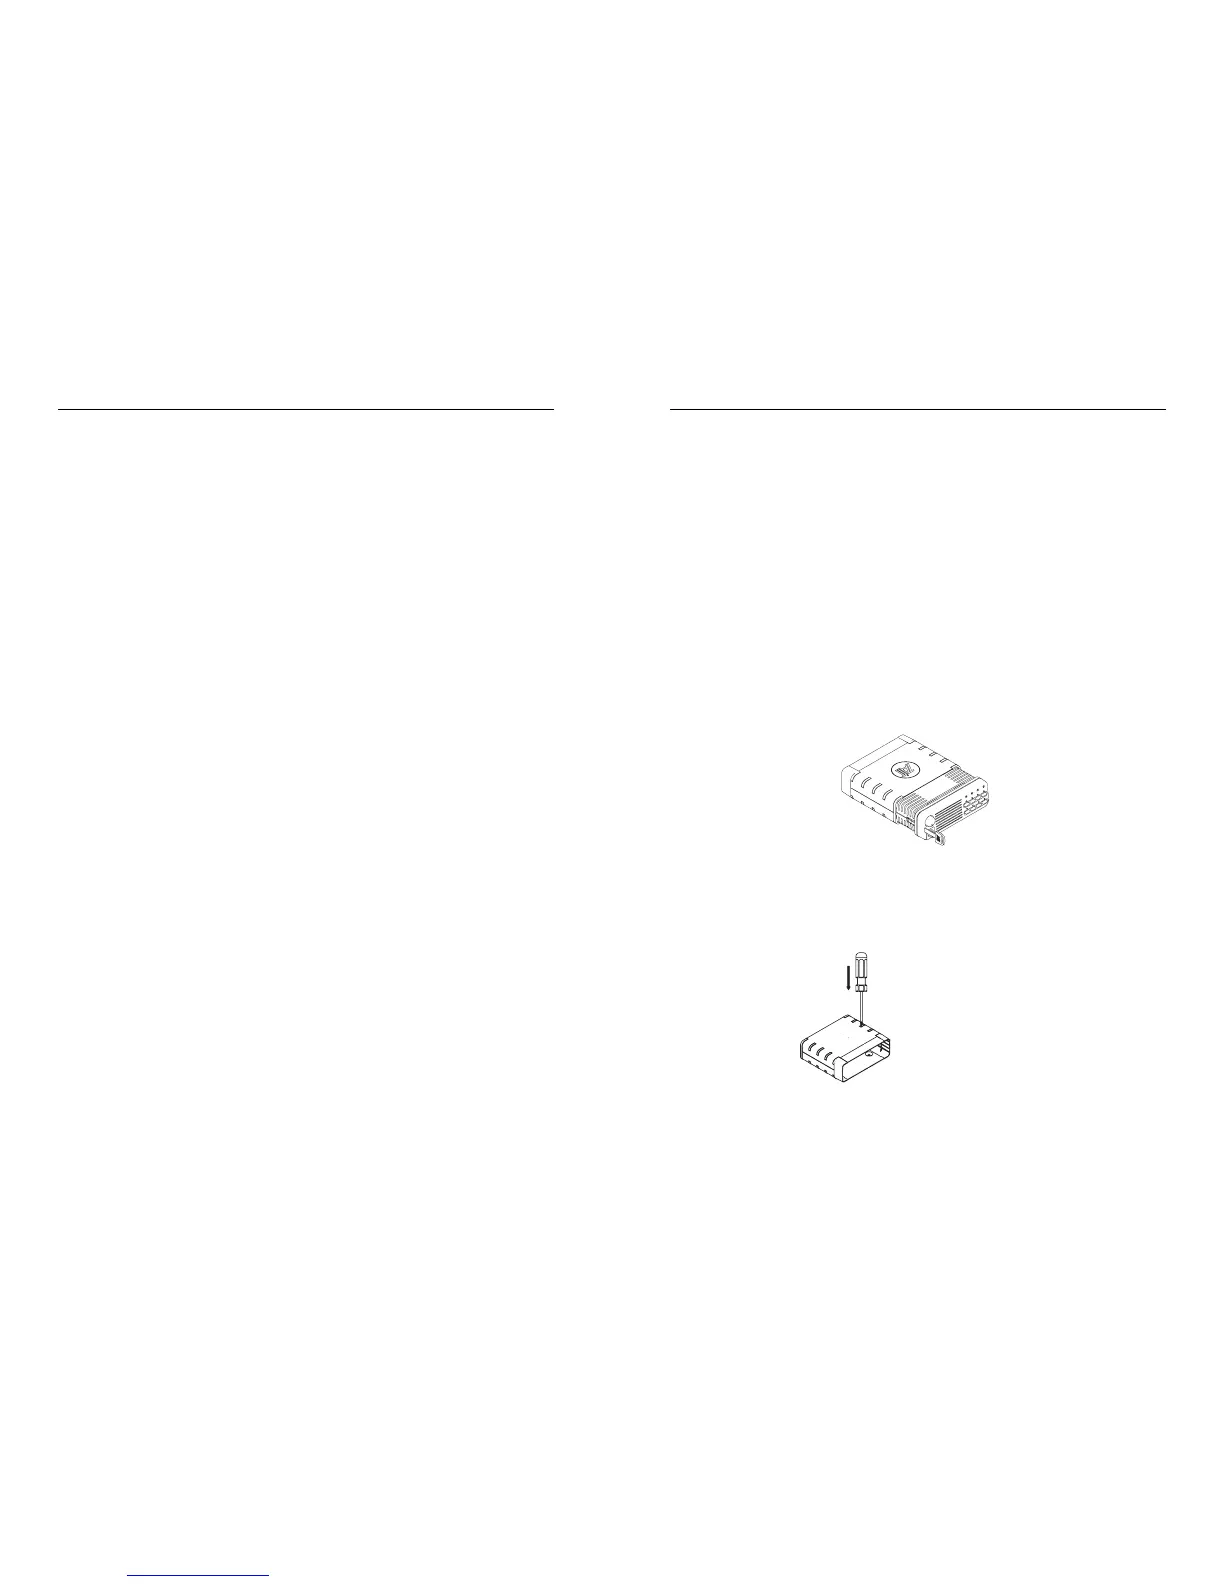
To Disassemble the Cradle
1. Remove the radio from its cradle by sliding the plastic key supplied with the radio fully into the
slot on the left front of the radio unit. The radio will now slide out forwards from the cradle, as
shown below:
Figure 1 Cradle and Key
2. Disassemble the cradle by placing it on a firm surface and applying pressure down on one of the
middle ribs of the plastic side moulding with a screwdriver. This will release the ribs along this
edge from the slots in the metal cover with which they mate. A similar approach will release the
other edge of the metal cover which can now be lifted clear (as shown below).
Figure 2 Cradle Assembly
Mounting
1. Hold the drilled half of the metal cradle cover in the position chosen for the radio and use the
 Loading...