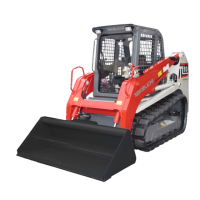
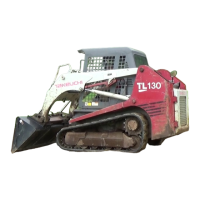
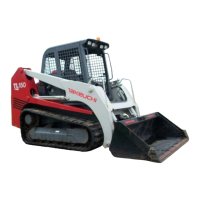
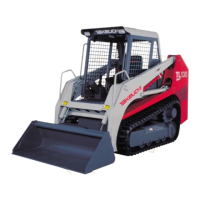
Takeuchi TL12 R2/V2 Daily Maintenance Guide
The following inspection items must be completed
each day before operation of the machine:
Opening the rear door and hood:
1. Remove all three cotter pins holding rear armor in place.
2. Store the cotter pins with their locking pins in the cabin.
3. Swing the armor out of the way to access the hood and door.
4. Open the hood using the latch on top,
5. The red-handled lever that opens the rear door will now be
accessible inside the door on the far right.
6. Pull the red-handled lever up to open the rear door.
Do not operate or move the machine with the door, hood, or armor open.
1. Inspecting the coolant tank:
1. Open the rear door.
2. Inspect the coolant level in the reserve tank located to the
left of the radiator. Coolant level should be between “full”
and “low”. If low, refill tank with 50% green antifreeze.
3. Make sure reserve tank cap is on tightly and close the door.
2. Inspecting the engine oil:
1. When inspecting the engine oil level, make sure the
engine is cold to ensure an accurate reading.
2. Open the engine hood.
3. Take out the dipstick near the radiator’s top left corner
and wipe oil off with a rag.
4. Fully reinsert the dipstick and then pull it back out.
5. Check oil level; if it is below the lower limit, top-off.
Adding engine oil:
1. Remove the yellow oil cap.
2. Using a funnel, add 10W-30 oil between the upper and
lower levels of dipstick.
3. Tighten the oil filler cap and close the engine hood.
3. Inspecting the water separator:
1. Open the rear door.
2. Inspect the water separator. If the red indicator ring has
sunk to the bottom, no water is mixed into the fuel. If the
indicator ring is floating, there is water up to the ring.
3. If needed, drain water by carefully loosening the white
thumbscrew at the bottom of the separator assembly
until water begins to drain. Do not fully remove the screw.
4. Tighten drain screw carefully and close the rear door.
4. Inspecting and removing combustible material
from the rear and underside of the machine:
1. Open the engine hood and the rear door.
2. Remove all foreign materiel from around the engine
compartment, battery and radiator.
3. Close the hood and remove all debris near exhaust pipe.
4. Inspect between tracks and cabin for any foreign material
and remove it if necessary.
5. Close the engine hood and rear door.
5. Inspect the fuel level:
Check the fuel level using the fuel gauge in the cabin.
F: tank is full. E: tank is empty.
Do not attempt to operate machine with completely
empty fuel tank. Fill with low-sulfur diesel only.
6. Inspecting the hydraulic oil level:
1. Start the engine and run it at low speed.
2. Fully retract the cylinders by lifting the arms.
3. Stop the engine.
4. Inspect the oil level using the sight gauge to the left below
the seat. Oil level should be in the middle of the gauge.
7. Blowing out the air filters:
1. Open the rear door.
2. Open the air filter housing at the top right of the compartment.
3. Remove the outer air filter and blow out the housing.
4. Blow out the outer air filter away from the machine.
5. Blow out inner air filter away from the machine.
(a leaf blower can be used if an air compressor is not available).
6. Reinstall both filters and close filter housing.
7. Remove any debris from the radiator to prevent overheating.
8. Close the rear door.
8. Greasing the equipment:
1. Ensure the machine is off and the arms are fully lowered.
2. Use a grease gun to lubricate the grease fittings shown
on the diagram below.
3. Wipe off excess grease before operating the equipment.
Grease fitting locations:
If you have any maintenance questions
call Tracked Rentals at (803) 462-5454.