37
I25 I24 I23 I22 I21 I20 I19 tr sv sl ro pt pl no nl it hu fr fi es en de da cz cn
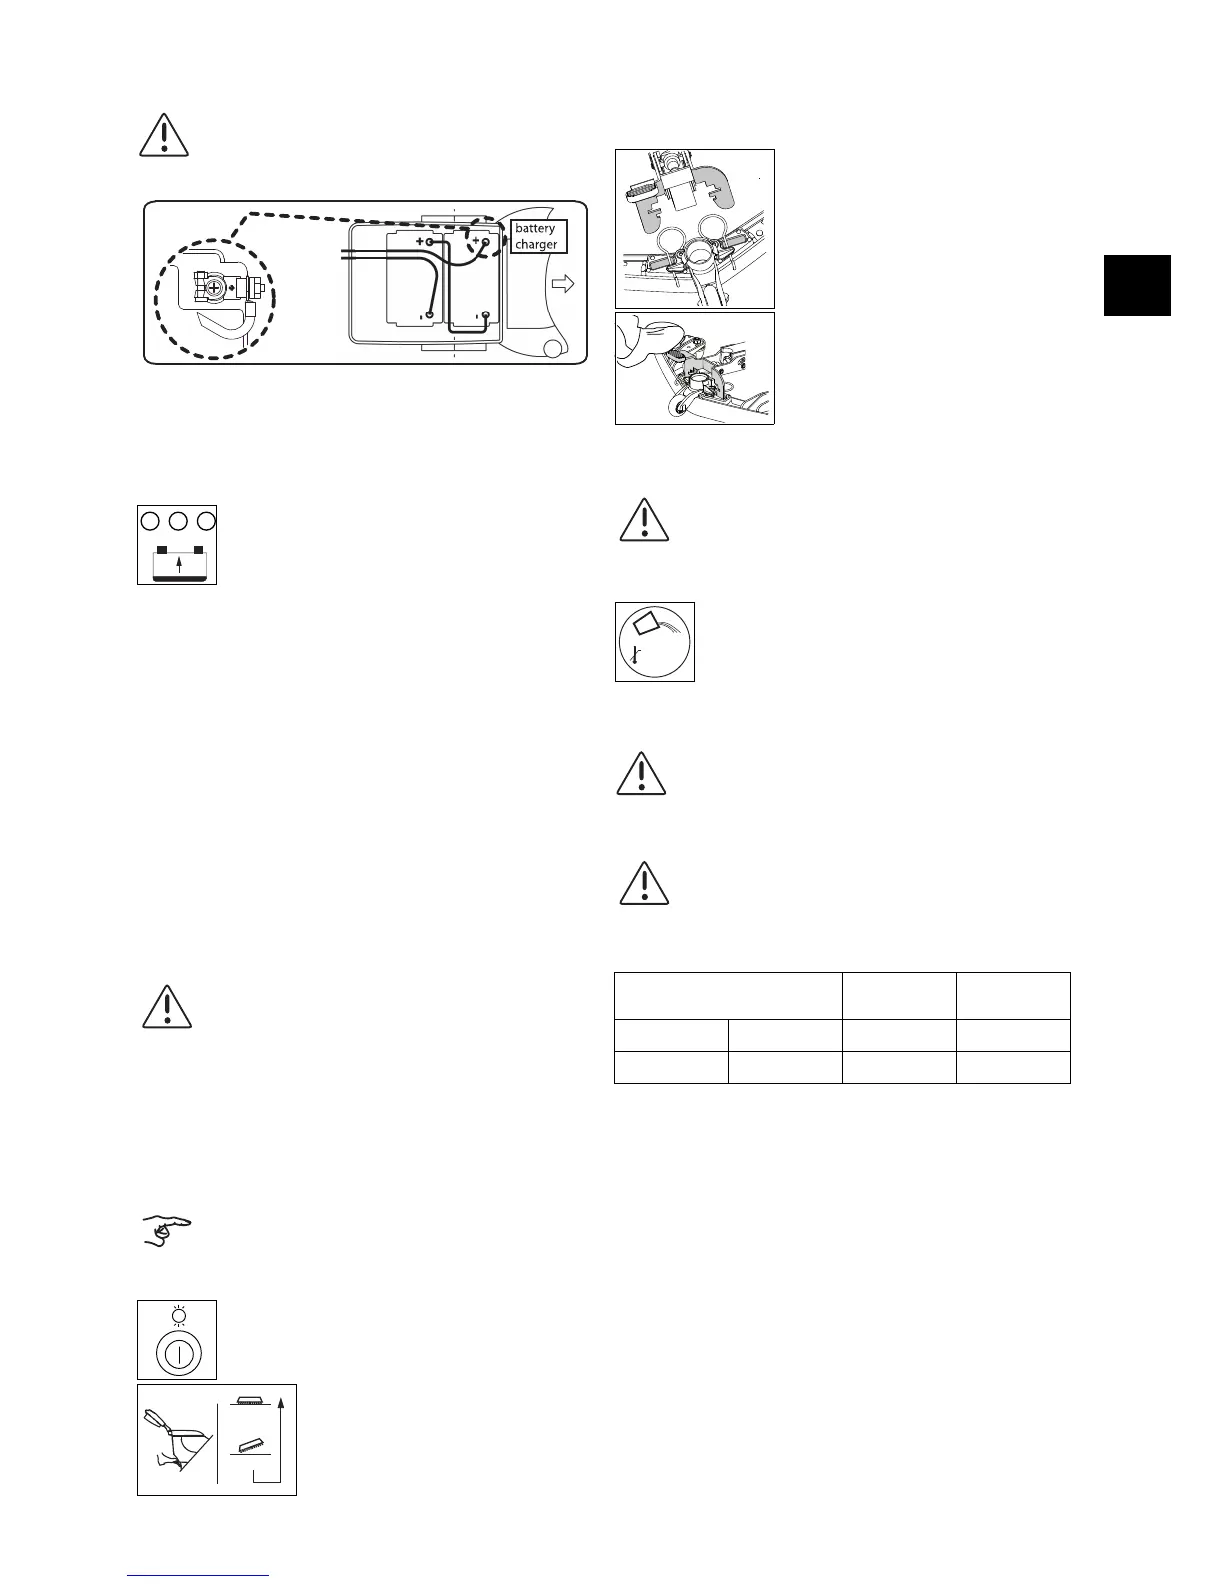
Battery connection diagram
Charging sequence for traction block batteries (with the integrated battery
charger unit).
After completing the charging and with immediate use:
Charging procedure (traction block batteries with external charging unit)
Attaching tools
Check:
• whether the brush has gone below the red mark and that the bristles are not
shorter than 1 cm.
• the pad for wear before using.
Attach squeegee
Filling water
Dosage:
Only use chemical products recommended by the manufacturer.
Dosing examples (The concentration is product dependent)
Caution:
Batteries may only be installed or dismounted by customer
service personnel or specialists approved by Diversey who are
aware of all the safety regulations that apply here!
• Disconnect the link from the battery to the machine using the battery
disconnection socket.
• Plug the power supply cord into the mains socket.
• The yellow display lights continuously until
about 90% of battery capacity has been
reached. The yellow display then blinks until the
battery is fully charged.
• When the charging process is complete, the
green indicator lights up.
• Leave the power supply cord connected to the mains until you use the
machine again. The on-board charger unit automatically monitors and
charges the batteries. The energy consumption in the mode is limited to a
few milliwatts.
• If a fault occurs during the charging process as the result of a defect in the
charging unit, an interruption of a cable or a defective battery cell, the red
indicator will light up.
• Unplug the connection to the mains socket.
• Make a connection between the battery and the machine by plugging in the
battery disconnection plug.
• Disconnect the battery from the machine using the battery disconnection
socket.
• Connect the battery disconnection socket to the external battery charging
unit (pay attention to the voltage from the mains supply socket).
Caution:
Follow the instructions for use for your battery charger!
• Switch the machine off.
Working with worn out, damaged and or wrong tools, could result
in possible damage to floors or their protective layers.
• Position the tool below the brush unit.
• Switch the machine on. In order to do this, hold
the ON/OFF button (main ON/OFF switch)
down for 3 seconds.
• Unlatch the foot lever and slowly lower the tool.
• The tool will latch into position by means of 10
short rotation cycles.
The sequence can be repeated if the tool has
not locked into place.
• Briefly pull the brush drive bar.
• Switch the machine off.
• Lay the squeegee under the squeegee holder
so that the nozzle holder is underneath the
connection flap.
• Press the foot lever down until the squeegee
locks into place.
• Attach the suction hose to the squeegee.
Caution:
Maximum permissible water temperature 60 °C/140 °F.
• Switch the machine off.
• Lift the tank lid.
• Fill water into the solution tank.
Maximum permissible filling level (page 36).
Caution:
Wear protective gloves, goggles and the corresponding
(protective) work clothing when handling chemical products!
Caution:
Using other chemicals (e.g. chemicals containing solvents,
chlorine, hydrochloric acid and hydrofluoric acid) can damage or
destroy the machine.
Instructions on the product’s
packaging
Tank capacity The volume per
tank filling
0.25% 25ml to 10l water 22l 50ml = 0,05l
0.5% 50ml to 10l water 22l 100ml = 0,1l
• Add the product measured with the dosing aid to the water in the solution
tank.
 Loading...