36
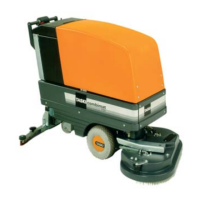
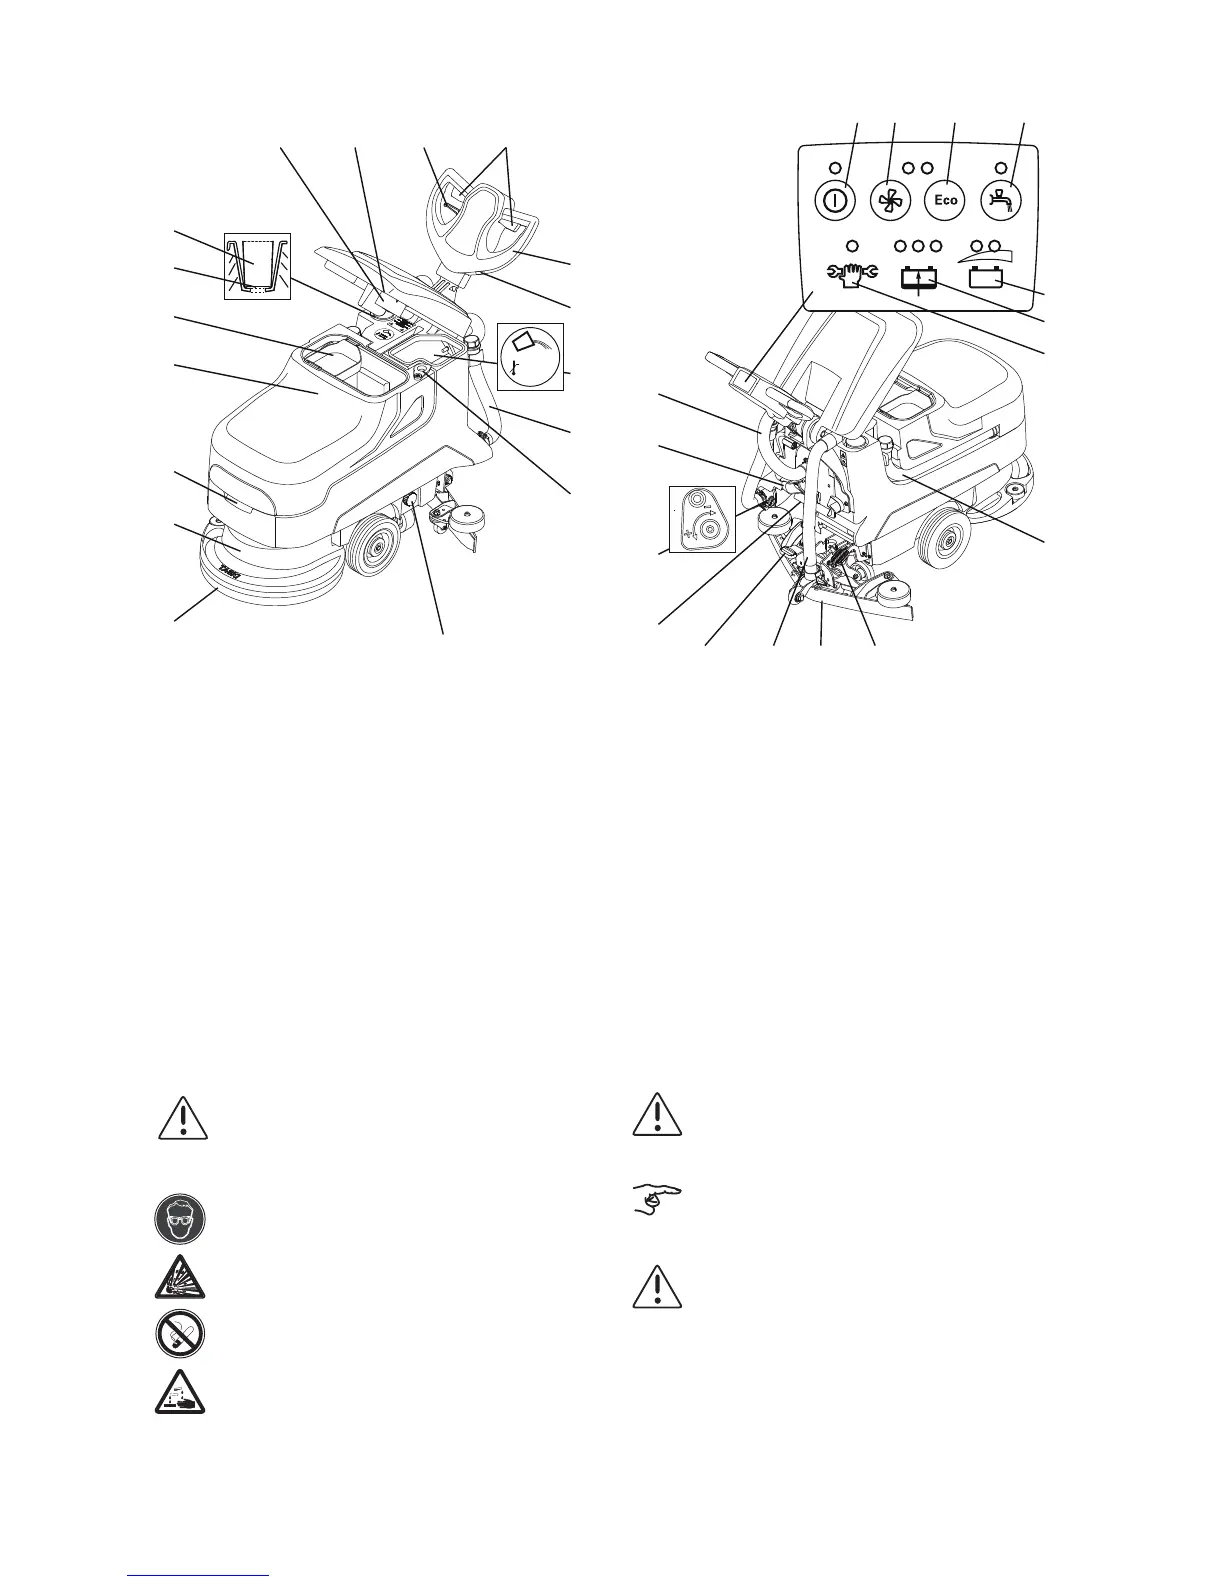
Overview
1 Dosing cup
2 Filling level (max.)
3 Dirt sieve
4 Recovery tank
5 Recessed grip
6 Brush unit
7 Tool (brush, pads, etc.)
8 Solution tank filter
9 Drain opening
10 Drainage hose for the solution tank (blue cap)
11 Solution tank
12 Hour counter (optional)
13 Machine handle
14 Operating lever (brush drive)
15 Adjusting lever for the inclination of the machine handle
16 Vacuum air filter
17 Float (overfilling protection for recovery tank)
18 Suction hose (turbine - cap)
19 Cable support for charging unit power cord
20 Manual solution flow adjustment
21 Disconnector charger jack (coded)
22 Foot pedal squeegee
23 Suction hose (squeegee - cap)
24 Squeegee
25 Foot lever for the tool
26 Drainage hose for the recovery tank (red cap)
27 Service indicator
28 Status indicator for the charger unit (malfunctions, charge, charged)
29 Battery status indicator
30 Cleaning solution ON/OFF button
31 Eco mode button (~60%)
32 Suction unit button (~100%)
33 ON/OFF button (main ON/OFF switch)
Preparation for operation/Operation
Batteries
Safety measures when working with batteries:
Caution:
Only maintenence-free gel traction block batteries may be used!
Please follow the instructions of use for your battery charger!
• Protective goggles must be worn when working on the
batteries.
• Do not subject batteries to an open flame or heat as there is a
danger of explosion from the electolytic gas present in the
cells!
• No smoking!
• Danger of chemical burns!
Caution:
The battery must always be clean and dry. Do not place any
metallic objects on the battery.
The integrated battery charger unit is only suitable for
maintenance-free gel traction block batteries.
Caution:
Check that the charging curve set for the charger unit
corresponds to the gel traction block batteries being used.
(check the battery manufacturer's charging curve)
 Loading...