EasyManua.ls Logo

Technics SC-EH590 User Manual

Technics SC-EH590
21 pages
To Next Page IconTo Next Page
To Previous Page IconTo Previous Page
Page #4 background image
7
RQT6866
Simple set-up and play
6
RQT6866
Simple set-up and play
CENTER
SURROUND
R
L
LF
HF
LF
HF
R
L
(8)
(6)(8)
(6)
HF
LF
B1
A1
B2
[EH790]
Surround and center speakers
FM indoor antenna
Fix the other end of the antenna where reception is best.
For Australia and N.Z.
Twist the vinyl tip and pull off.
Front speaker
Connect the leads to the terminals of the
same colour.
LF and HF stand for low frequency and high
frequency.
Connect the left (L) side in the same
way.
Note
Never short-circuit positive (r) and nega-
tive (s) speaker wires.
Be sure to connect only positive (red or
grey) wires to positive (r) terminals and
negative (black or blue) wires to negative
(s) terminals.
Incorrect connection can damage the
speakers.
AM indoor antenna
Twist the vinyl tip and pull off.
Keep loose antenna cord away
from other wires and cords.
Center speaker
Surround speaker (left)
Surround speaker
(right)
Right
Left
Red
STEP2
Speaker leads
Simple set-up and play
STEP3
Antennas
STEP4
Flat cables and AC mains lead
Flat cables
Keep the cables as flat as possible against the back of the unit.
Connect the connectors to the terminals of the same colour.
Incorrect connection can damage the unit.
Connecting Disconnecting
(For the United Kingdom only)
BE SURE TO READ THE CAUTION FOR THE AC
MAINS LEAD ON PAGE 4 BEFORE CONNECTION.
AC mains lead
Insertion of connector
Even when the connector is perfectly in-
serted, depending on the type of inlet
used, the front part of the connector may
jut out as shown in the drawing.
However there is no problem using the unit.
For your reference:
Information you enter into the unit’s memory, except for time, remains
intact for up to two weeks after the mains lead is disconnected.
Approx. 6 mm
Connector
Appliance inlet
To household
mains socket
The illustrations show SC-EH790 for the United Kingdom and Eastern Europe.
Do not connect the AC mains lead until all other connections are complete.
Blue
Grey
Black
Blue
Grey
Adhesive tape
Speaker side Tuner/amplifier side
Red
Black
Red
Grey
Black
Blue
Grey
Blue
Red
Black
Twist the vinyl tip and pull off.
Question and Answer IconNeed help?

Do you have a question about the Technics SC-EH590 and is the answer not in the manual?
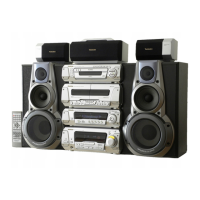
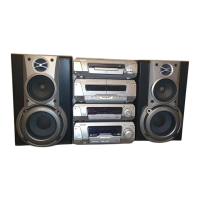
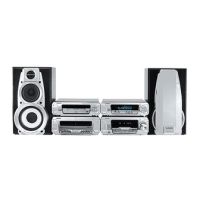
Technics SC-EH590 Specifications

General IconGeneral
BrandTechnics
ModelSC-EH590
CategorySpeaker System
LanguageEnglish

Summary

General Safety Precautions

Placement

Guidance on where to position the unit to avoid damage and ensure performance.

Voltage

Warning about using incorrect voltage sources to prevent fire or overload.

AC mains lead protection

Instructions on handling the AC mains lead safely to prevent electric shock or fire.

System Setup Guide

Speaker and Unit Placement

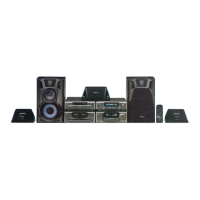
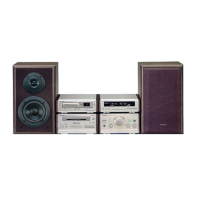
Positioning the main unit and speakers for optimal sound.

Connecting Speaker Leads

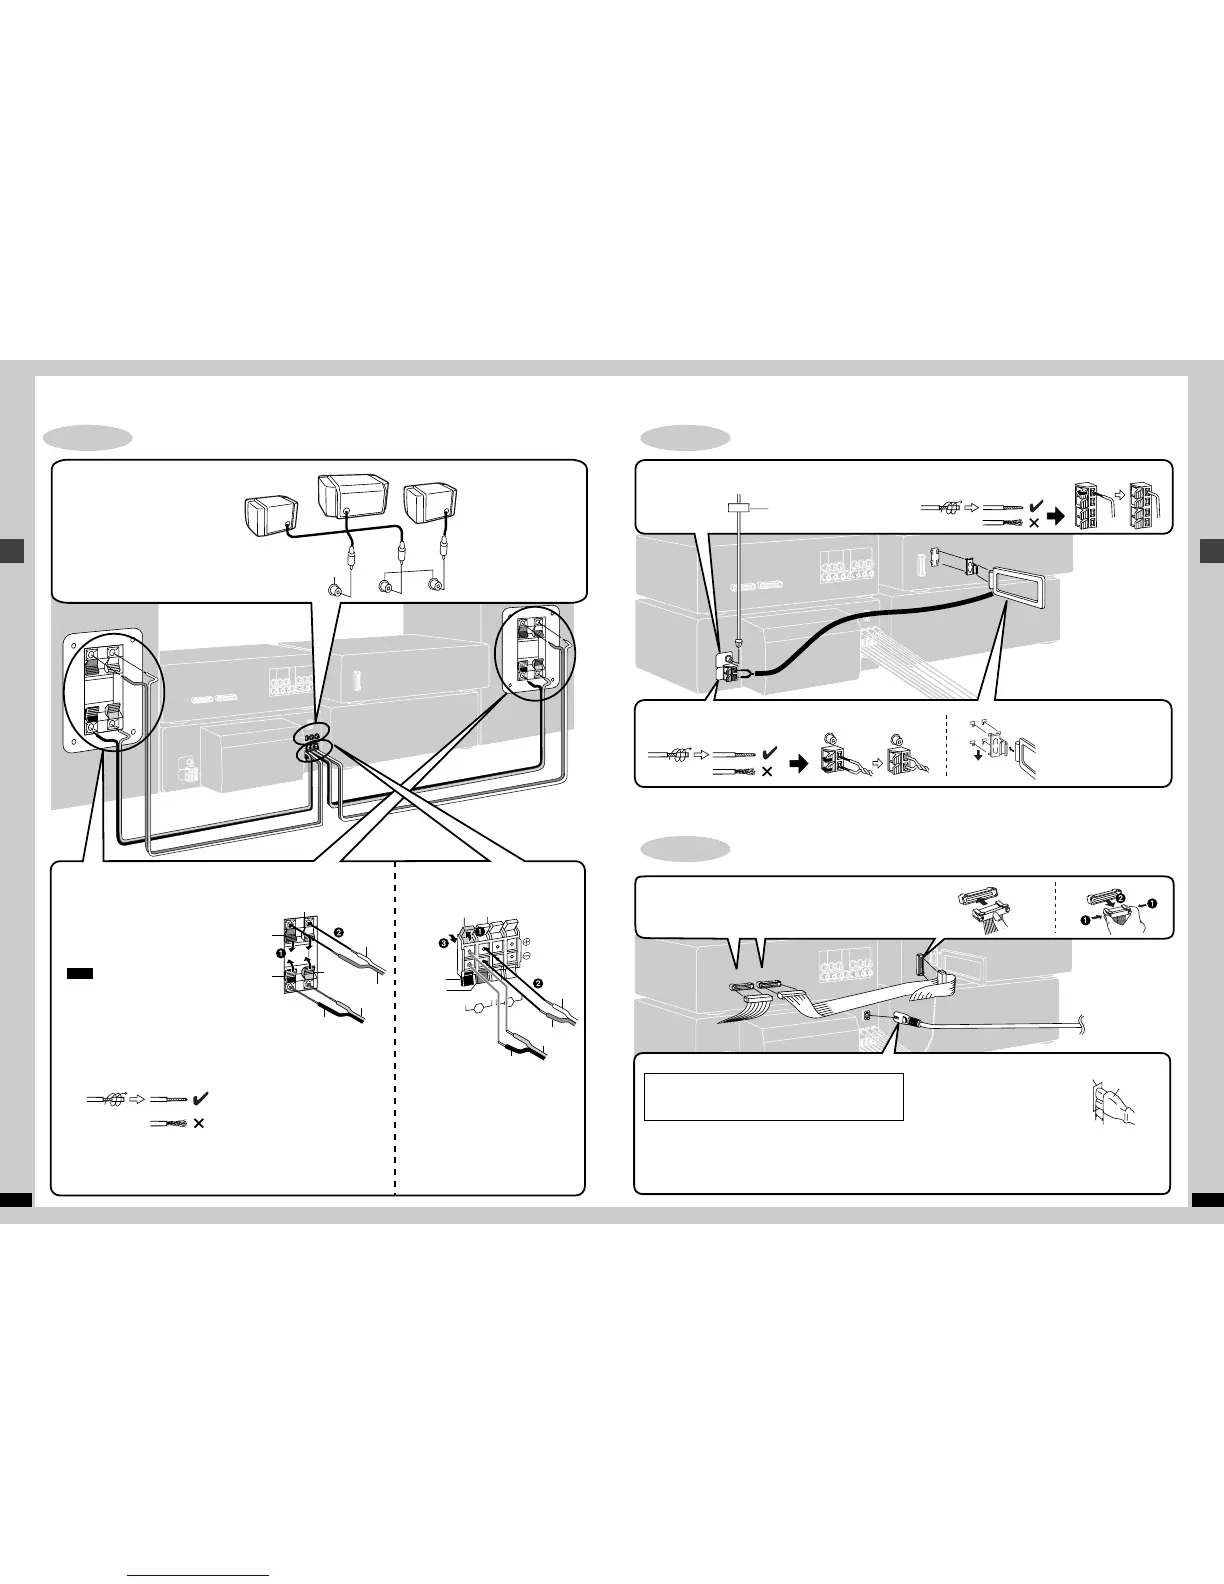
Instructions on connecting speaker wires to the unit and speakers correctly.

Playing a CD

Steps for inserting, closing the tray, and playing a CD.

Component Control Panels

Remote Control Overview

Lists and describes buttons on the remote control for the system.

Operation Guide

CD Operations

CD Direct Access Play

How to start playback from a specific track on a chosen CD.

WMA and MP3 Disc Compatibility

Notes on compatibility and playback of WMA and MP3 files.

CD Program Playback

Steps to create a custom playback sequence of up to 24 tracks.

Manual Radio Tuning

Manual Radio Presetting

Steps to manually tune and save desired radio stations.

Radio Preset Tuning

Manual Radio Presets

Manually tunes and stores desired radio stations into memory channels.

Cassette Tape Operations

Tape Track Finding

Instructions for fast-forwarding, rewinding, and using TPS to locate tracks.

Sound Field and Quality Adjustments

Surround Sound Features Overview

6CH Discrete Input Setup

Using 5.1 channel sources like Dolby Digital or DTS with the unit.

Dolby Pro Logic Surround

Utilizing Dolby Pro Logic circuitry for enhanced surround sound from Dolby Surround sources.

Speaker Level Calibration

Adjusting the volume level of individual speakers for balanced surround sound.

Surround Sound Effects

Surround Effects

Cassette Recording Operations

Cassette Recording Preparation

Preparatory steps for recording onto cassette tapes, including erasing and tab removal.

Recording the Radio

Instructions for recording radio broadcasts onto a cassette tape.

Recording CDs to Cassette

Steps for recording audio from CDs to cassette tapes.

Tape to Tape Copying

How to copy audio from one cassette tape to another.

Timer and Convenience Functions

Play Timer Setup

Setting the unit to automatically play a source at a specified time.

Record Timer Setup

Setting the unit to automatically record radio broadcasts at a specified time.

Karaoke Mode (Australia/NZ)

Connecting External Units

Recording External Sources

Steps for recording audio from external sources onto a cassette tape.

Manual References

Troubleshooting Common Issues

Solutions for common problems encountered with the system.

System Technical Specifications

Related product manuals