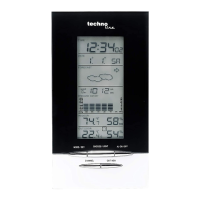
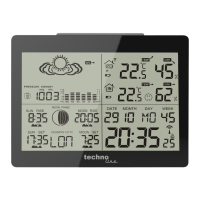
WS 6600
Instructions manual
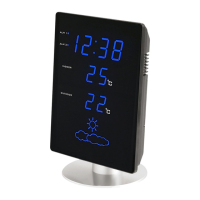
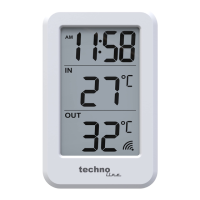
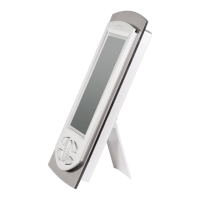
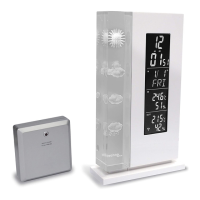
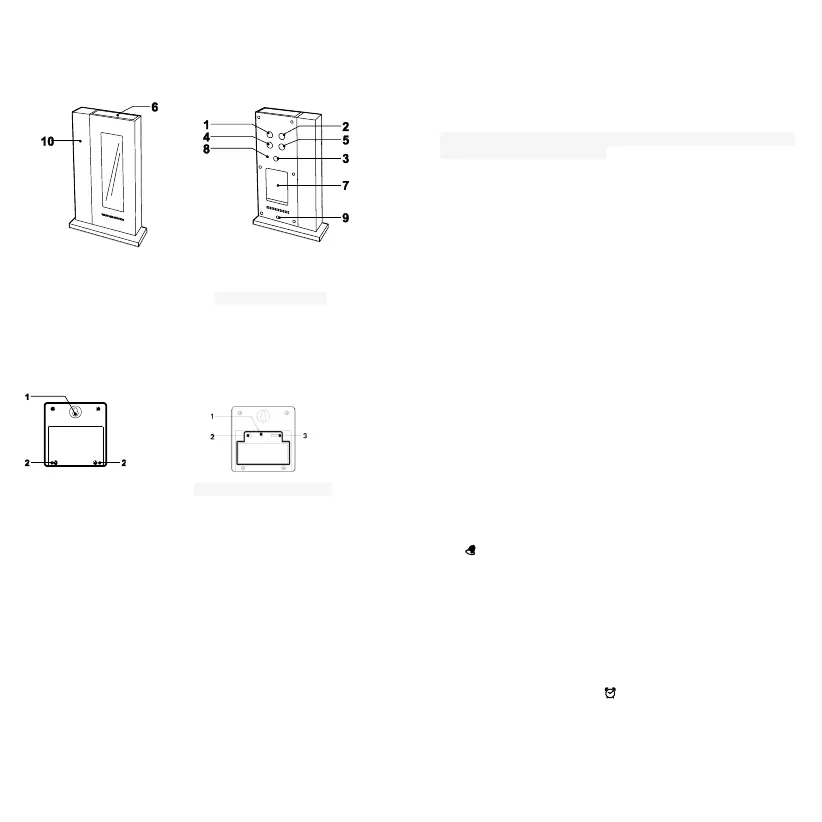
(10) Crystal weather forecast
Temperature sensor
(1) Hanging hole (1) RESET button
(2) Battery compartment screws (2) TX button
(3) Channel 123 switch
During initial installation, the temperature and humidity sensors
may take up to an hour or more to acclimatize to current conditions.
It is recommended for the main unit and the external sensors are
put in the room where they will be used for at least 1hour prior to
initial installation.
Getting started
Due to the heavy power consumption of the unit it is strongly
recommended to use the A/C adapter at all times.
1) Install the A/C adapter into the DC jack in (9) hole.
2) Install 3x AAA size batteries by sliding open the BATTERY
COMPARTMENT (7). Replace battery compartment door when
finished. See battery warnings below.
3) When batteries are in use, the symbol of the battery will be
shown on the clock face when the batteries are low and need
replacing.
4) The batteries in the unit will keep the time and other details
working if and when the A/C adapter is removed.
Note: If only batteries are being used one can illuminate the clock
face for a period of about 10second when the SNOOZE button (6)
is pressed.
When batteries are in use, will be shown if the batteries are low
and are in need of replacing.
When required, insert a small paper clip in the reset hole (8) to
return to default setting.
After the installation of AC adapter and/or batteries, the 3D
weather icons will flash. Press ▼(4) or ▲(5) to change the lit icon
to an icon that represents the current weather pattern. See
“Weather Forecast” below for additional details. Press SET button
(2) to confirm.
To set the time
1) Press and hold down SET (2) for approximately 3seconds and
the weekday display digits will flash.
2) Press ▼ (4) or ▲(5) to change the language setting.
GER (German) > ENG (English) > DAM (Danish) > ESP
(Spanish) > NET (Dutch) > ITR (Italian) > FRE (French). Press
SET (2) to confirm
3) Press ▼ (4) or ▲ (5) to change the hour setting.
Press SET (2) again.
4) Press ▼ (4) or ▲ (5) to change the minute setting.
Press SET (2) again.
5) Press ▼ (4) or ▲ (5) to change the year setting.
Press SET (2) again.
6) Press ▼ (4) or ▲(5) to change the date/month and month/date
setting. Press SET (2) again.
7) Press ▼ (4) or ▲(5) to change the month setting.
Press SET (2) again.
8) Press ▼ (4) or ▲(5) to change the date setting.
Press SET (2) again.
9) Press ▼ (4) or ▲(5) to change between AM/PM and 24-hour
clock. Press SET (2) to confirm.
To set the alarm
1) When the current time is showing, press Mode (1) to view
alarm time and press again to view current time.
represents alarm time.
2) When alarm time is shown, press and hold down Set (2) for
approximately 3 seconds and the weekday display digits will
flash.
3) Press ▼ (4) or ▲ (5) to change the hour setting.
Press SET (2) again.
4) Press ▼ (4) or ▲(5) to change the minute setting.
Press SET (2) to confirm.
To turn alarm on and off
1) When alarm time is shown, press
▼ (4) or ▲(5) to turn alarm on
and off. Alarm is on when
is shown.
2) When the alarm goes off, press any button on the back of the
weather to turn off the alarm or press SNOOZE (6) to enter
snooze mode.
3) The alarm will sound again in 5minutes after pressing snooze.
Follow the above instruction.
 Loading...