GB 3
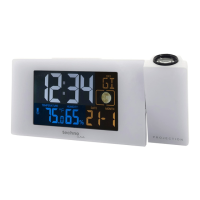
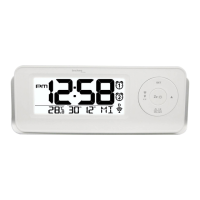
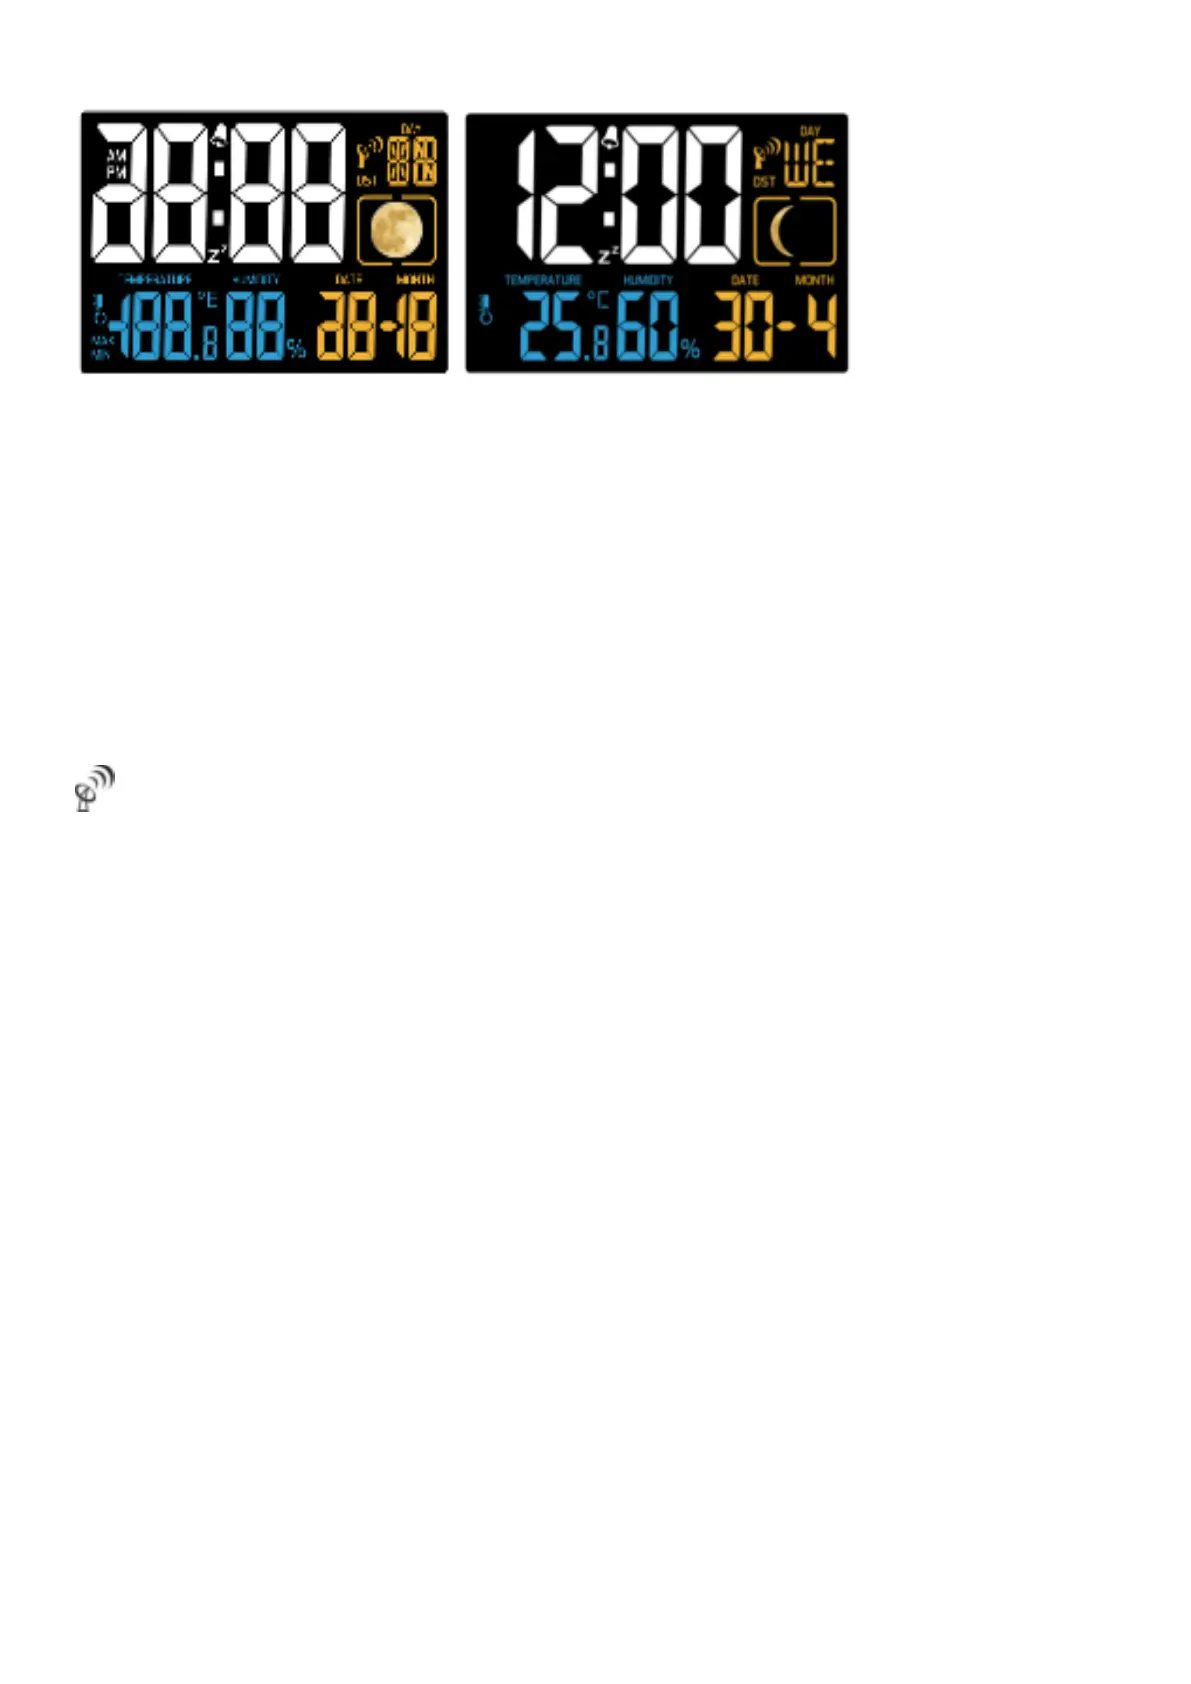
LCD Display:
Full segment Normal display
Back-up batteries
1. Remove the battery door
2. Insert 2x AAA size batteries into the battery compartment. Make sure you insert them the right way according to
the polarity information marked on the battery compartment.
3. Replace the battery door.
Note: No permanent backlight if station is only powered by back-up batteries.
Getting started:
1. Plug the adaptor into the DC jack and the display full segment for 2 second.
2. After complete display 2 seconds to start automatic search for the DCF signal
Automatic DCF reception
DCF reception icon with full signal strength will appear on screen if the reception of radio-controlled time is
successful. The DCF reception icon is shown solid once a signal has been received. No DCF reception icon is
displayed if the station was unable to receive a signal at this time. Reposition the station or try a new attempt during
night time to support the receiving of a signal.
The station automatically tries to receive a DCF signal daily at 1:00, 2:00, 3:00, 4:00 and 5:00. Once received at any
time, the will no longer try to receive at the same day and start again at the next day at 1:00.
If the unit received DST signal, the unit will display the “DST” icon. If the unit don’t received radio controlled time
signal, the “DST” icon doesn’t disappear unless it received NO DST signal.
If there is no signal or too much interference the receiver will only be on for 2 minutes.
If the signal is good it may catch a signal in about 2-3 minutes.
If the signal is marginal it will try to catch a signal for up to 10 minutes.
Setting Time / Date:
x Hold the SET button to enter the setting mode and 12Hr or 24Hr will flash. Press the UP (+) or DOWN (-) button to
select the 12-hour or 24-hour time.
x Press the SET button and the selected time zone will blink. Press the + or - button to set the desired time zone
(setting range is 0~+12, 0~-12).
x Press the SET button and the hour will flash. Press the + or - button to select the hour.
x Press the SET button and the minutes will flash. Press the + or - button to select the minutes.
x Press the SET button and the year will flash. Press the + or - button to select the year.
x Press the SET button and the month will flash. Press the + or - button to select the month.
x Press the SET button and the date will flash. Press the + or - button to select the date. The week day will be set
automatically after the setting of year, month and date.
x Press the SET button and the language will flash with GE as the default setting. Press the + or - button to select a
language: GE, IT, FR, NE, ES, DA, EN. Press the SET button to end the setting and to return to the normal
display mode.
Note:
x If no buttons are pressed in a 20 seconds period, set mode will time out and return to live display mode, reflecting
whatever adjustments were made by user before timed out
x Up/Down buttons - press once to adjust by 1 unit, hold for fast scroll adjustment
 Loading...