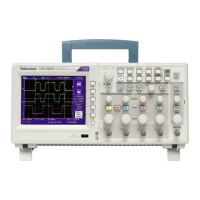
Maintenance
Front-Panel Module
You will need a t
orque-limiting Torx T-15 screwdriver and a flat-blade screwdriver
for this procedure.
Refer to the ex
ploded view diagram for the 2-channel models or the 4-channel
models. (Seepage89.) (SeeFigure13.)
Removal.
1. Remove the power button and rear case. (See page 96.)
2. Remove the
internal assembly from the front case. (See page 61, Internal
Assembly.)
3. Disconne
ct the front-panel cable from J202 on the M ain board. Open the wire
holder through which the cable is routed. (See page 64.)
4. Remove t
he five screws attaching the Front-Panel module to the internal
assembly.
5. Pull th
e module away from the internal assembly.
6. Pull on the front-panel cable a ssembly to disconnect the front-panel cable
from J
1 on the Front-Panel module.
Installation.
1. Conn
ect the front-panel cable to J1 o n the Front-Panel module by pushing the
cable straight down into the connector.
2. Pos
ition the Front-Panel module on the chassis; route the front-panel cable
through the appropriate opening in the chassis. (See page 64.)
3. Ins
tall the five screws to attach the Front-Panel module to the interna l
assembly.
4. As
semble the oscilloscope by performing the installation procedure in reverse
order for each module that was removed.
TDS2000C and TDS1000C-EDU Series Oscilloscope Service Manual 67
 Loading...