INS154-7 4/17
1.2 Mounting the Unit
Select a suitable position to mount the unit, which satisfies the following criteria:
Highly prominent for maximum deterrence1.
Additional shelter (e.g. under the eaves) is an advantage2.
High enough to be out of normal reach to deter tampering3.
Safe ladder access4.
Good cable access5.
In addition to the corner screw fixing points, the unit also has a central
keyhole to simplify mounting and aid levelling.
Four screws and wall plugs are required for mounting the backplate to an even
surface. An additional screw may be required to provide wall tamper by fitting
through the screw hole next to the dual tamper microswitch. In doing so, care must
be taken to leave the screw head slightly proud to ensure that the microswitch
remains level and closes correctly when the outer cover is fitted.
N For maximum weatherproofing the unit should be flat to the wall.
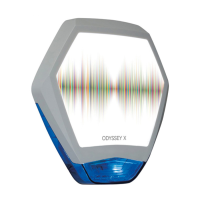
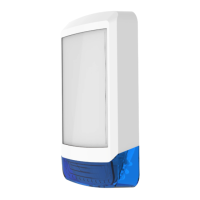
1.3 Adjusting Tamper Sensitivity
Some Texecom external sounder models now include a patented* tamper
adjustment feature. If greater wall/lid tamper sensitivity is required, the
microswitch position can be adjusted by loosening the locking screw and altering
the orientation of the microswitch as shown.
* Patent pending
 Loading...