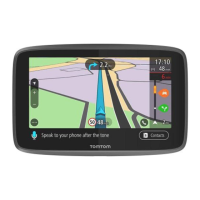
If you'd like this choice every time you navigate, or if you'd like to change the default
setting, see 'Planning preferences'.
Once planned to your preference, the best route is shown on a suitably scaled map. As with
'Navigate to...', you can now select the 'Route' button to explore the detailed route instructions, as
detailed in 'View route' below. Finally, select 'Done' to return to the main navigation view.
View routeView route
If you already have a route planned, you can explore it in various ways by choosing 'View route'
.
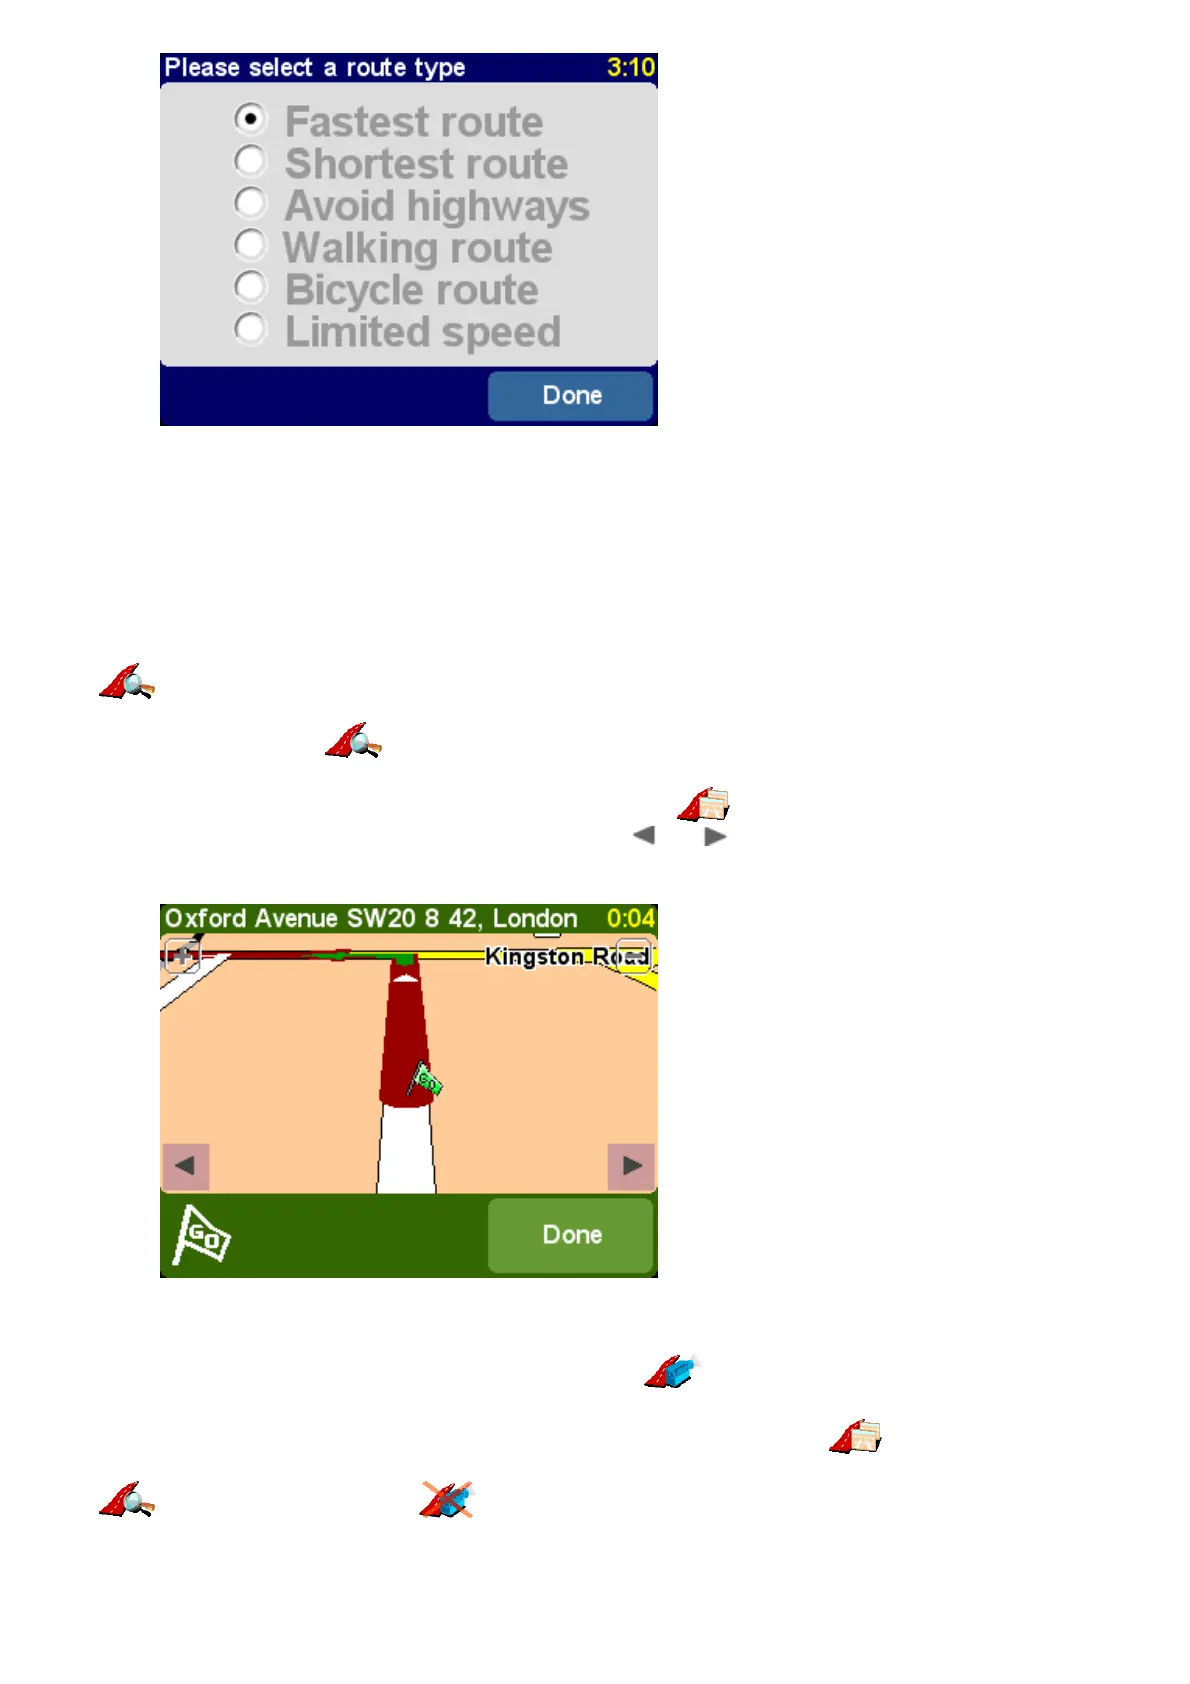
Choose 'Browse as text' for a simple list of the junctions involved and the distances (or
times, use the 'Options' button to change the numbers shown) between them. Selecting an
individual junction from this display or using 'Browse as images' instead presents each
junction in 3D, with your turn instruction clearly marked. Use and to move backwards and
forwards through your planned route.
'Browse as images' is a quick and powerful way to get a feel for the route you're about to
travel.
Along similar lines, although animated, is 'Show route demo' . Using this feature, you can
view your journey at anything up to 500% of 'real time' (chosen using a simple slider). This works
well for journeys within a town or city, but you'll prefer to use 'Browse as images' ,
mentioned above, for any journey of significant length. To stop the animation, choose 'View route'
and then 'Stop route demo' .
Tip: When browsing a route as images, tap on the centre of the screen to switch between 2D and 3D
views of each junction (not TomTom MOBILE users).
 Loading...