Locations in your chosen categories are plotted on the map (and navigation view), each
represented by its own icon.
Tip: You can choose whether or not to show Points Of Interest at all, using 'Hide POI/Show POI' for the
navigation view or 'Map options' for the map browser. In this way, you can keep your chosen Points Of
Interest categories permanently ticked.
It's easy to manage your custom Points Of Interest, using 'Delete POI' and 'Delete POI
category' , as needed.
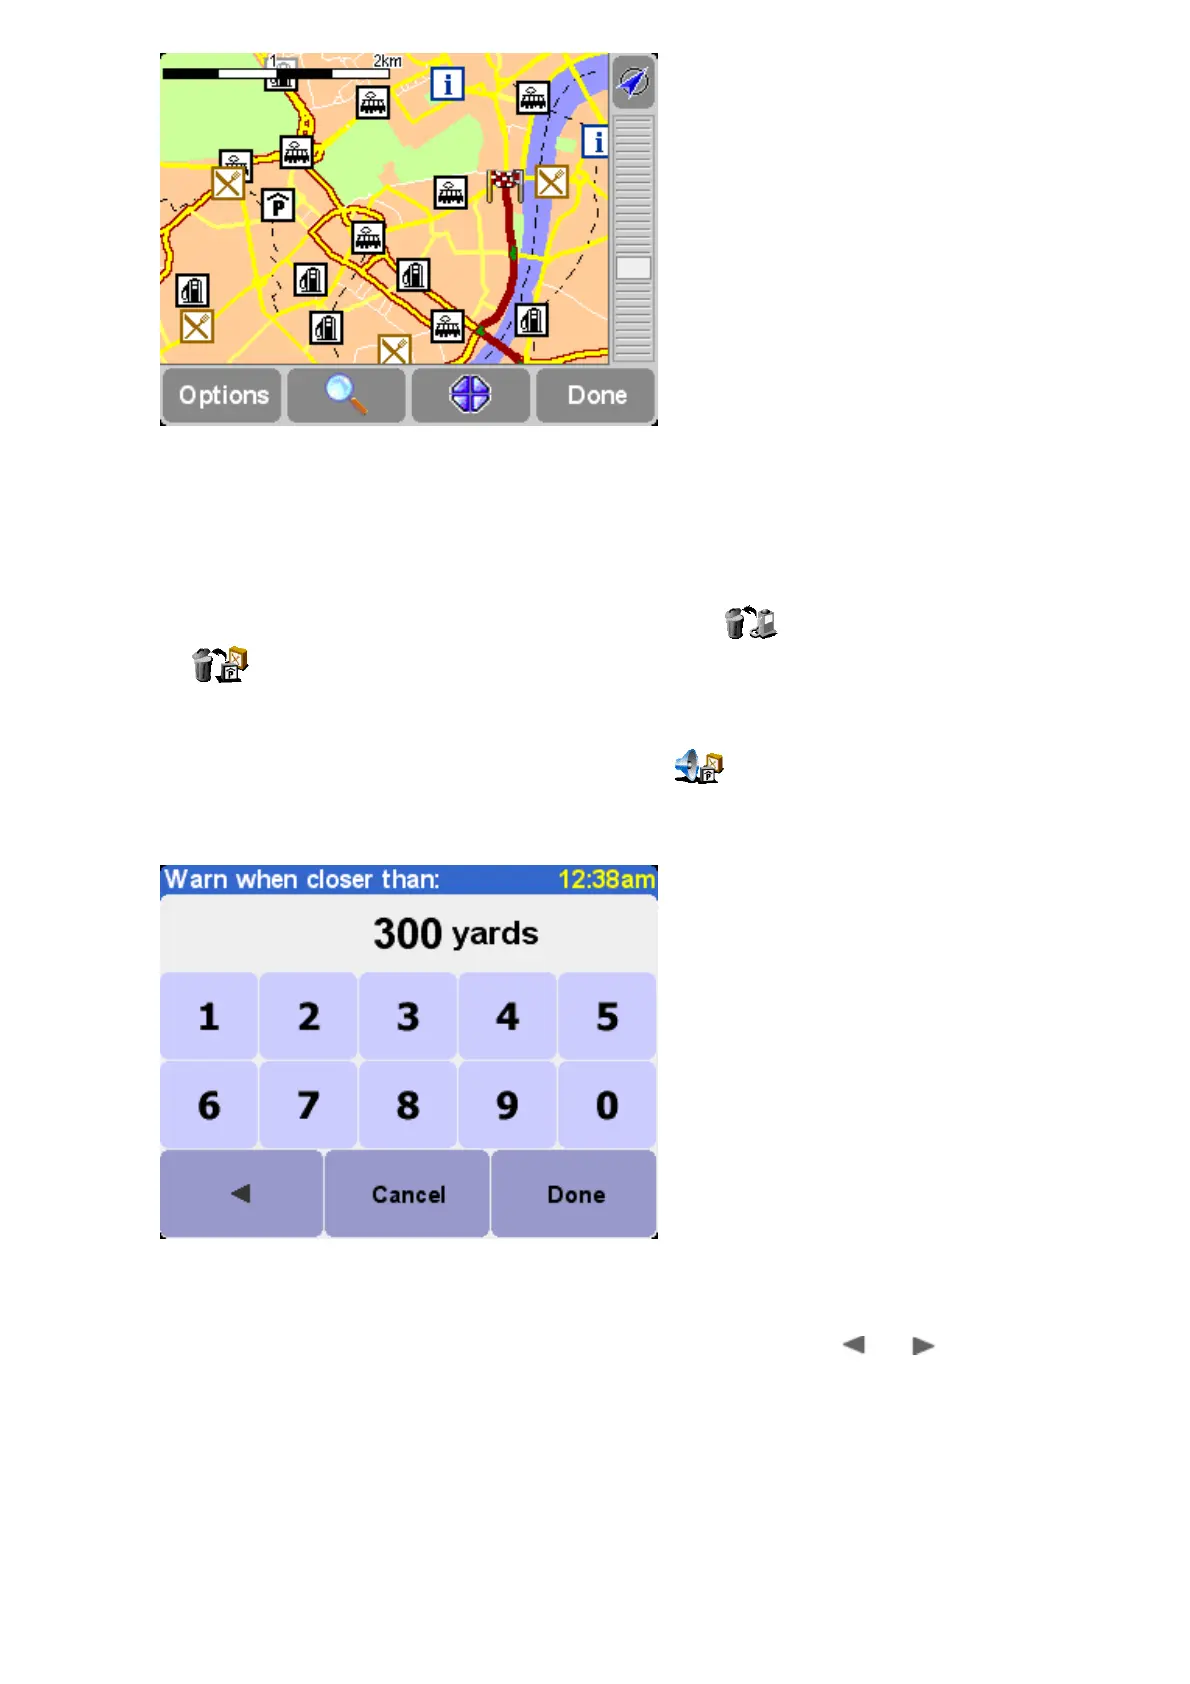
Additionally, you can request audio and visual warning that a POI from a specific category is coming
up. For example, you might be on the lookout for a gas station, hotel or ATM. To set up a warning
(you can have as many as you like), use 'Warn when near POI' . You'll then be asked to
choose a category (any that are already set up for warning will be shown at the top of the list) and
choose a 'Warn when closer than' distance, as shown below.
250 meters is a good default value, but may need to be larger or smaller depending on
whether you want warning of something huge (e.g. an airport or tourist attraction) or
something small (e.g. an ATM).
You'll probably want different audio warnings for each Point Of Interest category. Use and to
browse the different warning sounds available, choosing 'Select' for the most suitable. Finally, tick
'Warn only if POI is on route', if needed.
 Loading...