g186134
Figure30
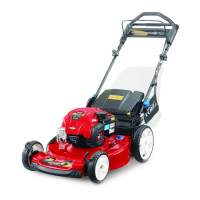
5.Afterdrainingtheusedoil,returnthemachinetothe
operatingposition.
6.Carefullypourabout3/4oftheenginecapacityofoil
intotheoil-lltube.
7.Waitabout3minutesfortheoiltosettleintheengine.
8.Wipethedipstickcleanwithacleancloth.
9.Insertthedipstickintotheoil-lltube,thenremove
thedipstick.
10.Readtheoillevelonthedipstick(Figure28).
•IftheoillevelisbelowtheAddmarkonthe
dipstick,carefullypourasmallamountofoilinto
theoil-lltube,wait3minutes,andrepeatsteps
8through10untiltheoillevelisattheFullmark
onthedipstick.
•IftheoillevelisabovetheFullmarkonthe
dipstick,draintheexcessoiluntiltheoillevelisat
theFullmarkonthedipstick;refertoChanging
theEngineOil(page17).
Important:Iftheoillevelintheengineistoo
lowortoohighandyouruntheengine,you
maydamagetheengine.
11.Installthedipsticksecurely.
12.Recycletheusedoilproperly.
ReplacingtheBlade
ServiceInterval:Yearly
Important:
Y ou will need a torque wr ench to install the
blade pr oper l y
.Ifyoudonothaveatorquewrenchor
areuncomfortableperformingthisprocedure,contact
anAuthorizedServiceDealer.
Examinethebladewheneveryourunoutofgasoline.Ifthe
bladeisdamagedorcracked,replaceitimmediately.Ifthe
bladeedgeisdullornicked,haveitsharpenedandbalanced,
orreplaceit.
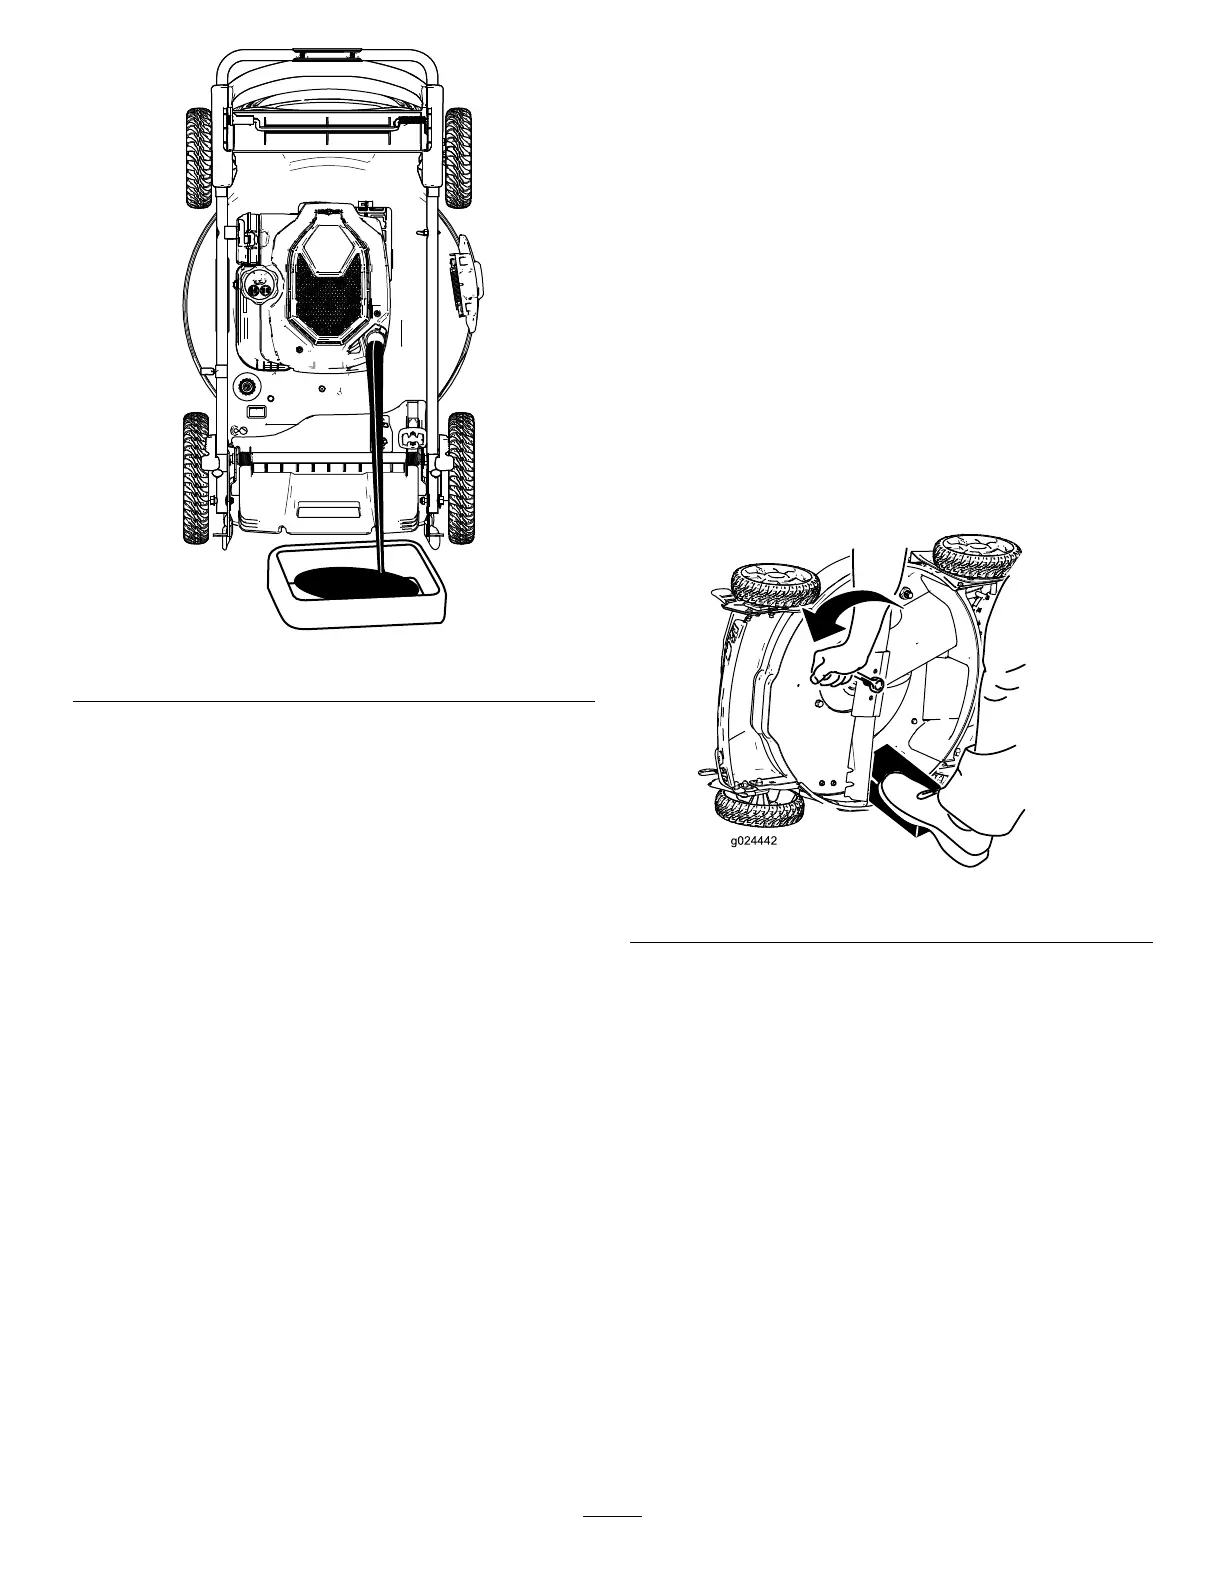
1.RefertoPreparingforMaintenance(page16).
2.Tipthemachineeitherontoitssidewiththedipstick
down.
3.Useablockofwoodtoholdthebladesteady(Figure
31).
g024442
Figure31
4.Removethebladebyturningthebladebolt
counterclockwise,savingallmountinghardwareto
installthenewblade(Figure31).
5.Installthenewbladebyturningthebladebolt
clockwise(Figure32).
18
 Loading...