4
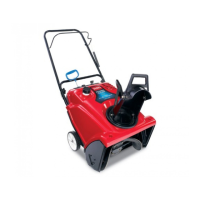
Safety and Instruction Decals
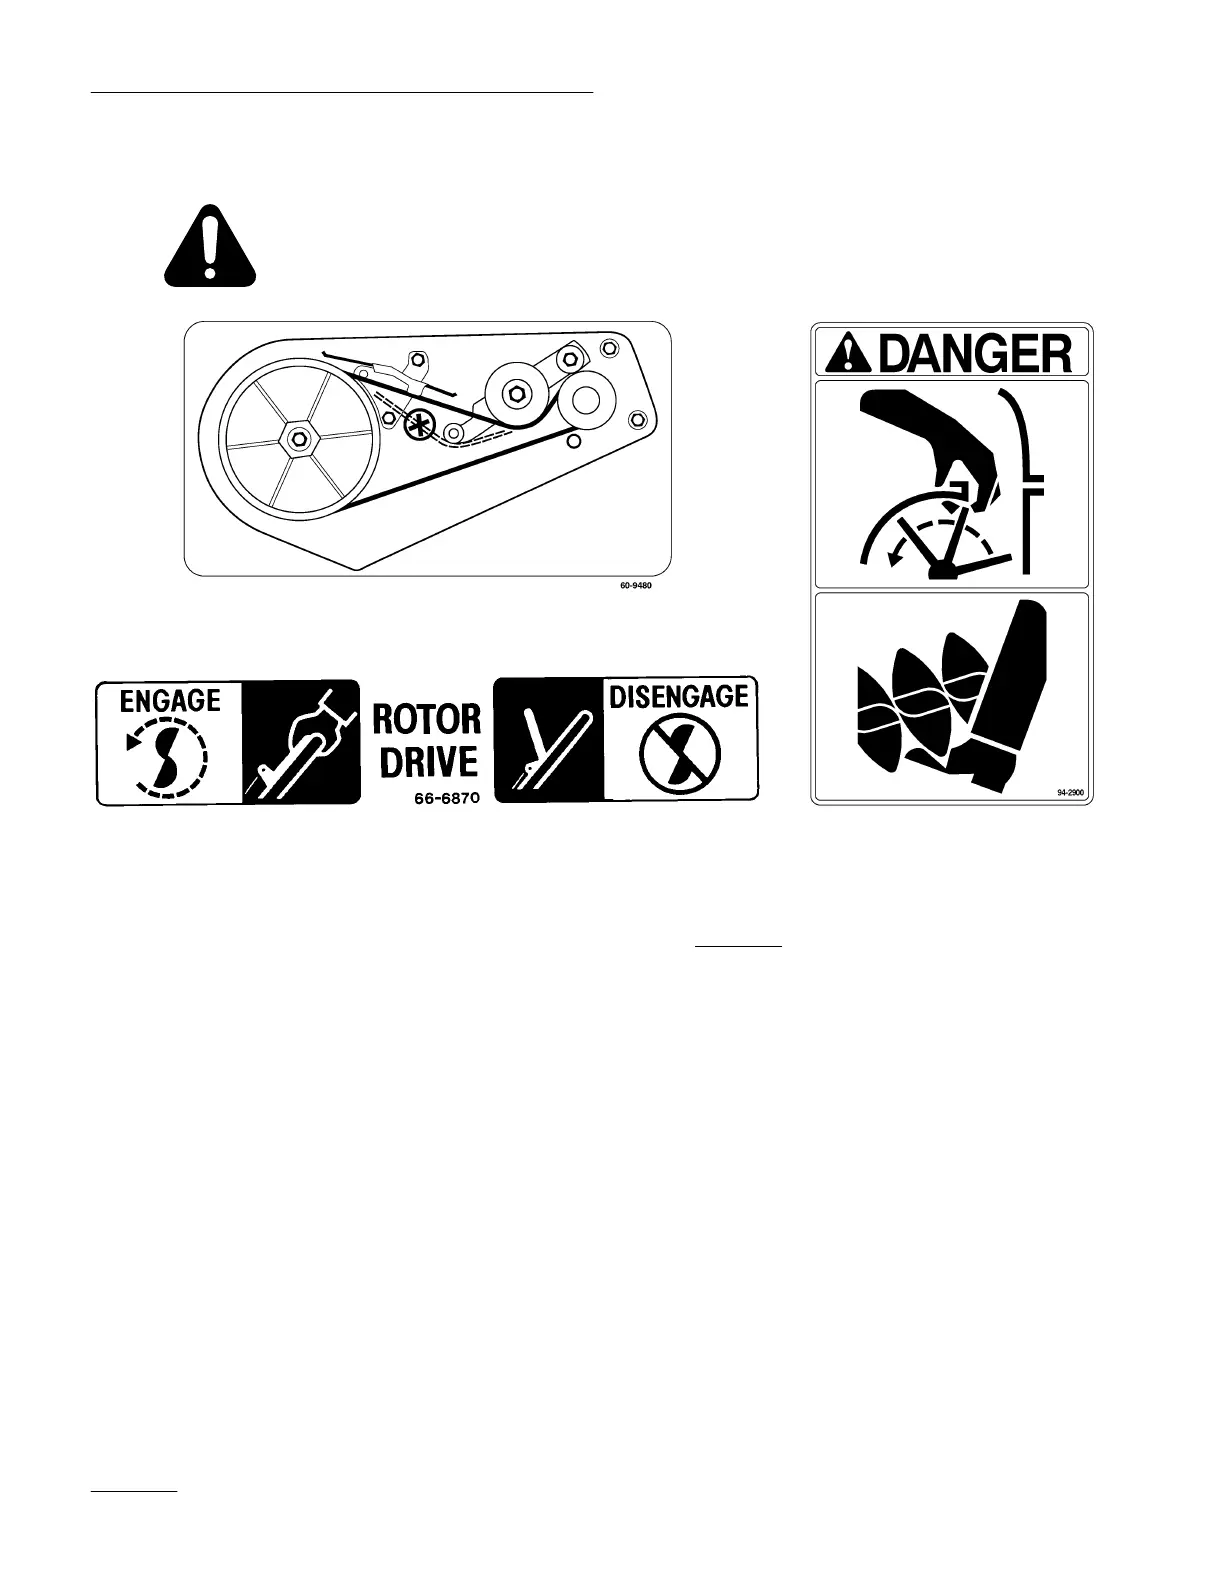
Safety decals and instructions are easily visible to the operator and are located near
any area of potential danger. Replace any decal that is damaged or lost.
ON INSIDE OF BELT COVER
(Part No. 60–9480)
ON CHUTE
(Part No. 94–2900)
ON HANDLE
(Part No. 66–6870)
Assembly
Note: Determine left and right sides of the
snowthrower by standing behind it
while it is in the normal operating
position.
Install Wheels (Fig. 2)
1. Carefully turn machine onto its left side. Place a
wood block under the left axle end.
2. Slide the short spacer and a wheel onto the right
axle end. The side of the wheel with six spokes
must face the center of the machine.
3. Slide a pushnut onto the end of the axle.
4. Using a hammer, strike the pushnut to seat the
nut FIRMLY
in place.
5. Turn the machine over on its right side so that
the left axle end is pointing up.
6. For the left side, slide the long spacer and a
wheel onto the left axle end. The side of the
wheel with six spokes must face the center of the
axle.
7. Place a wood block under the right axle end.
Repeat steps 3 and 4.
Install Chute Crank (Fig. 3)
1. Insert flattened end of chute crank through hole
in shroud while aligning mounting bracket with
holes in lower handle. Slowly rotate crank until
flattened end fits into hidden gear opening and
 Loading...