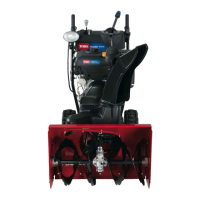
Figure6
1.Wheelclutchlever
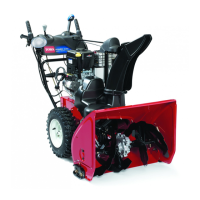
3.Removethenutandwasherfromthehandle,attach
thecableclamponthecabletothehandle,installthe
washerandthenut,andhandtightenthenut(Figure7).
Figure7
1.Cableclamp(2)
Important:Ensurethatthecurvedsideofthe
cableclampisagainstthehandleandthatthe
cableisroutedbelowtheclampbolt.Thecable
mustbeinastraightlinefromthecableclamp
tothepointwhereitattachestothewheelclutch
lever.
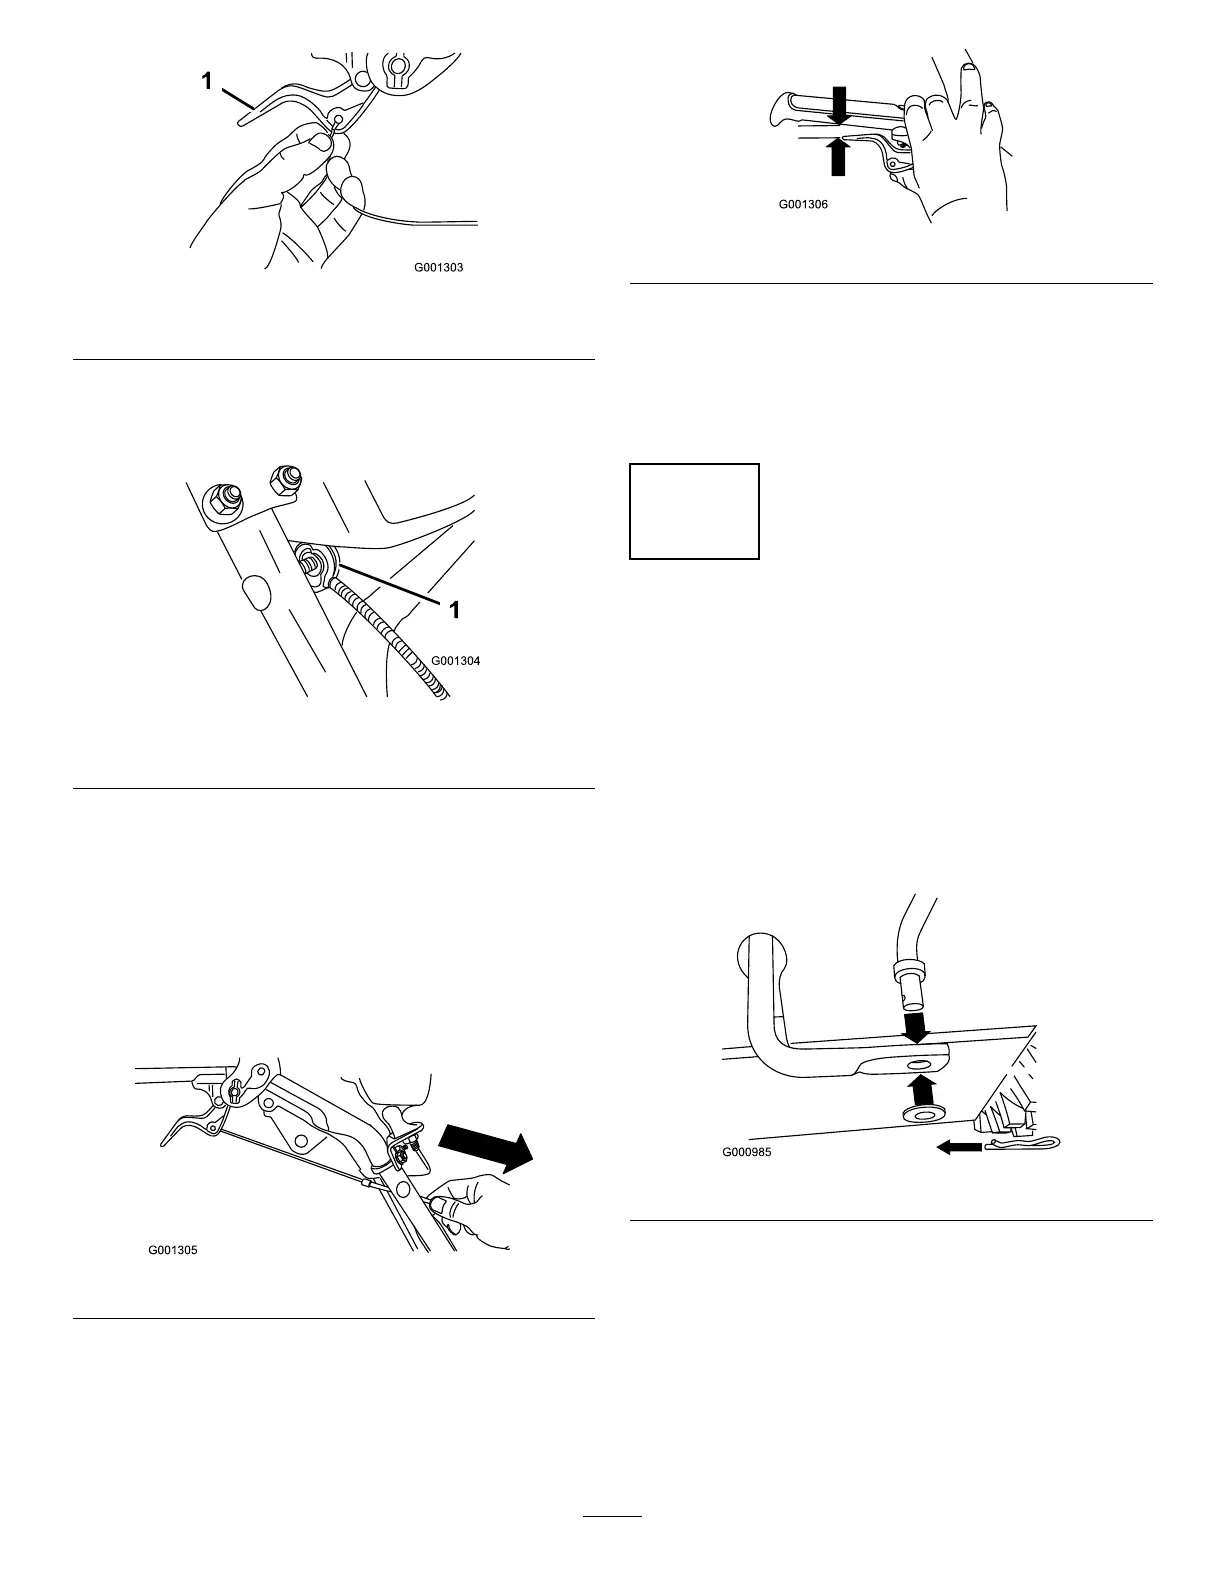
4.Pullthecablejacketdowngentlyuntilthewheelclutch
leverisdownandtheslackisoutofthecable,then
tightenthecableclampnutsecurely(Figure8).
Figure8
5.Squeezetheleverfully,thencheckthegapbetween
thebottomofthehandleandthewheelclutchlever
end(Figure9).
Figure9
Note:Thegapshouldbeapproximatelythethickness
ofapencil(1/4inchor6mm).Ifitisgreater,loosen
thecableclampnut,slidethecablejacketupslightly,
tightenthecableclampnut,andcheckthegapagain.
6.Repeatsteps2through5fortheothercable.
3
InstallingtheTractionControl
Linkage
NoPartsRequired
Procedure
1.Removethehairpincotterandwasherfromthelower
endofthespeedcontrolrodandinsertthelowerend
oftherodintothelowerlinkarmsothatthebentend
ofthespeedcontrolrodfacesrearward(Figure10).
Figure10
2.Securethelowerendofthespeedcontrolrodwiththe
washerandhairpincotterthatyoupreviouslyremoved.
3.Removethehairpincotterandtheouterwasherfrom
thetrunnionontheupperendofthespeedcontrol
rod(Figure11).
7

 Loading...