Rubber Cover Kit – Lawn Pop-Up
Attach rubber cover (optional) to sprinkler cap, using Loctite Super Bonder
®
(or equivalent)
adhesive as follows:
1. Assure bonding surfaces are dry and free of dirt, grease, and foreign substances.
2. Spread thin film of adhesive on underside of rubber cap cover and rubber nozzle cover.
3. Assemble immediately. Press retainer plug pins into two (2) holes in nozzle. See
Figure 1.
4. Apply firm pressure until set (approximately 15 seconds).
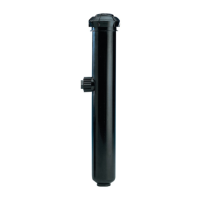
Installation Procedure
NOTE: Toro Funny Pipe
®
is recommended for ease of installation and accurate sprinkler
positioning when installing the XP-300 Lawn and Hi-Pop sprinklers. Unlike a rigid con-
nection, the flexible Funny Pipe link helps protect the PVC piping and fittings from break-
age due to downward or lateral sprinkler movement. XP-300 Lawn and Hi-Pop sprinklers
should be installed with top of cap level with finish grade (soil).
CAUTION
Use only Teflon Tape™ to make threaded connections between polyethylene riser or barbed ell and
sprinkler body. Deterioration of sprinkler body may occur if other sealing compounds are used.
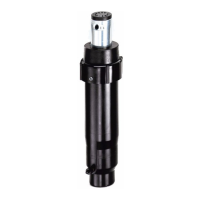
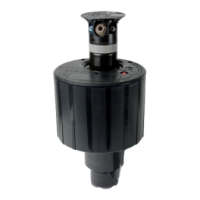
Shrub Sprinkler Installation
1. Flush all lines thoroughly prior to installing sprinkler on riser.
2. Grasp base of sprinkler by cap (not body) and screw securely onto teflon taped riser.
Do not over-torque, handtight is sufficient.
3. To align part-circle sprinkler to coverage area, locate raised alignment dot on sprinkler
shoulder (see
Figure 3). Align dot with center of coverage area. If dot cannot be posi-
tioned correctly when sprinkler is tight, unscrew nozzle assembly and reposition Arc Disc
to coverage area. (See
Figure 6.)
4. Turn on water to system and refine part circle spray pattern.
5. Adjust spray radius if required (see
Figure 3).
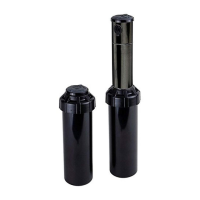
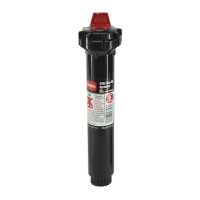
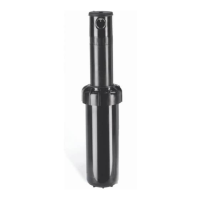
Lawn and Hi-Pop Sprinkler Installation
1. Flush all lines thoroughly prior to installing sprinkler.
2. Grasp sprinkler by body (not cap) and screw securely onto teflon taped riser or barbed ell. Do not over-torque,
handtight is sufficient.
3. To align part-circle sprinkler coverage area, locate raised dot on body and align with center of coverage area. If dot
cannot be positioned correctly when sprinkler is tight, unscrew nozzle assembly and reposition Arc Disc to coverage
area (see
Figure 9). NOTE: Lawn Pop-Up has only one riser tab.
4. Backfill soil around sprinkler avoiding soil contact with nozzle assembly.
5. Turn on water to system and refine part circle spray pattern.
6. Adjust spray radius if required (see
Figure 3).
2
Figure 1
Figure 3
Figure 2
SHRUB
SPRINKLER
AND
RISER
SWING JOINT
BARBED FITTINGS
WITH TORO
FUNNY PIPE
DECREASE
INCREASE
ALIGNMENT
DOT
1/16" HEX
DRIVER
 Loading...