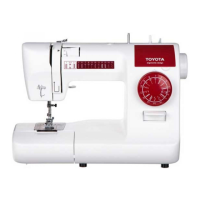
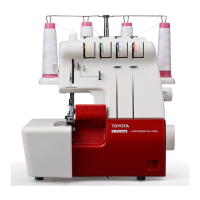
Return the thread winding (1)
spindle by sliding it in the
direction of the arrow.
Note:
If the thread winding spindle is
not returned, the needle does
not move and sewing is not
possible.
Remove the bobbin from the (2)
thread winding spindle, and
cut the thread.
C Thread winding spindle
Press on the foot controller (1)
with your foot to continue
winding the bobbin.
When the bobbin winding (2)
becomes slow, release
the foot controller to stop
winding the bobbin.
Stellen Sie die (1)
Fadenspulerspindel durch
Schieben in Pfeilrichtung
zurück.
Hinweis:
Wird die Fadenspulerspindel
nicht zurückgestellt, bewegt
sich die Nadel nicht und es kann
nicht genäht werden.
Entfernen Sie die Spule (2)
von der Fadenspulerspindel
und schneiden Sie den
Faden ab.
C Fadenspulerspindel
Drücken Sie mit dem (1)
Fuß auf das Fußpedal
und fahren Sie mit dem
Aufwickeln der Spule fort.
Wenn sich das Aufwickeln (2)
verlangsamt, nehmen Sie
den Fuß vom Pedal, um das
Aufwickeln der Spule zu
stoppen.
Zet de spoelopwinder terug (1)
door deze in de richting van
de pijl te schuiven.
N.B.
Als u de spoelopwinder niet
terugzet, beweegt de naald niet.
U kunt dan niet naaien.
Neem de spoel van de (2)
spoelopwinder en knip de
draad af.
C Spoelopwinder
Trap het voetpedaal in (1)
om door te gaan met het
opwinden van de spoel.
Als het opwinden van de (2)
spoel langzamer gaat,
laat dan het voetpedaal
los om te stoppen met het
opwinden van de spoel.
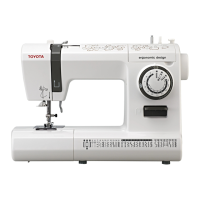
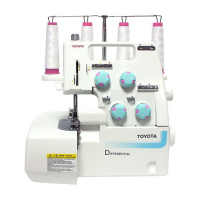
If the bobbin is incorrectly inserted into
the bobbin case, the stitching will not
be sewn correctly.
Turn off the sewing machine.
Pull the bobbin case cover
towards yourself.
1 Bobbin case cover
Insert the bobbin so that it
rotates counterclockwise.
2 Bobbin case
3 Bobbin
Pass the thread through A,
then B, and then pull the
thread to the rear, as shown.
Pull out about 15 cm of thread
to the rear.
Fit the projections on the
bobbin case cover into the
race retainer grooves, and then
push the bobbin case cover
closed.
4 Bobbin case cover
5 Groove
6 Projection
Sitzt die Spule nicht richtig in der
Spulenkapsel, wird die Naht nicht
richtig genäht.
Schalten Sie die Nähmaschine
aus.
Ziehen Sie die
Spulenkapselabdeckung in
Ihre Richtung.
1 Spulenkapselabdeckung
Setzen Sie die Spule so ein,
dass sie sich gegen den
Uhrzeigersinn dreht.
2 Spulenkapsel
3 Spule
Führen Sie den Faden durch
A, dann durch B und ziehen
Sie ihn dann nach hinten
(siehe Abbildung).
Ziehen Sie ca. 15 cm Faden
nach hinten.
Setzen Sie die Haltenasen an
der Spulenkapselabdeckung in
die Greiferbahn-Aussparungen
ein und drücken Sie die
Spulenkapselabdeckung zum
Schließen hinein.
4 Spulenkapselabdeckung
5 Aussparung
6 Haltenase
Als u de spoel niet juist in het
spoelhuis hebt geplaatst, krijgt u geen
goede steken.
Schakel de machine uit.
Trek de spoelhuisklep naar
u toe.
1 Spoelhuisklep
Plaats de spoel zodanig dat
het tegen de klok in draait.
2 Spoelhuis
3 Spoel
Leid de draad door A,
vervolgens door B en trek dan
de draad naar achteren, zoals
aangegeven.
Trek de draad ongeveer 15 cm
naar achteren.
Plaats de uitsteeksels op de
spoelhuisklep in de groeven
van de naaldplaat en schuif de
klep dicht.
4 Spoelhuisklep
5 Groef
6 Uitsteeksel
D:Threading the lower
thread
D:Einfädeln des
Unterfadens
D:Onderdraad
inrijgen
C-
 Loading...