7
Chapter 3
Windows
3. 1. Install Driver
1. Insert the resource CD into your CD drive and run the Autorun.exe from the
pop-up Autoplay window.
Note:
1. You can also download the driver or check the new release at
https://www.tp-link.com/download-center.
2. In some operating systems, the CD screen will pop up automatically. Otherwise, run the CD manually.
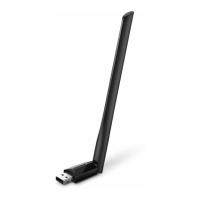
2. Select Archer T4U Plus and follow the instructions to complete the
installation.
Note:
1. For Windows 7, if the message “Windows can’t verify the publisher of this driver software” pops
up, click Install this driver software anyway.
2. If you can’t install the driver successfully, disable the antivirus software and firewall, then try again.
3. 2. Join a Wireless Network
You can join a wireless network via Windows built-in wireless utility. Follow the
instructions below to use your computer system’s built-in wireless utility:
1. Click , or (Network icon) on the taskbar. Select the Wi-Fi network you
want to join, and click Connect. Enter the network password when prompted.
2. When the network icon changes to or , it indicates a successful network
connection.
3. 3. Uninstall Driver
The software uninstallation steps vary a bit from different systems. Please follow
the appropriate instructions for your Windows operating system: Windows
8/8.1/10, Windows XP/7.
• Windows 8/8.1/10
Go to Start menu to find the TP-Link application. Click
Uninstall TP-Link
Archer
T4U Plus Driver, then follow the on-screen instructions to complete the
uninstallation.
• Windows XP/7
Go to Start > All Programs > TP-Link > Uninstall
TP-Link
Archer T4U Plus Driver.
Follow the on-screen instructions to complete the uninstallation.
 Loading...
