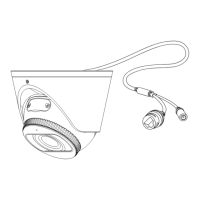
3. Secure the Camera
Route the cable through the side outlet. Insert anchors into the holes,
use screws to ax the camera base, and attach the camera to it.
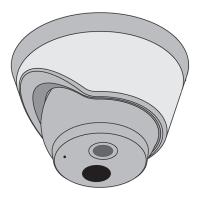
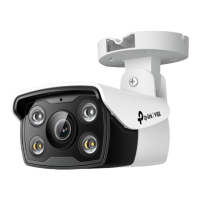
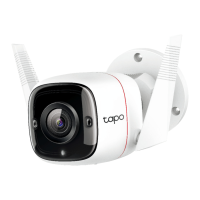
Appearance
Camera Base
Speaker
7
IR LED
6
White LED
5
Built-in Microphone
1
2
Reset
3
Micro SD Card Slot
Insert a micro SD card for local
storage. Initialize the SD card via
VIGI app before recording videos.
Power Supply Interface
(12V DC) *
9
RJ45 Network Interface
(supports PoE) *
8
4
1
3
2
6
5
4
8
9
3. Secure the Camera
Route the cable through the wall/ceiling. Insert anchors into the holes,
use screws to ax the camera base, and attach the camera to it.
Stick the mounting template to the desired mounting place. Drill
3 screw holes and 1 cable hole according to the template.
1. Drill Holes
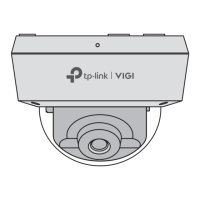
2. Open the Camera Case
Align the notch of the camera body with any score on the camera
base, and use a screwdriver to gently pry open the camera case.
Quick Start Guide
Option 1: Cable through the wall/ceiling
Stick the mounting template to the desired mounting place. Drill
3 screw holes according to the template.
1. Drill Holes
2. Open the Camera Case
Align the notch of the camera body with any score on the camera
base, and use a screwdriver to gently pry open the camera case.
Option 2: Cable through the side outlet
1
Wall/Ceiling Mounting
4. Adjust the Surveillance Angle
Adjust the surveillance angle as needed. Make sure the lens is
positioned above the IR LED for normal viewing.
4. Adjust the Surveillance Angle
Adjust the surveillance angle as needed. Make sure the lens is
positioned above the IR LED for normal viewing.
Cable Hole
(For the cable through wall/ceiling)
Score of
camera base
Notch of
camera body
Score of
bottom case
Notch of
the shell
Score of
camera base
Notch of
camera body
Score of
bottom case
Notch of
the shell
Side Outlet
*Images may dier from actual products.
Tilt: 0° to 85°
Pan: 0° to 360°
Rotate: 0° to 360°
Mounting TemplateAnchors & Screws
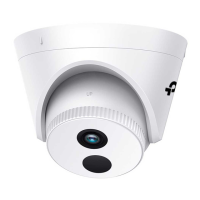
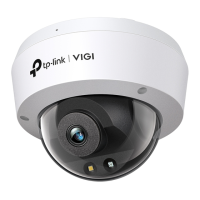
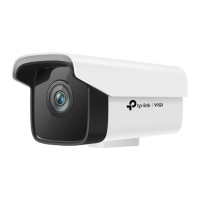
Network Camera
Quick Start Guide
Quick
Start
Guide
Press for 5 seconds to reset the
camera to factory settings.
7
*
The camera’s standard power supply is 12V DC or PoE (802.3af/at). The power
source should comply with Power Source Class 2 ( PS2) or Limited Power
Source(LPS) of IEC 62368-1
.
©2023 TP-Link 7106510128 REV1.0.0
Tilt: 0° to 85°
Pan: 0° to 360°
Rotate: 0° to 360°