NOTE: During each assembly step, ensure that ALL nuts and bolts are in place and partially threaded in before
completely tightening any ONE bolt.
NOTE: A light application of grease may aid in the installation of hardware. Any grease, such as lithium bike
grease is recommended.
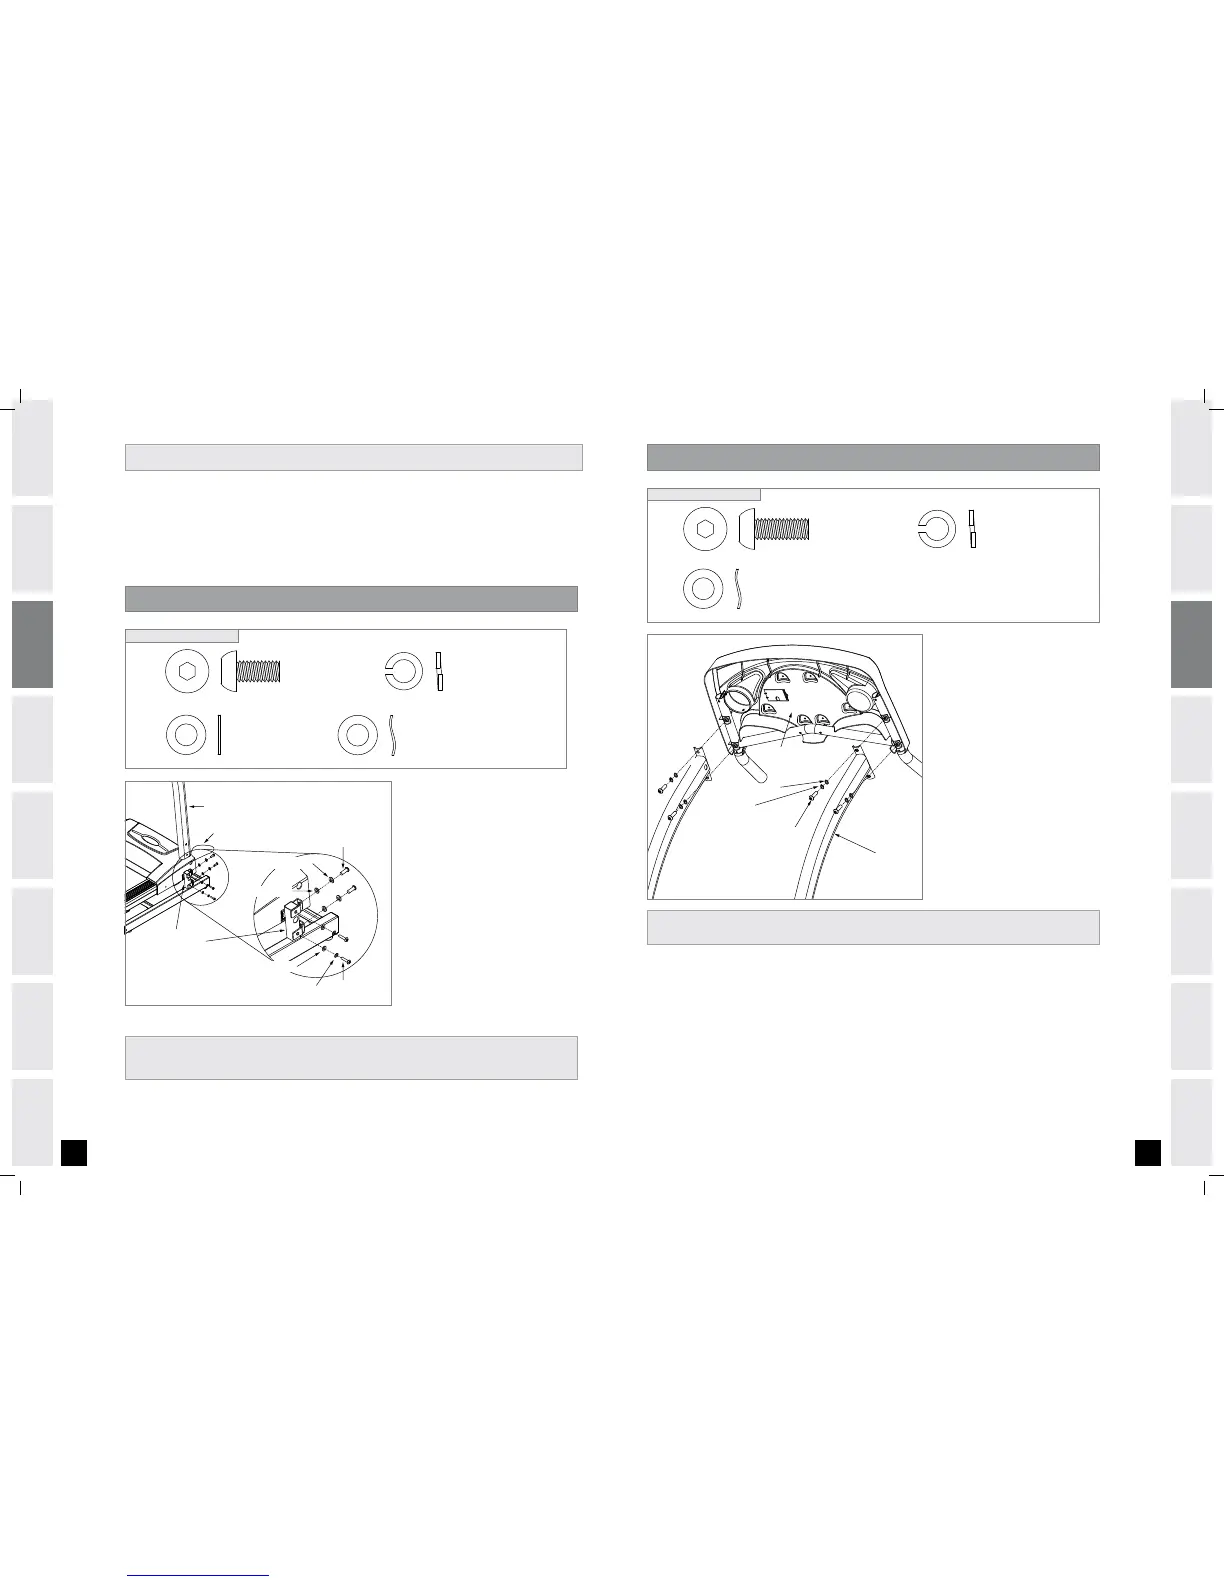
PRE-ASSEMBLY ASSEMBLY STEP 2
Open HARDWARE BAG 1.
Slide the right CONSOLE MAST down
on to the CONSOLE MAST SUPPORT
TUBE. On the front of the CONSOLE
MAST, bolt in place using 2 BOLTS
(A), 2 SPRING WASHERS (B), and 2
ARC WASHERS (D). On the side of the
CONSOLE MAST, bolt in place using 2
BOLTS (A), 2 SPRING WASHERS (B),
and 2 FLAT WASHERS (C).
Repeat on other side.
On right side thread CONSOLE MAST
WIRE through CONSOLE MAST.
A
B
C
D
Open HARDWARE BAG 2.
Attach the CONSOLE to the CONSOLE
MAST using 2 BOLTS (E), 2 SPRING
WASHERS (B), and 2 ARC WASHERS
(C).
Repeat on other side.
After all bolts are inserted for
ASSEMBLY STEP 1 and ASSEMBLY
STEP 2, all bolts can be completely
tightened.
A
B
C
D
* NOTE: While assembling the masts, do not completely tighten any bolts until the end of ASSEMBLY STEP 2.
Ensure that ALL bolts are in place and partially threaded in before completely tightening any ONE bolt.
 Loading...