IMPORTANT: READ THE OPERATOR’S MANUAL THOROUGHLY AND FOLLOW THE SAFE OPERATION PRACTICES WHILE OPERATING THE UNIT.
Primer
B
ulb
R
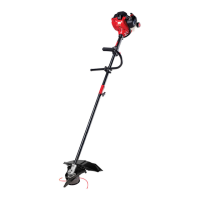
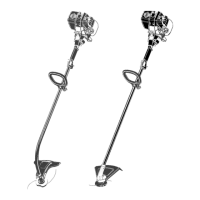
emoving Unit From Carton
Assemble The Unit
Starting The Unit
A
ssemble The Unit
Mix thoroughly in separate
fuel can:
– 3.2 fl. oz. of 2-cycle
e
ngine oil
– 1 gallon of unleaded
gasoline
NOTE: Do not mix directly in
fuel tank.
Place unit on a level surface.
Fill fuel tank.
Press primer bulb 10 times,
or until fuel is visible
Crouch in starting position. SQUEEZE and HOLD
throttle for ALL further
steps.
Pull rope 5 times. Move choke lever to
Position 2 and squeeze
throttle.
Pull rope 3-5 times to start
engine. Run unit for 30-60
seconds to warm up.
Continue to squeeze
throttle. Move choke lever
to Position 3.
11
R
emove all contents from
t
he carton.
4 5 6
18 9
Move choke lever to
Position 1.
Continue to squeeze
throttle. Run unit for an
additional 60 seconds to
c
omplete warm-up. Unit
may be used during this
time.
7
S
tarting The Unit
1
0
1
1
1
2
1
3
14
1
0 X
5 X
3-5 X
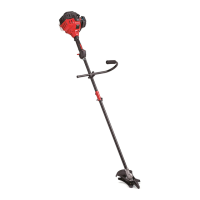
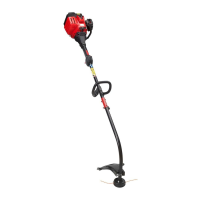
C
hoke Lever
S
tarter Rope
F
uel Cap
Throttle Control
O
n/ Off Switch
J-Handle
E
z-Link™
Cutting Head Shield
Need Help?
Call 1-800-828-5500
Electric Starter or
P
ower Start Bit Optional!
THESE OPTIONAL ACCESSORIES
ARE SOLD SEPARATELY!
This unit has an alternate starting method
t
hat many find easier to use than pulling a
rope. Please contact a local retailer or call
1-800-828-5500 for more information.
Information may also be found at
www.troybilt.com
DIDN’T START?
R
epeat these instructions.
I
F engine fails to start after 2 attempts,
m
ove choke lever to position 3 and pull
the starter rope until engine starts
I
F unit still fails to start, refer to operator’s
manual for additional starting and
troubleshooting information
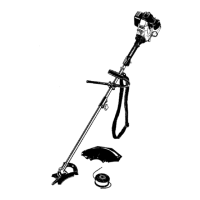
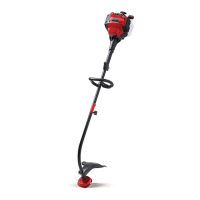
Remove cap from end of
lower boom. Push cutting
a
ttachment add-on into
c
oupler. Turn coupler knob
c
lockwise to tighten.
3
1
Gallon 3.2 oz
4
0:1
C
hoke Lever
Choke Lever
A
rrow
Decal
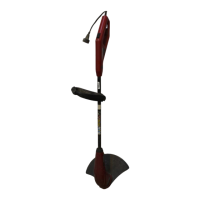
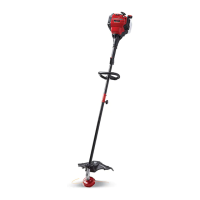
Place the J-handle between the top and middle clamps,
s
lide the 4 screws through the clamps, and place the
a
ssembly onto the bottom clamp. Start the screws,
then ensure the arrow/ white line on the decal touches
the clamp assembly. Position the J-handle to the
location that provides the best grip, then tighten the
s
crews evenly until the J-handle is secure.
ASSEMBLY TOOLS
REQUIRED:
•
Phillips screwdriver
2