7
Precautions Introduction Front Panel Rear Panel Operation and Performance
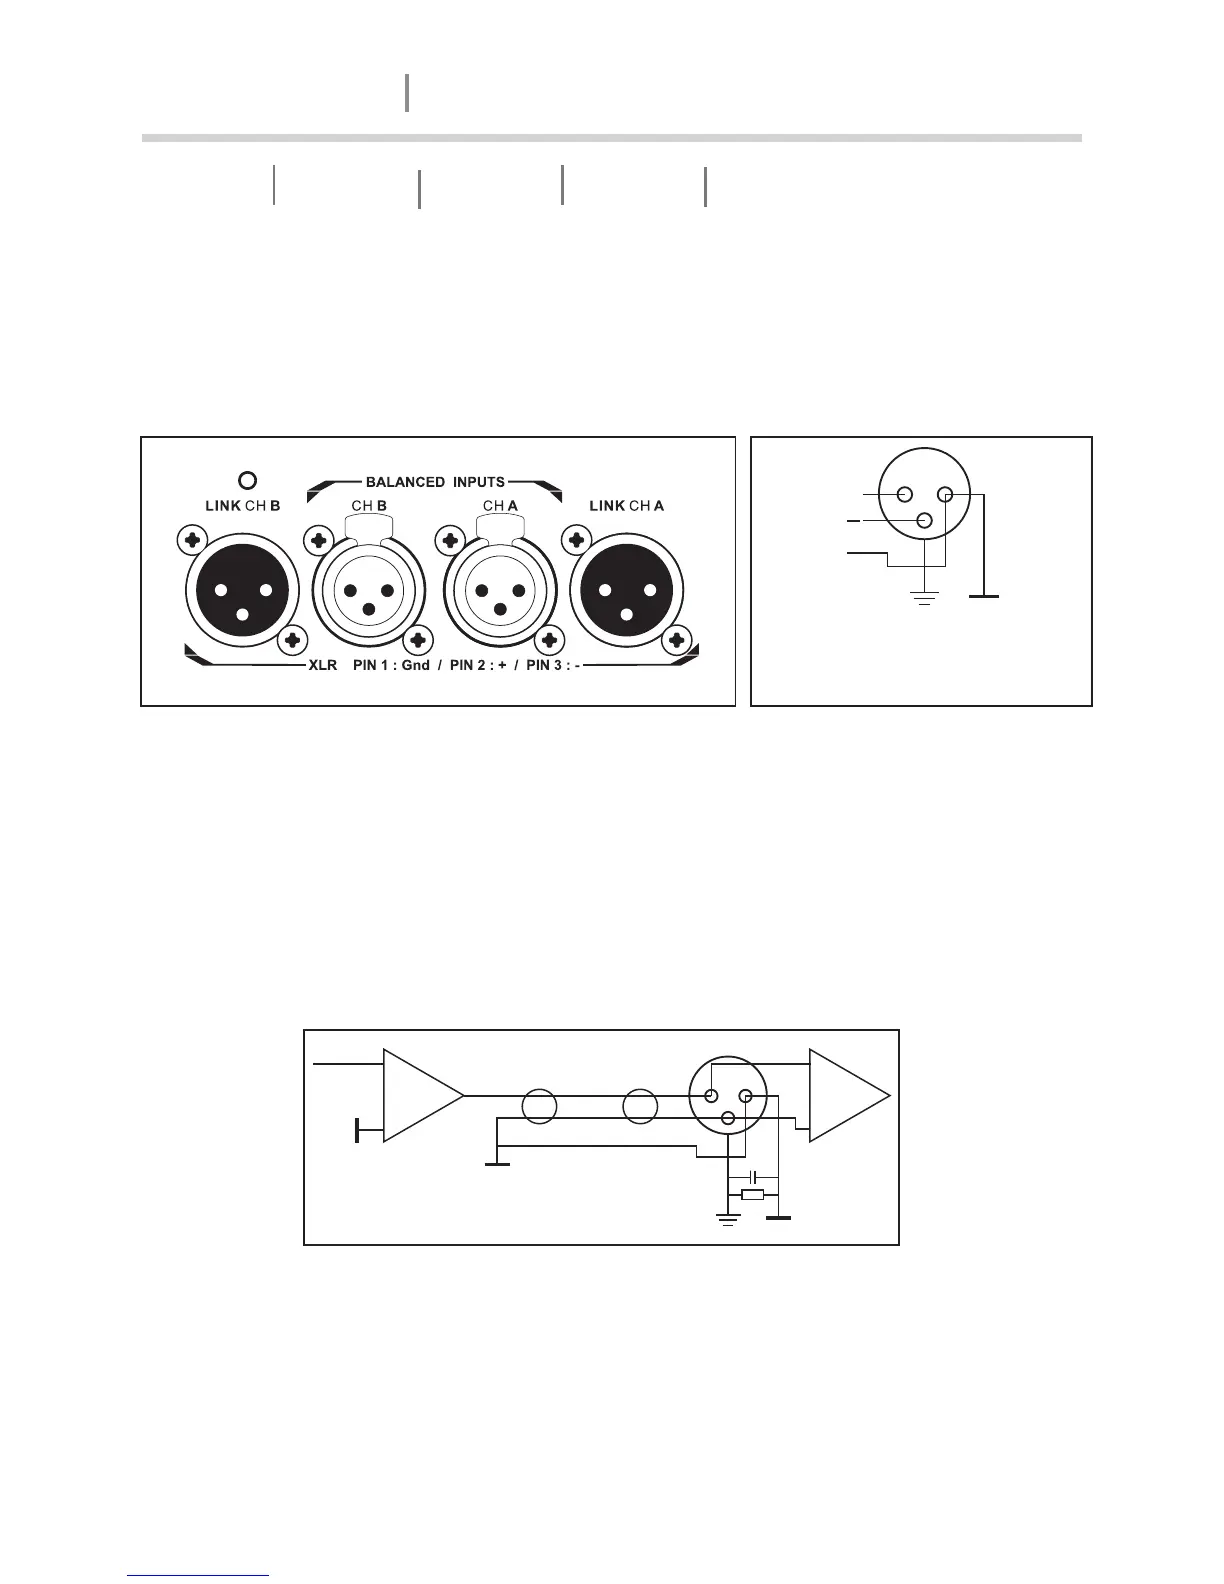
Audio Input and Output connections
Balanced Input connections
PUSH PUSH
Figure 5
Audio inputs and loop-thru
Unbalanced Input connections
Figure 7
Unbalanced XLR wiring schematic
The XLR input connectors are electronically balanced, and wired according to the IEC
268 standard (pin2 = hot). XLR input connector should be wired as follows:
Pin1 Ground/shield
Pin 2 Hot (+)
Pin3 Cold (-)
Figure 6
Balanced XLR wiring
schematic
NOTE
When linking the same source signal to several input channels, be aware that
there is a limit to the number of channels an output source can “drive”. A
typical output source (e.g. a DSP crossover unit) can drive up to four amplifier
channels before external line-drivers might be required to buffer the signal.
12
3
+
Gnd
12
3
+
-
+
-
To connect an input to an unbalanced source, it is possible to connect pins 1 and3 in
the XLR plug at the amplifier end of the cable. However, a better method is to connect
pin 3 to the shield at the source end of the cable, as this usually results in better hum
and noise rejection. Balanced input connections are recommended whenever possible.
AMPLIFIER
TD-14000
 Loading...