BASIC SYSTEM DIAGRAMS
INSTRUCTIONS FOR URMET DOMUS DEVICE INTERCHANGEABILITY
22
−−−−
sec.1f
DOOR PHONE - VIDEO DOOR PHONE SYSTEMS: Installation Diagrams
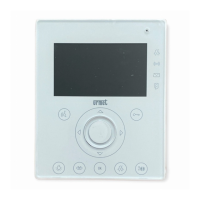
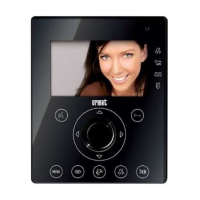
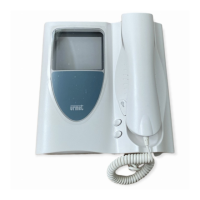
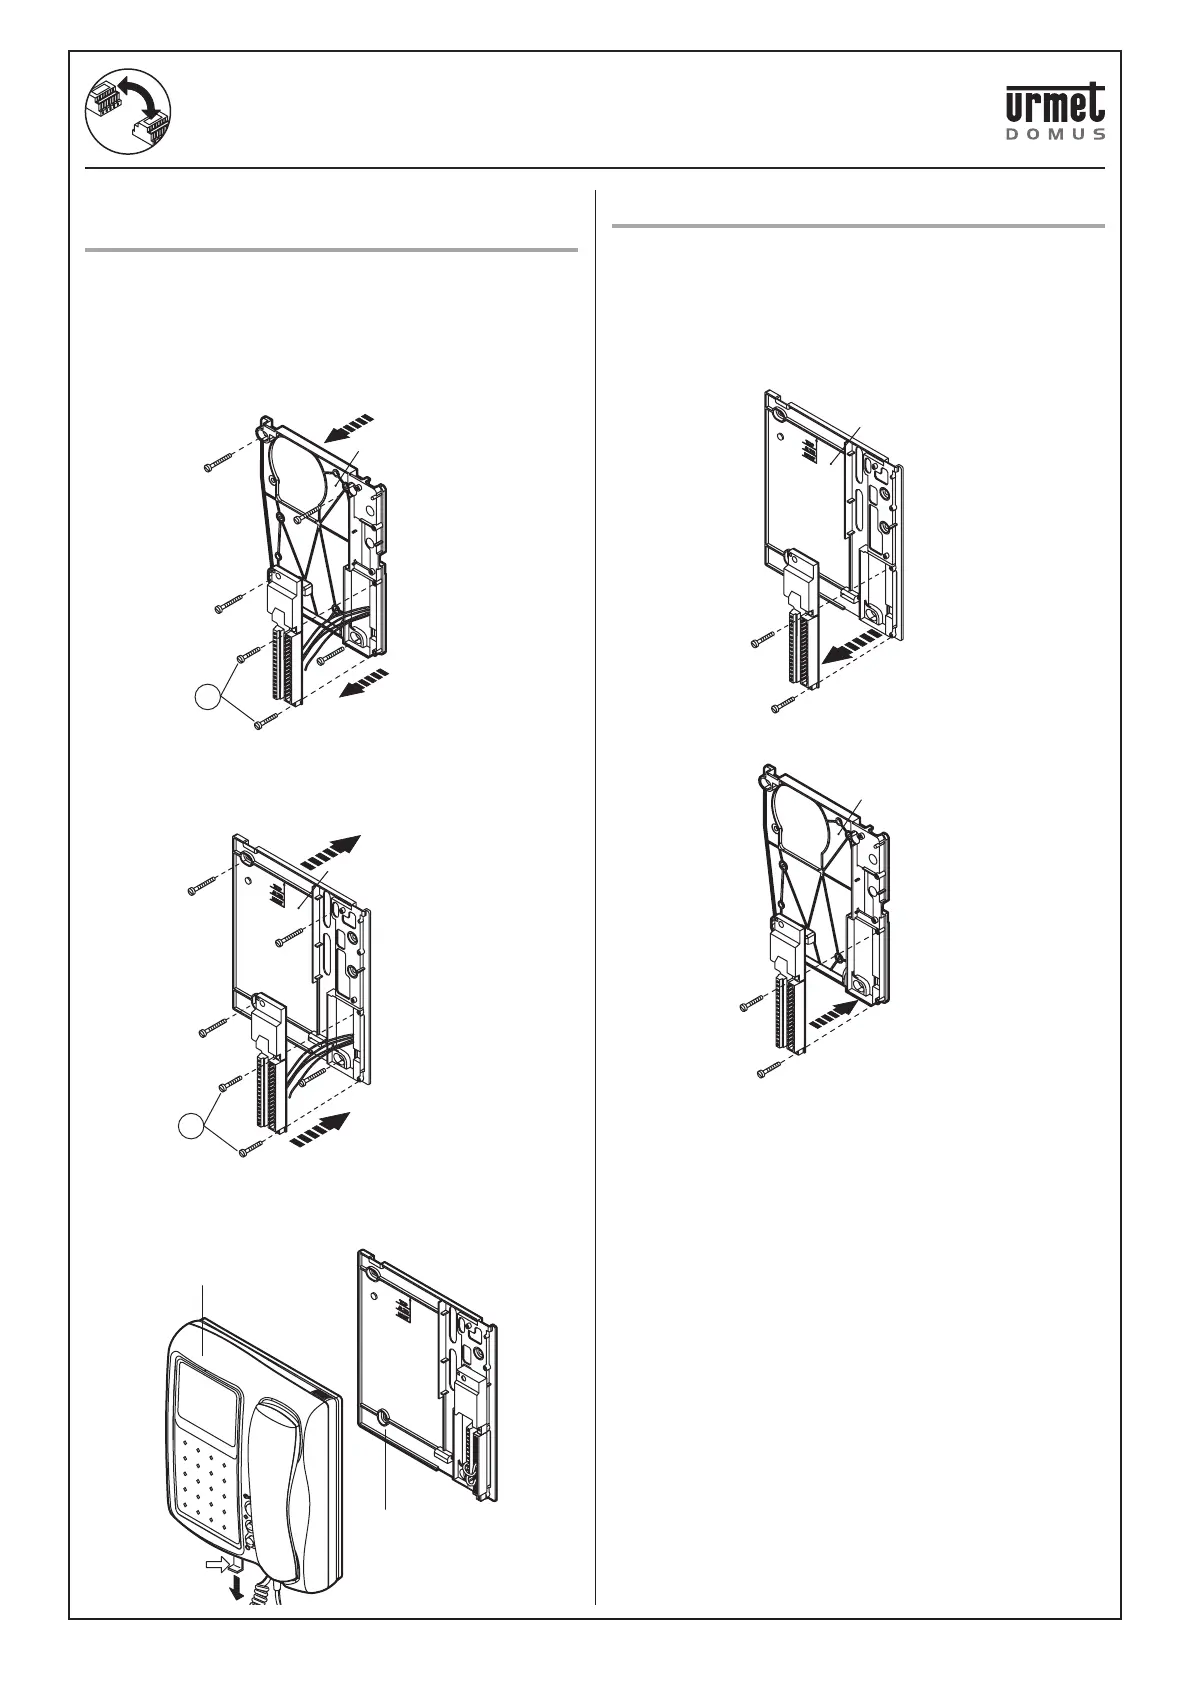
REPLACEMENT OF SENTRY VIDEO DOOR
PHONES WITH ARTICO
Using the bracket without circuit for the Artico video door phone
Réf. 1705/100 it is possible to replace the Sentry video door phones in
any type of system. Proceed as follows:
1. Remove the Sentry video door phone from the bracket.
2. Disconnect all conductors from the Sentry bracket terminals.
3. Loosen the 4 fastening screws from the wall bracket
4. Remove the printed circuit from the Sentry bracket by loosening
the 2 fastening screws (A).
5. Fit the printed circuit on the Artico bracket Ref. 1705/100 using the
2 screws provided (screws B)
6. Fasten the Artico bracket to the wall using the 4 screws fastening
the Sentry bracket
7. Reconnect the wires to the specifi c terminals.
8. Insert the Artico video door phone on the bracket fastening it with
the hook A.
SENTRY+ BRACKET REPLACEMENT
Procure a plastic support Ref.1704/102 and the Artico bracket
corresponding to the system in use in the installation to replace a faulty
Sentry+ video door phone bracket:
• Coax Ref. 1705/90
• 5 wires Ref. 1705/955
Then proceed as follows:
• Remove the printed circuit from the Artico bracket.
• Fasten the printed circuit on the plastic support Ref. 1704/102.
• Remove the Sentry video door phone from the bracket.
• Disconnect all conductors from the Sentry bracket terminals.
• Loosen the 4 fastening screws from the wall bracket.
• Fasten the plastic support on the printed circuit to the wall.
•
Reconnect the wires to the specifi c terminals.
• Fit the video door phone on the bracket.
Sentry bracket
A
B
Bracket Ref. 1705/100
A
Ref. 1705/1
Bracket
Ref. 1705/100
REPLACEMENT OF SENTRY VIDEO DOOR PHONES WITH ARTICO
SENTRY+ BRACKET REPLACEMENT
Artico bracket
Plastic support
Ref. 1704/102
 Loading...